How to Install XAMPP on Ubuntu
The XAMPP acronym stands for cross-platform, Apache, MySQL, PHP, and Perl. XAMPP is an open-source project developed by Apache Friends. This combination of software allows you to run WordPress offline, on a local web server. This is an easy and lightweight solution that is compatible with Windows, Linux, and Mac. The package consists mainly of the Apache HTTP Server, the MariaDB database, as well as PHP and Perl script interpreters. Let’s get started with the installation.
For Ubuntu systems to be registered with VPSie, you need to create a VPSie account if you don’t have one already.
Our example is based on an Ubuntu instance with GUI installed. Here is a link that will guide you to installing Ubuntu’s GUI if you do not already have it installed.
Run the following commands to update your system.
# apt-get update && apt-get upgrade -y
In this article, we demonstrate steps mostly on GUI-enabled Ubuntu instances. For those of you who have not enabled GUI on your instance, the link below will link you to a guide that will show you how to install GUI on Ubuntu.
Step 2: Install XAMPP
Download XAMPP for Linux by browsing to https://www.apachefriends.org.

Open your terminal and navigate to the Downloads. Execute the following command to give this file the right permissions.
# chmod +x xampp-linux-x64-8.1.2-0-installer.run
Run the XAMPP installation command now:
# ./xampp-linux-x64-8.1.2-0-installer.run
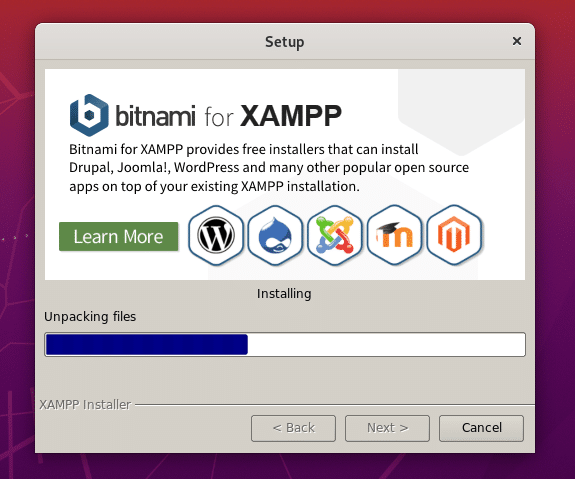
Upon running this command, a setup wizard will appear. Follow the instructions and install the XAMPP.

Finish the installation and Start the services via the command line by running the following command:
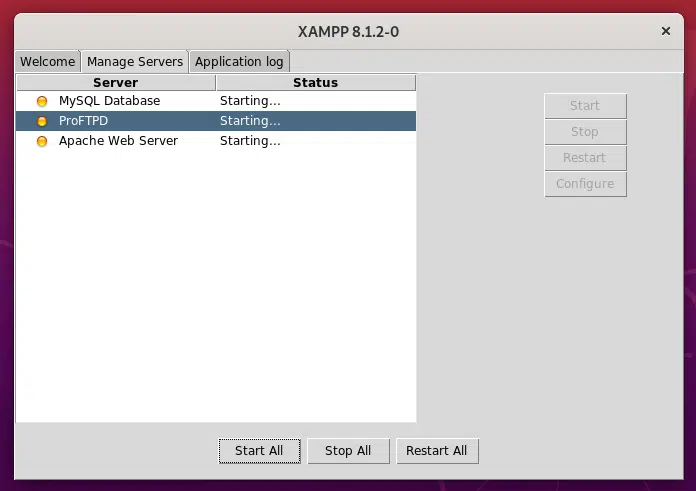
# cd /op/lampp

# sudo ./manager-linux-x64.run
This will open the XAMPP wizard. The manage servers section will let you start, stop, reboot, etc. the server.
Step 3: Check the installation
Ensure that everything is functioning correctly. Open your browser and navigate to https://{Sever IP}/dashboard and you should see the welcome page, which means your XAMPP server is working properly.
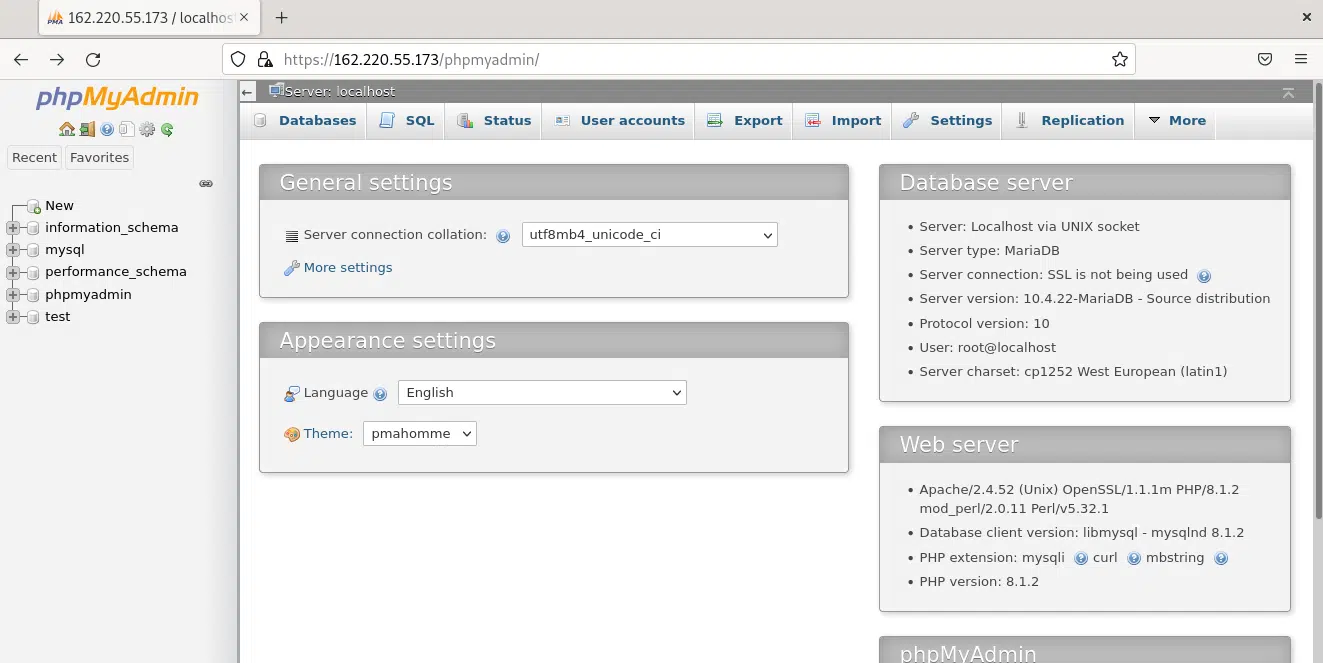
Here is the URL to test whether PHPmyAdmin is working: https://{Server IP}/phpmyadmin .

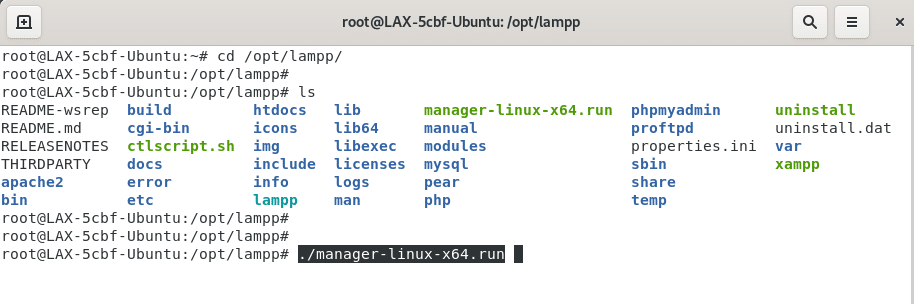
n case you have stopped your XAMPP control panel for whatever reason, if you want to restart it, you can run the following command.
# cd /opt/lampp/
# ls
# ./manager-linux-x64.run
XAMPP can be tested on your own by creating PHP file and testing it with the Apache server. So we have successfully installed XAMPP server on your Ubuntu instance. Thanks for reading! I hope it was informative for you!