In this tutorial we will show you how to deploy WordPress application and finish the installation of WordPress after you have deployed the vpsie. First you need to go to vpsie tab and click on the Create New Vpsie button. On the first part you need to select the package with the specs of the package you want to install your application.

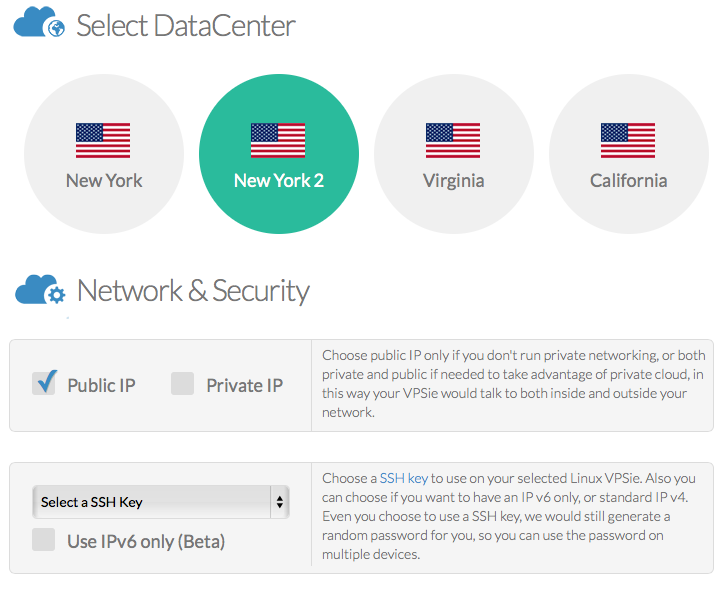
Once you have selected the package you want to use you need to choose the datacenters the IP settings you want for your vpsie and select the ssh key if you choose to use passwords login.
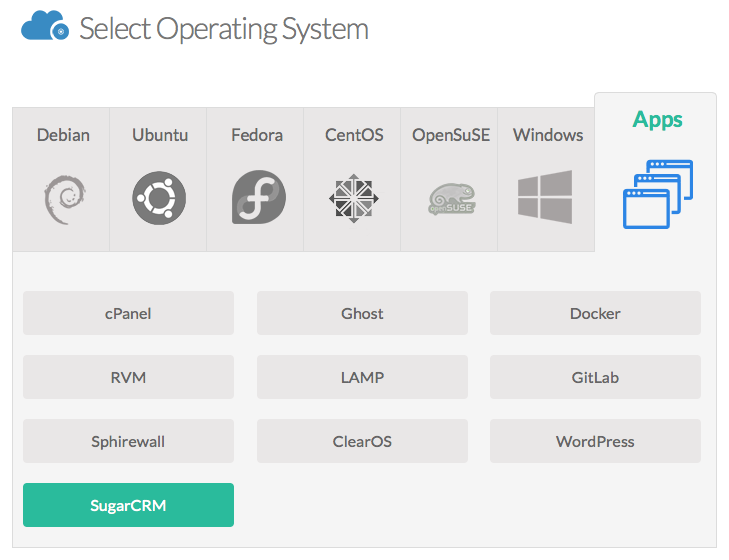
Next, you need to select the Apps tab and there click on WordPress

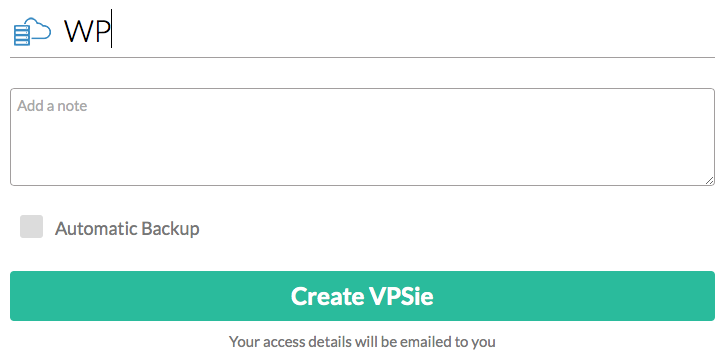
Then complete the hostname and click on Create VPSie button.
You need to wait until your vpsie will be created. Once the vpsie is done you will be getting an e-mail with the IP addresses and password to access your vpsie.

Once the vpsie is deployed you will have to log in via ssh or console to your vpsie to get your username and password to be able to access your installation via browser. The information you will be getting will look like this:
Welcome to your WordPress vpsie.

To access your WordPress please go to http://
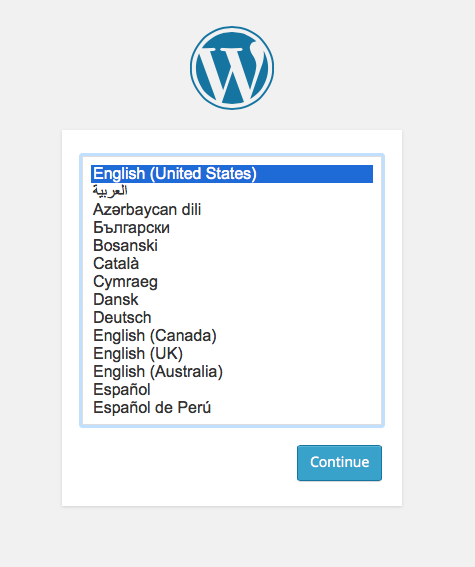
After you logged in via the HTTP choose your language and click Continue.
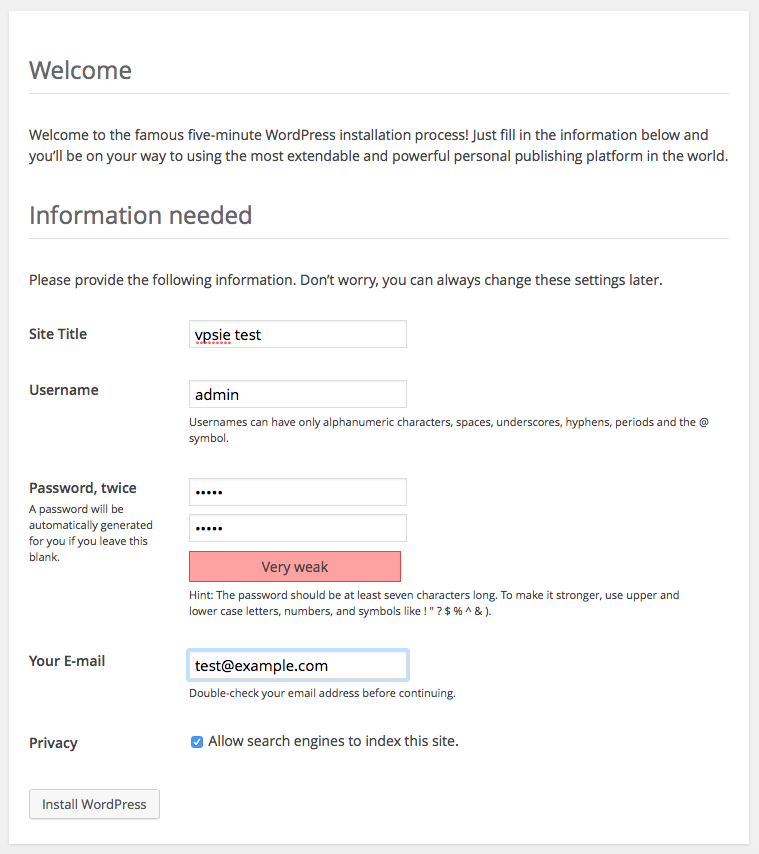
On the next screen fill up the form with the site name username password and e-mail address when done click on Install WordPress button on the bottom.
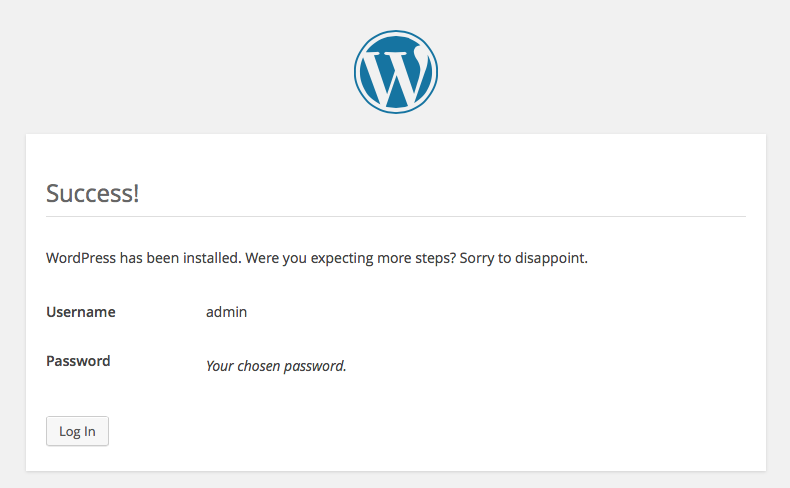
Once the install process is done you will be presented with the username and hidden password. You can start using your WordPress installation by clicking on Login button.
You may now access your site front end using your http://VPSie-IP/ or the backend using http://VPSie-IP/wp-admin
Enjoy!
Try hosted WordPress for a full month free using this link
Since we have quite a few VPSie apps which are using mysql database, and we don’t want to force anyone in using a preset password we have left that to your choice. To set up a root password for mysql servers you have to have a running mysql server therefore you have to run the following command:
#service mysqld restart
Now since you are sure that you have successfully restarted the server you can check if your mysql server is actually running by running a netstat on your linux.
#netstat -ntlp
This will show you all the applications which are listening on your server. The output should look something like this:
# netstat -ntlp
Active Internet connections (only servers)
Proto Recv-Q Send-Q Local Address           Foreign Address         State       PID/Program name
tcp        0      0 127.0.0.1:3306          0.0.0.0:*               LISTEN      960/mysqld
tcp        0      0 0.0.0.0:80              0.0.0.0:*               LISTEN      904/nginx
tcp        0      0 0.0.0.0:22              0.0.0.0:*               LISTEN      876/sshd
tcp6       0      0 :::80                   :::*                    LISTEN      904/nginx
tcp6       0      0 :::22                   :::*                    LISTEN      876/sshd
Mysql servers are running by default on port 3306 therefore if you see the port 3306 listening you are good to go.
Next step is to set the root password so that noone would have passwordless access to your databases. You will be doing that by using the following command:
#mysqladmin -u root password 'some_very_hard_and_complicated_password'
To check that the password was configured you can login to your mysql database:
#mysql -u root -p
Enter password:
Welcome to the MySQL monitor.  Commands end with ; or \g.
Your MySQL connection id is 39
Server version: 5.5.37-0ubuntu0.14.04.1 (Ubuntu)

Copyright (c) 2000, 2014, Oracle and/or its affiliates. All rights reserved.

Oracle is a registered trademark of Oracle Corporation and/or its
affiliates. Other names may be trademarks of their respective
owners.

Type 'help;' or '\h' for help. Type '\c' to clear the current input statement.

mysql>
When prompted for the password use the password which you have configured the previous step.
To leave the mysql prompt just type quit or \q.
In case you have lost/forgotten your mysql root password you can reset it. For that first you will need to stop the mysql server and start it in safe mode.
#service mysqld stop
#mysqld_safe --skip-grant-tables
You should see the mysql server started and be able to log in without a password into it. Now connect to the mysql database and run the following query to reset your mysql password:
#mysql --user=root mysql
mysql> update user set Password=PASSWORD('new-password') where user='root';
mysql> flush privileges;
mysql> exit;
Kill your running mysql service and start it normally.
#killall -9 mysqld_safe
#service mysqld start
Now your mysql password has been reset and you can safely login to your database with your new password.
You can actually try those MySQL server steps on our platform in few minutes utilizing our PCS (Private Cloud Solution) which allows you to have VPSie(s) on a private network – NAT – Port forward – traffic control for inbound and outbound – multiple gateway IPs which you could use for the load-balancing and failover.


