To set up a gitlab on vpsie you first would need to deploy a vpsie. Fortunately we have done the hard work for you so that you can make that quick and easy.
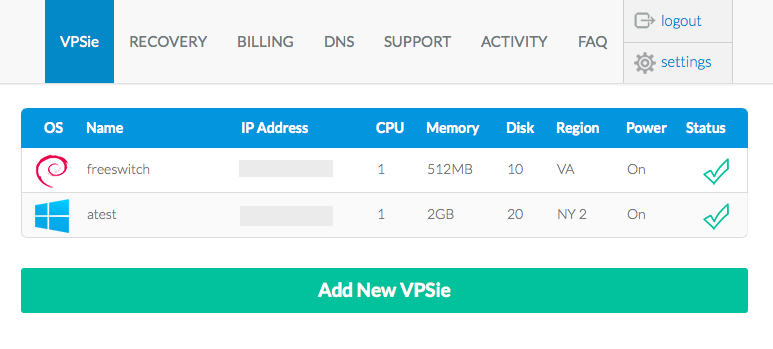
Log in to your account and click on the vpsies tab then click on Deploy a new Vpsie button.
After you have clicked please select your plan you want to go with:

After the plan has been selected you can select the location where the vpsie will be deployed:
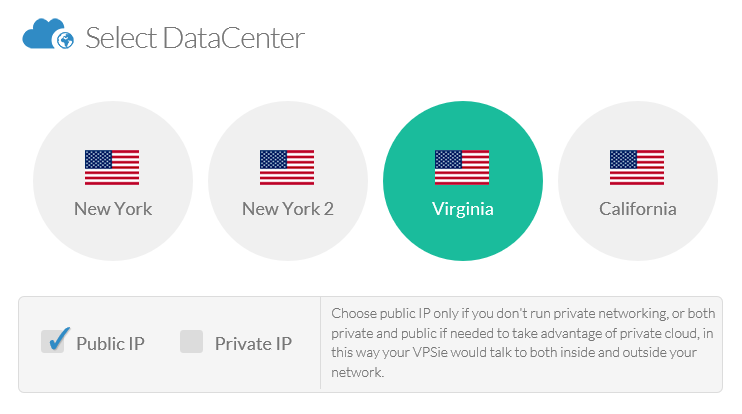
if you choose to have Private networking feel free to check the Private checkbox (it’s free).
When you have selected the location of your VPSie go ahead and select the OS. We have made prebuilt applications for you so that you won’t need to go over the struggle of installing it on your own. Click on the Apps Tab and choose Gitlab.
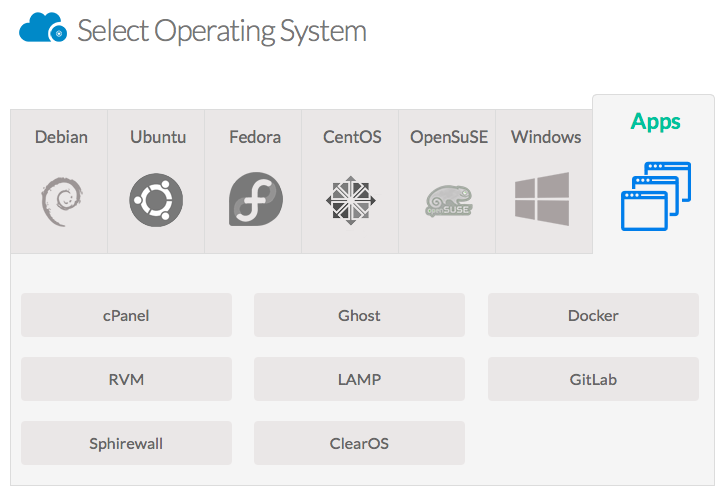
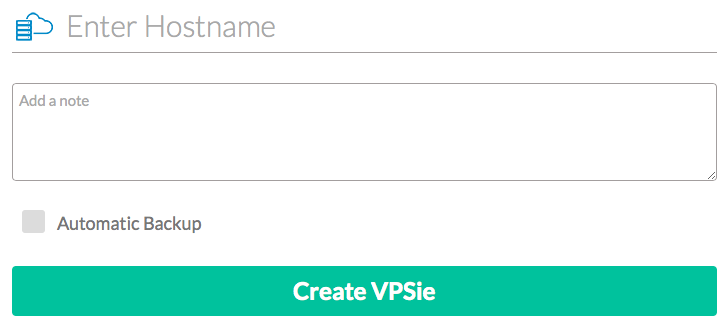
Ones you have selected the Gitlab as application git it a hostname and click on Create VPSie button on the bottom.
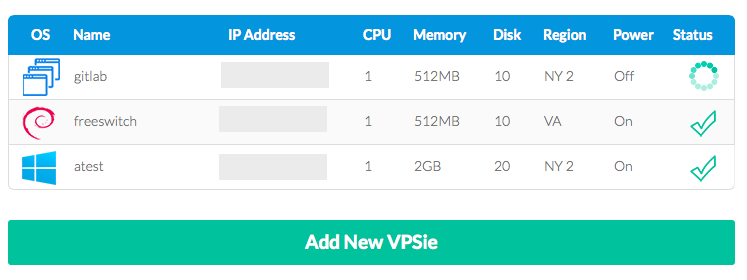
You will see the VPSie being created on the VPSie tab with a spinning circle. When the GitLab will be deployed you will be receiving an e-mail within seconds (isn’t that cool?) with the IP address and password for your root access on your newly created GitLab vpsie.
When your vpsie was deployed and you got your login information head over and log in to your vpsie either using the inbuilt console or over ssh so that you start configuring your gitlab.
After logged in head over to /home/git/gitlab and edit the config file located at /home/git/gitlab/config/gitlab.yml and set your Fully qualified domain name:
  gitlab:
## Web server settings (note: host is the FQDN, do not include https://)
host: FQDN_YOUR_DOMAIN
port: 80
https: false
when done save it and close the file.
Then open up the /home/git/gitlab-shell/config.yml and change there the gitlab_url with your fully qualified domain name as well:
---
user: git
gitlab_url: https://FQDN_YOUR_DOMAIN/
http_settings:
  self_signed_cert: false
repos_path: "/home/git/repositories/"
auth_file: "/home/git/.ssh/authorized_keys"
redis:
  bin: "/usr/bin/redis-cli"
  host: localhost
  port: 6379
  namespace: resque:gitlab
log_level: INFO
audit_usernames: false
save this file as well and close it when done. Finally we will need to edit the nginx configuration file located at /etc/nginx/sites-enabled/gitlab.
Change also there the server_name option with your fully qualified domain name you choosed for your vpsie.
server {
  listen *:80;         # e.g., listen 192.168.1.1:80; In most cases *:80 is a good idea
  server_name FQDN_YOUR_DOMAIN;     # e.g., server_name source.example.com;
  server_tokens off;     # don't show the version number, a security best practice
  root /home/git/gitlab/public;
When done save it and close the file. It’s time to give everything a spin. You will need to restart the gitlab and the nginx service. For it you will need to run the following commands:
#service gitlab restart
#service nginx restart
When you have restarted it open the fully qualified domain name you have given to your gitlab vpsie in your favourite browser. Your default username and password will be:
root
5iveL!fe
Note: Gitlab is a very resource hungry application therefore we suggest to get a plan with at least 1GB of memory or get the cheapest plan and then add more memory to your vpsie.
We did not set a mysql root password therefore it is highly recommended to set a password to root account for your mysql server. To do so please follow the instructions on the following post.