Unlock the potential of your business with SuiteCRM, the powerful open-source Customer Relationship Management (CRM) solution. In this comprehensive guide, we will walk you through the step-by-step process of installing SuiteCRM on Debian 12, empowering you to streamline your customer interactions, enhance productivity, and drive growth. Whether you’re a small startup or a large enterprise, harnessing the capabilities of SuiteCRM on Debian 12 will revolutionize how you manage relationships and propel your business forward. Let’s dive in and embark on this journey to optimize your CRM experience.
First, let’s begin by creating your VPSie Account if you haven’t already done so, and then proceed to install the Debian 12 server as per your requirements.
To initiate the installation, please SSH into your system. Our first step is to advise updating your system prior to installing any software. To accomplish this, kindly execute the following commands:
sudo apt-get update
Install LAMP Server
VPSie provides LAMP server and numerous other marketplace servers. Upon setting up your account, you can execute the installation with just one click.
Install the LAMP Stack, including Apache2, MariaDB, and PHP packages, along with specific PHP extensions, using the command provided below.
sudo apt install apache2 mariadb-server php php-cli php-mysql php-bcmath php-xml php-zip php-curl php-mbstring php-gd php-tidy php-intl php-cli php-opcache php-soap php-imap php-ldap unzip
Run the following systemctl command to verify the apache2 and MariaDB service:
sudo systemctl status apache2
sudo systemctl status mariadb
Finally, confirm the PHP version and enabled extensions by running the provided command:
php -v
php -m
Configure MariaDB Server
After installing dependencies, ensure the security of your MariaDB server installation and create a new database and user for SuiteCRM.
Execute the mariadb-secure-installation command to achieve this.
sudo mariadb-secure-installation
Configure it like this:
Set root password? [Y/n] Y
Remove anonymous users? [Y/n] Y
Disallow root login remotely? [Y/n] Y
Remove test database and access to it? [Y/n] Y
Reload privilege tables now? [Y/n] Y
Now run the command below to log in to the MariaDB shell.
sudo mysql -u root -p
Proceed by executing the subsequent commands to establish a fresh database named suitecrmdb, along with the user suitecrm and the password set to yourpassword. Ensure to replace yourpassword with your preferred password.
CREATE DATABASE suitecrmdb;
CREATE USER 'suitecrm'@'localhost' IDENTIFIED BY 'yourpassword';
GRANT ALL PRIVILEGES ON suitecrmdb.* TO 'suitecrm'@'localhost';
FLUSH PRIVILEGES;
EXIT;
Configure PHP
SuiteCRM needed adjustments to PHP configurations, including customizing error_reporting, activating the OPCache module, and setting custom values for upload_max_filesize and post_max_size. To make these changes, open the default PHP configurations using the nano editor with the following command:
sudo nano /etc/php/8.2/apache2/php.ini
Change the following settings:
memory_limit = 256M
post_max_size = 32M
upload_max_filesize = 32M
Restart the Apache service to apply the changes:
systemctl restart apache2
Download SuiteCRM
Download the most recent stable release of SuiteCRM directly from the SuiteCRM website by executing the following command:
wget https://suitecrm.com/download/141/suite714/562969/suitecrm-7-14-0.zip
Unzip the downloaded release file using the command below:
unzip suitecrm-7-14-0.zip
Rename and enable permission for the Apache webserver user to access the files:
mv SuiteCRM-7.14.0/ /var/www/suitecrm
chown -R www-data:www-data /var/www/suitecrm/
Create Virtualhost for SuiteCRM
Set up a virtual host configuration file for hosting SuiteCRM, run the following command to create the config file:
nano /etc/apache2/sites-available/suitecrm.conf
Paste the content as shown below:
<VirtualHost *:80>
    ServerAdmin [email protected]
    DocumentRoot /var/www/suitecrm
    ServerName your-domain.com
    <Directory /var/www/suitecrm/>
	Options Indexes FollowSymLinks
	AllowOverride All
	Require all granted
    </Directory>
    ErrorLog /var/log/apache2/your-domain.com-error_log
    CustomLog /var/log/apache2/your-domain.com-access_log common
</VirtualHost>
Remember to replace your-domain.com with the domain name of your server if you have one.
Save and exit the configuration file.
Now, Change to Apache configs directory:
cd /etc/apache2/sites-available/
Enable the opencart virtual host:
sudo a2ensite suitecrm.conf
Now rewrite the module.
a2enmod rewrite
Disable Apache default configuration file.
sudo a2dissite 000-default.conf
Enable Apache rewrite mode.
sudo a2enmod rewrite
Restart the Apache web server.
systemctl restart apache2
Access SuiteCRM Web Interface
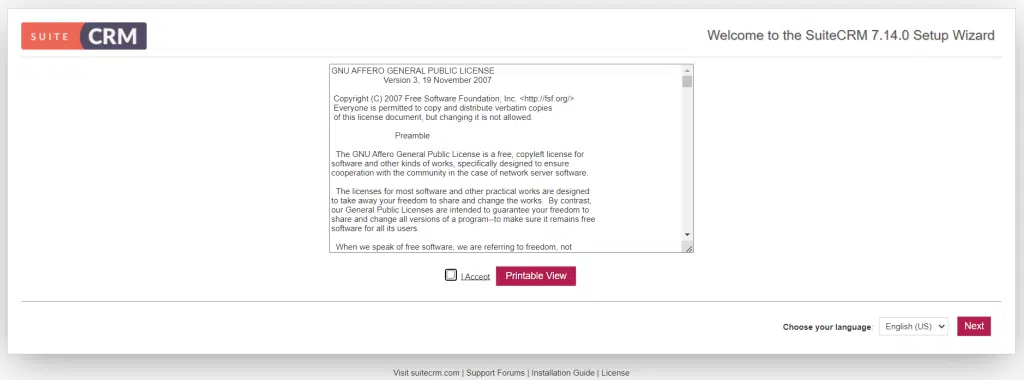
View the license agreement on the initial page. Once you’ve reviewed it, agree to the terms and proceed by clicking Next.
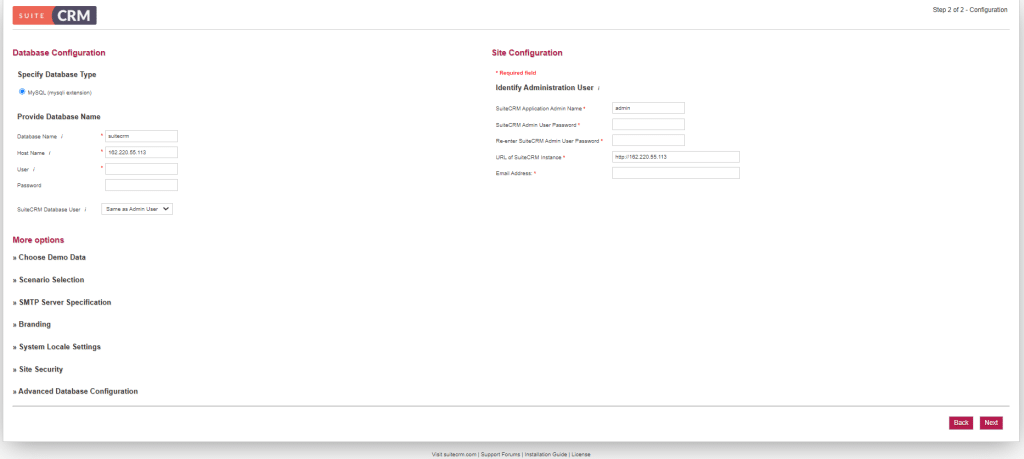
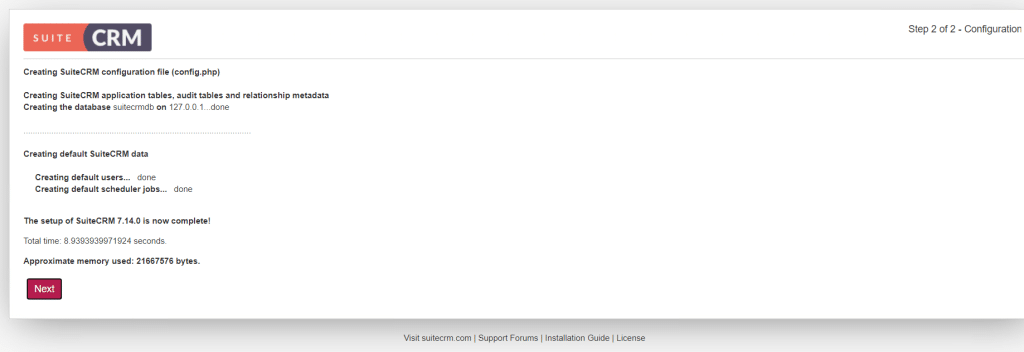
Upon completing the SuiteCRM configuration, proceed by clicking the Next button to access the login page.
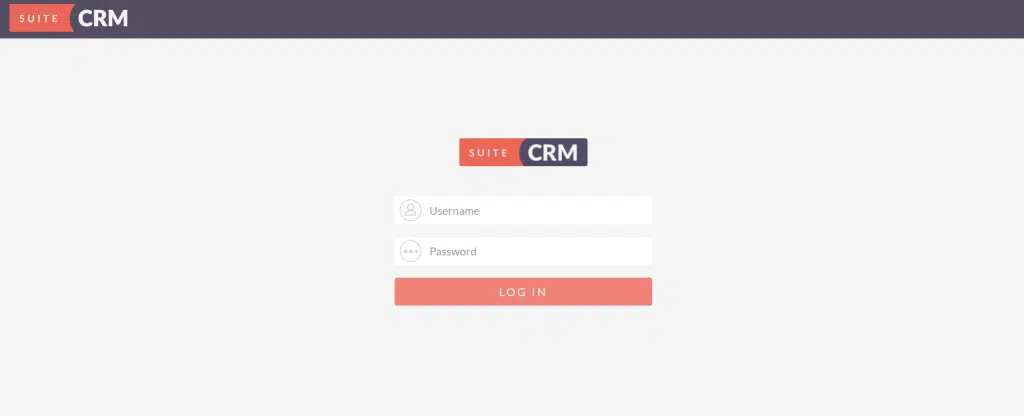
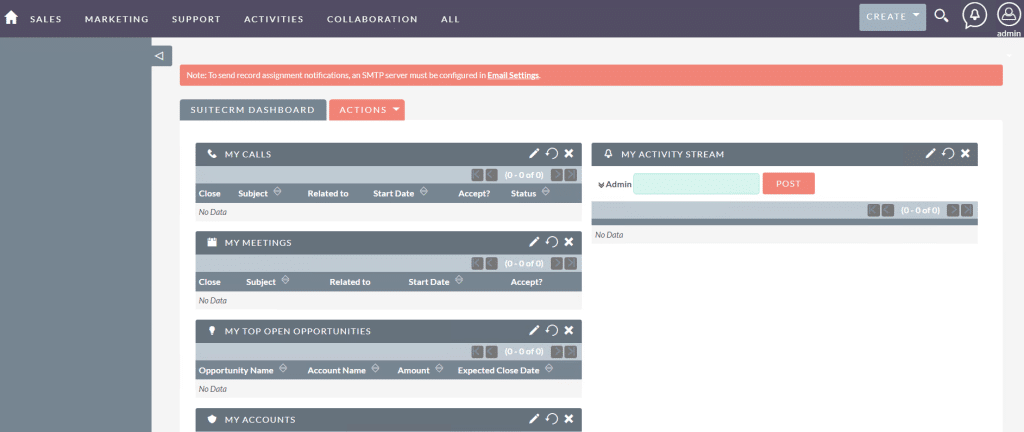
Please input your admin credentials and then click the LOG IN button. Upon doing so, you should be directed to the SuiteCRM dashboard.
In a nutshell, installing SuiteCRM on Debian 12 is a straightforward process that can greatly enhance your business management capabilities. With this guide, you’ll be equipped to seamlessly integrate SuiteCRM into your Debian environment, empowering your team with powerful customer relationship management tools.

