How to install CentOS Web Panel (CWP) on Cent0S 8
CWP (CentOS Web Panel) is an easy-to-use, free control panel that allows you to manage both dedicated and virtual servers conveniently without having to access SSH every time. The control panel provides a Graphical User Interface (GUI) that allows administrators to manage web servers, users, plugins, as well as many settings without having to use the command line directly after it has been installed and configured. Let’s begin with the installation process.
Before installing the CWP, here are a few things you should know.
CWP cannot be removed once it has been installed. To remove CWP from your server, you need to reinstall the server. CWP should only be installed on a freshly installed OS that has not been modified yet.
The VPSie allows you to create a brand new CentOS instance. Create an account by clicking below and register your CentOS instance.
Step 1: Update your system
Run the following commands to update your system.
Check if the box needs any updates,
# sudo yum updateinfo
Run the command if it is available,
# sudo dnf update
Step 2: install EPEL Repository
To install EPEL repository, execute the following command:
# dnf install epel-release -y
Step 3: Install Required packages
Install wget for CWP installation:
# sudo dnf install wget -y
Then update the server by running the following command:
# sudo dnf update -y
Then Reboot:
# reboot
Step 4: Install CWP
After rebooting your system your system it is fully ready for installing the CWP. So lets install,
Navigate to the directory:
# cd /usr/local/src
Run the following command to install the latest version of CWP:
# sudo wget http://dl1.centos-webpanel.com/files/cwp-el8-latest
To install the downloaded shell script, run the following command:
# sudo sh cwp-el8-latest
Please be patient as it may take up to 20 minutes.
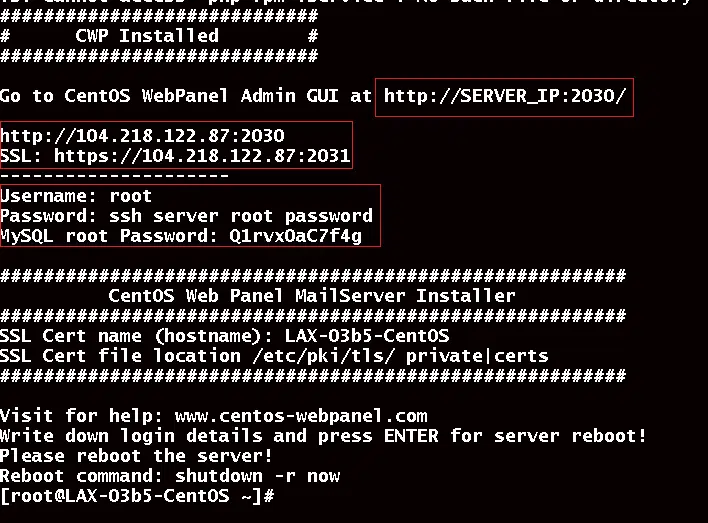
On our CentOS system, we have successfully installed CWP and obtained the credentials for the user and database logins as well as access to the Web GUI. Open your browser and navigate to https://{Server IP}:2031.
Note your credentials and restart your server to make the changes take effect.
Login with the your server root credentials.


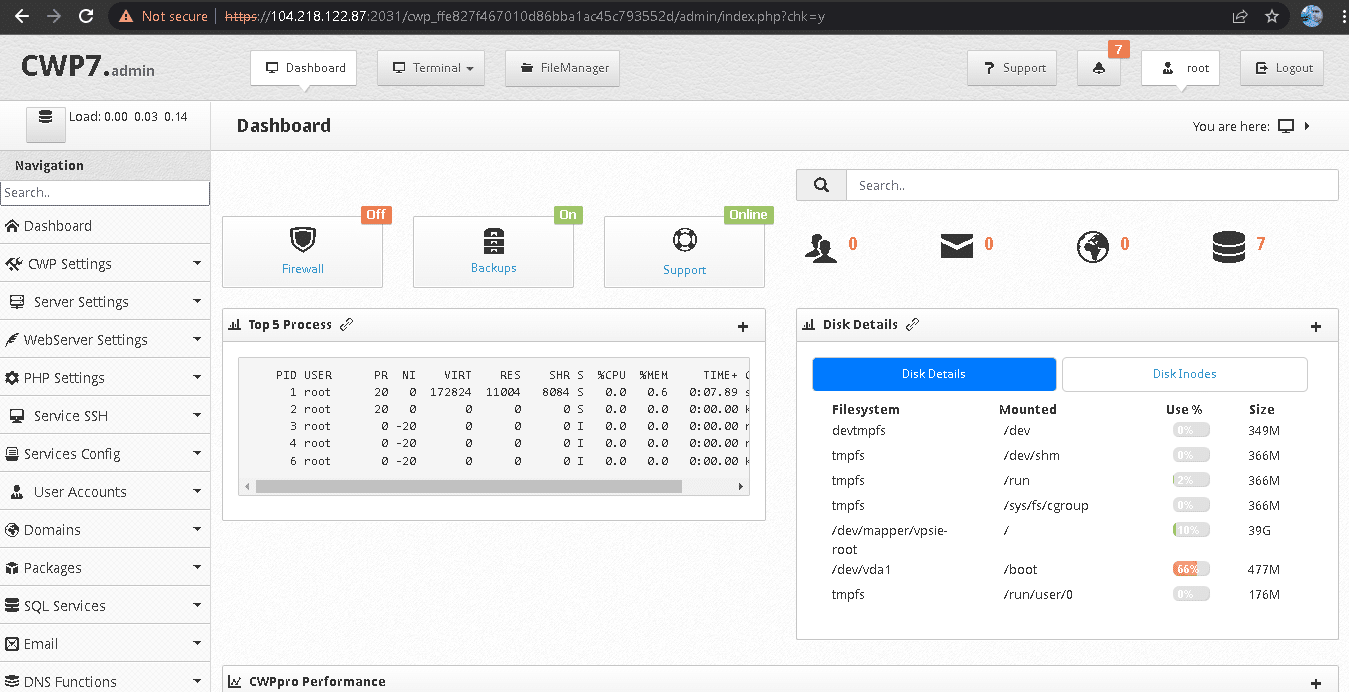
CWP is now ready for use. Thanks for reading! I hope it was informative for you!