How to Install and Run Kafka and Zookeeper on Ubuntu 20.04 LTS
In Apache Kafka, metadata is stored using Apache ZooKeeper also it is a prerequisite for Kafka. The cluster is also managed by ZooKeeper via Kafka It coordinates broker/cluster topology. The ZooKeeper has a consistent configuration file system, which is used to determine who will be the broker partition leader. In a way, Zookeeper manages Kafka clusters. It has a list of all Kafka brokers attached to it. This component notifies Kafka when a broker drops down, or a partition comes down, or when a new broker comes up or a new partition comes up. Let’s look at the installation process now.
The VPSie allows you to create a brand new CentOS instance. Create an account by clicking below and register your Ubuntu instance.
Step 1: Update your system
Those who already have a system up and running should skip this step and do update their system. Run the following commands to update your system.
# apt-get update && apt-get upgrade -y
Step 2: Install Java
It is important to verify that our Ubuntu system is equipped with Java before we begin. You can check this by running the following command.
# java -version
If you do not have Java on your system, run the following commands to install it:
# sudo apt install default-jre
# sudo apt install default-jdk
Then check again!.
Step 3: Install and Setup Kafka
Visit the official page to check out the latest version. The following command will download the file:
# wget https://dlcdn.apache.org/kafka/3.1.0/kafka_2.13-3.1.0.tgz
In order to view the content of the downloaded file, you must extract it. Use the following command to do so.
# tar -xvf kafka_2.13-3.1.0.tgz
To ensure the extraction was performed correctly, we need to check it afterward. Navigate to the Kafka folder.
# ls
# cd kafka_2.13-3.1.0
You will now see your newly created Kafka folder. Make sure you extracted the information correctly before you continue. Run the following command to check whether your system is capable of running Kafka scripts.
# bin/kafka-topics.sh
After running the command check for “Create, delete, describe, or change a topic” line. If you see this line your are okay to continue.

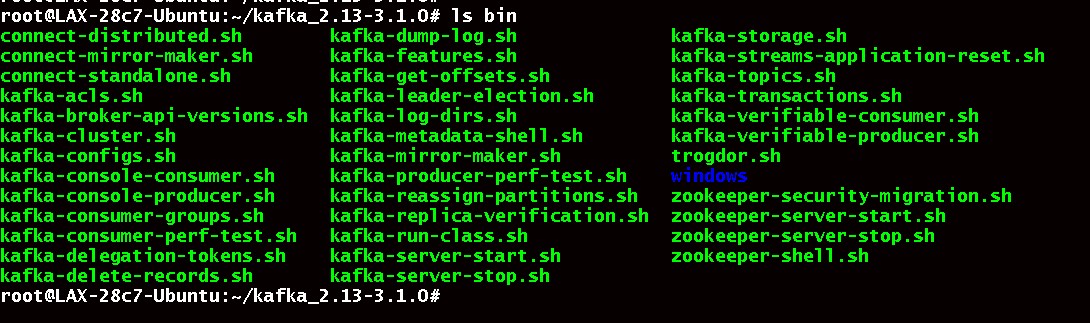
By using the following command, you can find the scripts in the bin directory:
# ls bin
Making a small change to /etc/environment will allow you to run the scripts from anywhere on your system.
Copy the location where your Kafka is located. It is highlighted in red.
root@:~/kafka_2.13-3.1.0# pwd
/root/kafka_2.13-3.1.0/bin
root@:~/kafka_2.13-3.1.0#
Add /bin to your Kafka location, so your Kafka location should be like this.
/root/kafka_2.13-3.1.0/bin
Then open the file and add this location:
# sudo vim /etc/environment
It should be like this:
PATH="/usr/local/sbin:/usr/local/bin:/usr/sbin:/usr/bin:/sbin:/bin:/usr/games:/usr/local/games:/snap/bin:/root/kafka_2.13-3.1.0/bin"
Save the file and exit.
Now you don’t need to go inside the Kafka folder to run some perticular command.
Step 4: Run ZooKeeper and then Kafka
Now we will run the Zookeper as well as the Kaska, We know that to Kafka require zookeeper to start.
# cd kafka_2.13-3.1.0/
So let start the ZooKeeper.
# zookeeper-server-start.sh config/zookeeper.properties
Now run the Kafka,
# kafka-server-start.sh config/server.properties
So we have successfully installed Kafka on your Ubuntu instance we hope Kafka is up and running as well. Thanks for reading! I hope it was informative for you!