How to Install NordVPN on Ubuntu 20.04 LTS
NordVPN offers VPN software for Windows, macOS, Linux, Android, iOS, and Android TV. VPNs are a helpful way to secure your Linux system, but they’re not enough to ensure full protection. As with any operating system, Linux is vulnerable and hackers are always looking to exploit it. As NordVPN routes your data through encrypted servers, your IP address and online activity can be hidden. As a result, your online activities are protected from others, as well as anyone else monitoring your online activity.
For Ubuntu systems to be registered with VPSie, you need to create a VPSie account if you don’t have one already.
Now open your terminal and run the following commands to update your system.
# apt-get update && apt-get upgrade -y
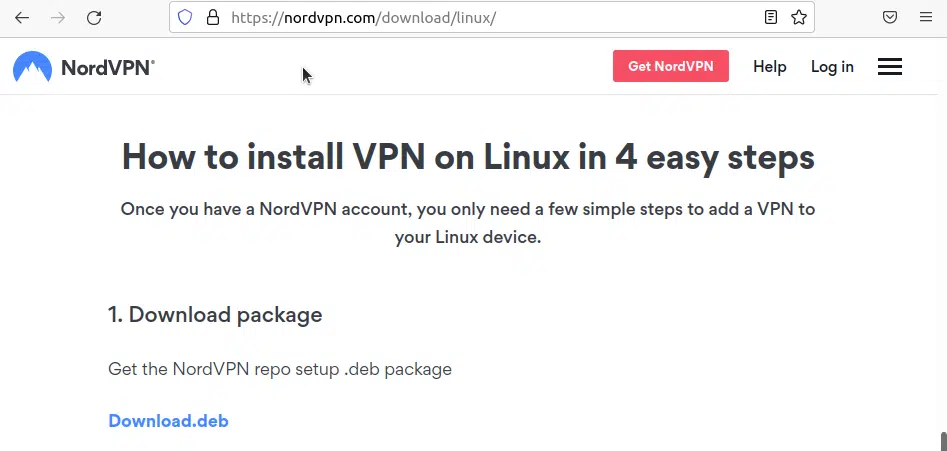
Step 1: Download Latest Package
From the Official Website, download the latest version of NordVPN.
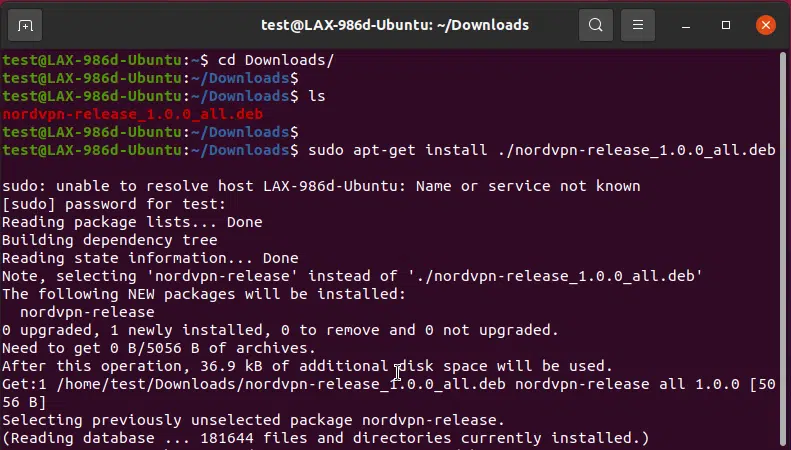
Step 2: Install NordVPN
You can now install the downloaded package by running the following command:
# cd Downloads/
# ls
# sudo apt-get install ./nordvpn-release_1.0.0_all.deb
From Now update you system by running the following command:
# sudo apt-get update
Run the following command to Install NordVPN:
# sudo apt-get install nordvpn
Installation is complete.
Step 3: Use NordVPN
Login via command-line and you will get a link and paste that in your browser and setup your NordVPN account:
# nordvpn login
Next, connect NordVPN:
# nordvpn connect
Disconnect NordVPN:
# nordvpn disconnect
You can also open NordVPN by searching for it on Activities.
Thank you for taking the time to read this.