
Unlock the potential of collaborative online spaces with Tiki Wiki, the all-in-one solution for seamless content management and team collaboration. In this comprehensive guide, we’ll walk you through the step-by-step process of installing Tiki Wiki on Ubuntu 22.04, empowering you to create dynamic and engaging online environments effortlessly. Whether you’re a seasoned developer or a newcomer to the world of content management systems, this article equips you with the knowledge to harness the power of Tiki Wiki and transform your digital workspace.
First, let’s begin by creating your VPSie Account if you haven’t already done so, and then proceed to install the Ubuntu 22.04 server as per your requirements.
To initiate the installation, please SSH into your system. Our first step is to advise updating your system prior to installing any software. To accomplish this, kindly execute the following commands:
sudo apt-get update -y
Install LAMP Server
VPSie provides LAMP server and numerous other marketplace servers. Upon setting up your account, you can execute the installation with just one click.
Set up Apache, MySQL, PHP, and all necessary PHP modules for Tiki, run the following command to do so:
apt-get install apache2 mysql-server php-curl php libapache2-mod-php php-common php-sqlite3 php-intl php-mbstring php-xmlrpc php-mysql php-gd php-xml php-cli php-zip -y
Finish the MySQL installation process by running the command provided below:
mysql_secure_installation
Configure it like this:
Set root password? [Y/n] Y
Remove anonymous users? [Y/n] Y
Disallow root login remotely? [Y/n] Y
Remove test database and access to it? [Y/n] Y
Reload privilege tables now? [Y/n] Y
Create MySQL database
Login to the MySQL console.
mysql -u root -p
Proceed by executing the subsequent commands to establish a fresh database named tikidb, along with the user and the password. Ensure to replace your username and password .
CREATE DATABASE tikidb;
CREATE USER 'tiki'@'localhost' IDENTIFIED BY 'password';GRANT ALL PRIVILEGES ON tikidb.* TO 'tiki'@'localhost';
FLUSH PRIVILEGES;
exit
Download and configure Tiki
Get the most recent release of Tiki by running the following command:
cd /var/www/html
rm -r index.html
wget https://sourceforge.net/projects/tikiwiki/files/latest/download
Extract the downloaded archive and transfer the files to the main directory of the Apache web server.
apt install unzip
unzip tiki-26.2.zip
mv ./tiki-26.2/* . && rm tiki-26.2.zip && rm -r tiki-26.2
Set the appropriate file permissions.
sudo chown -R www-data:www-data /var/www/html/
sudo chmod -R 755 /var/www/html/
Create Virtualhost for Tiki Wiki
Set up a virtual host configuration file for hosting Tikiwiki, run the following command to create the config file:
sudo nano /etc/apache2/sites-available/tiki.conf
<VirtualHost *:80>
     DocumentRoot /var/www/html/
     ServerName example.com
     <Directory /var/www/html/>
          Options FollowSymlinks
          AllowOverride All
          Require all granted
     </Directory>
     ErrorLog ${APACHE_LOG_DIR}/error.log
     CustomLog ${APACHE_LOG_DIR}/access.log combined
</VirtualHost>
Remember to replace example.com with the domain name of your server if you have one.
Save and exit the configuration file.
Now, Change to Apache configs directory:
cd /etc/apache2/sites-available/
Enable the tiki virtual host:
sudo a2ensite tiki.conf
Now rewrite the module.
a2enmod rewrite
Disable Apache default configuration file.
sudo a2dissite 000-default.conf
Restart the Apache web server.
systemctl restart apache2
Access Tiki Wiki Web UI
Please open your web browser and navigate to http://example.com if you have specified the domain in the virtual host configuration. Alternatively, you can directly enter your server’s IP address in the browser’s address bar.
Upon doing so, you should be directed to the following page:
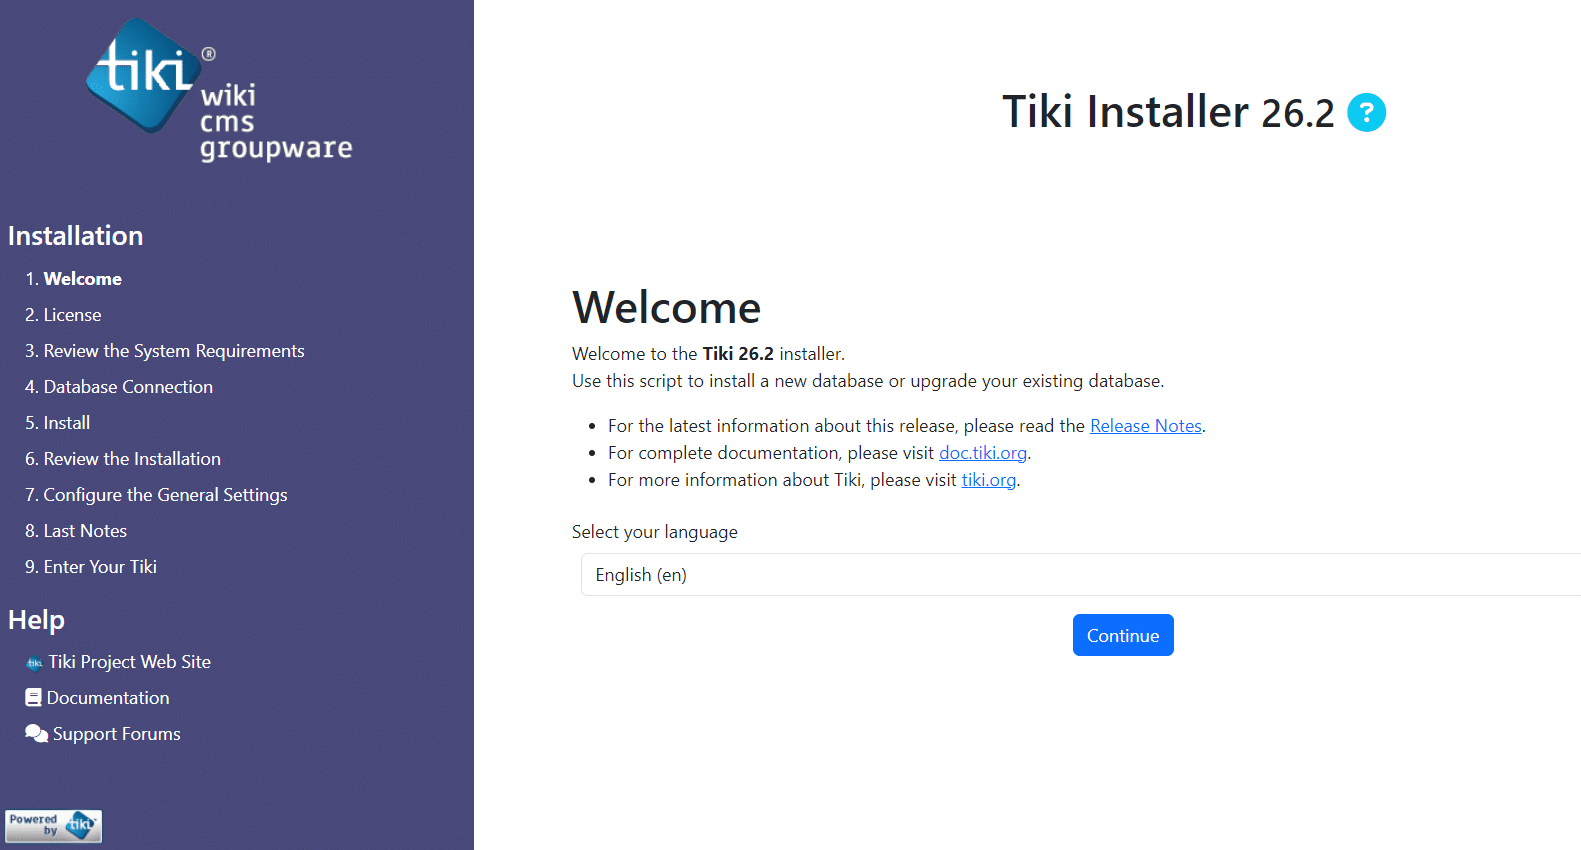
Please choose your preferred language and then proceed by clicking the Continue button.
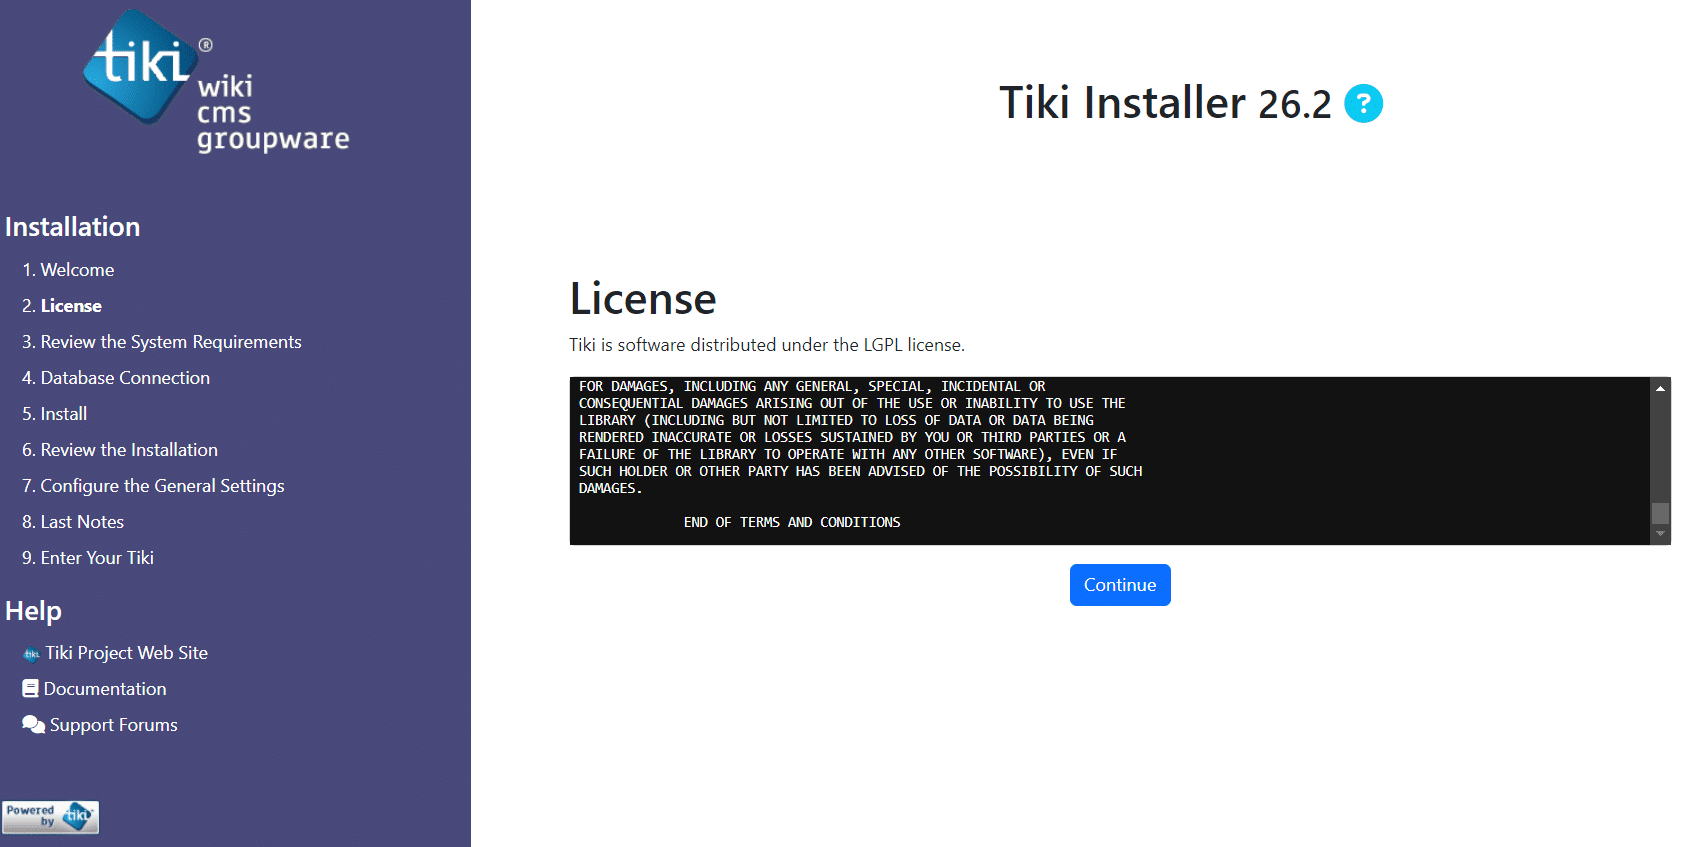
Please select Continue to indicate your acceptance of the license agreement.
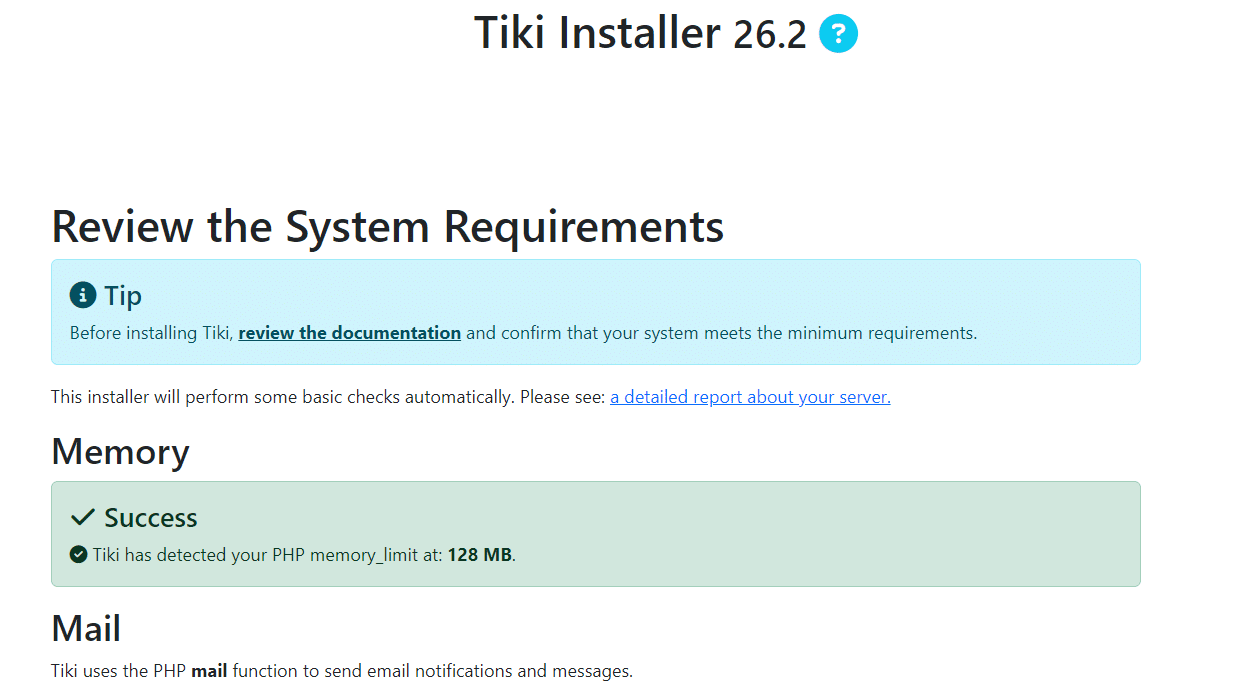
Ensure that all tests are passing with a green status before proceeding to click on Continue.
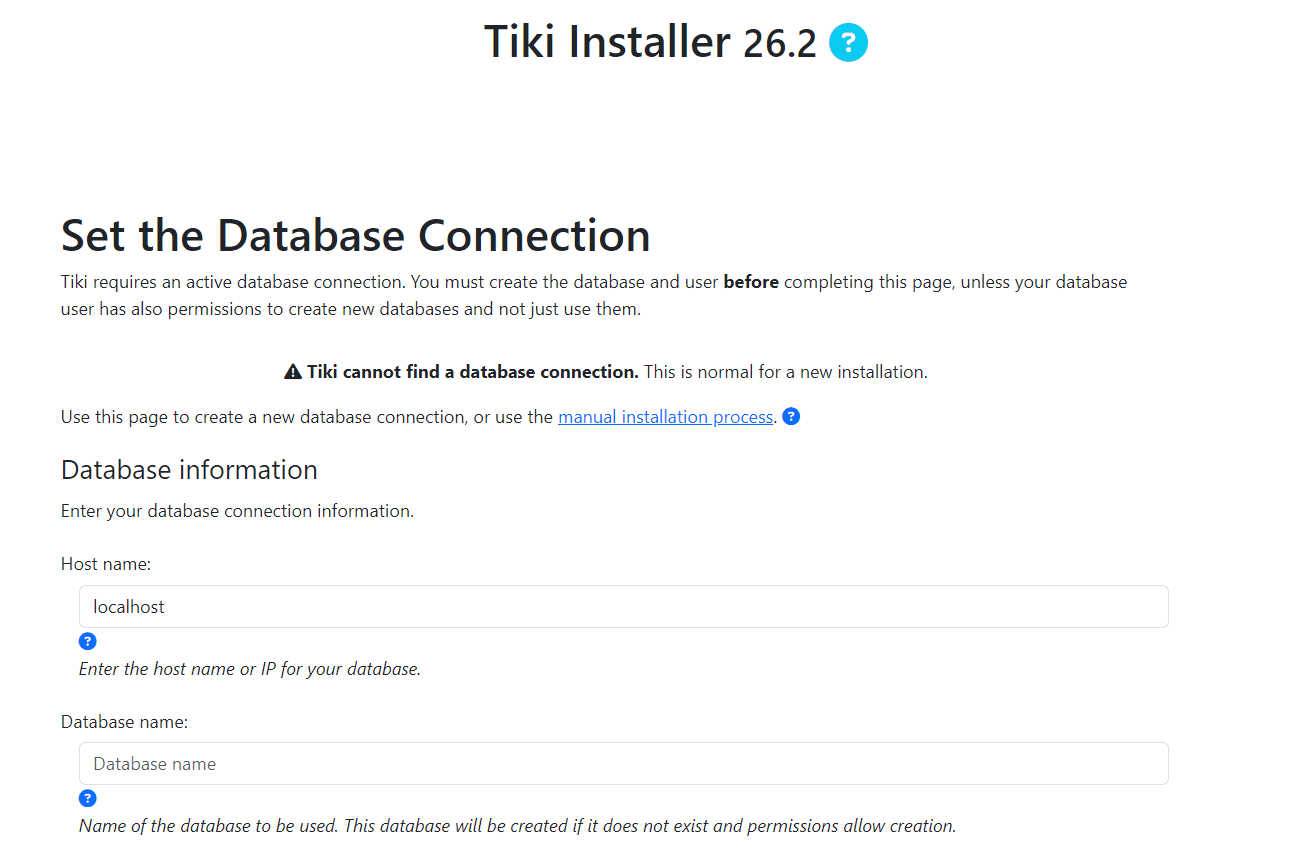
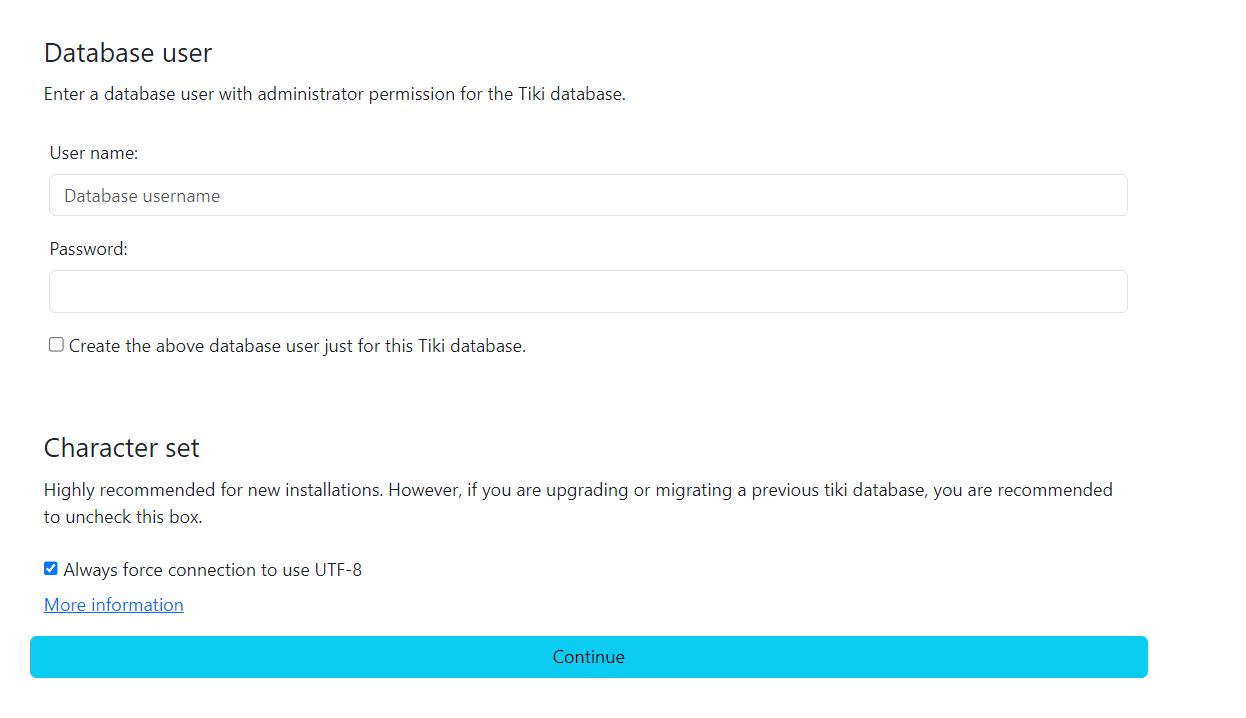
Please input your database information and then proceed by clicking the Continue button.

Select your preferred database engine and then click the Install button.
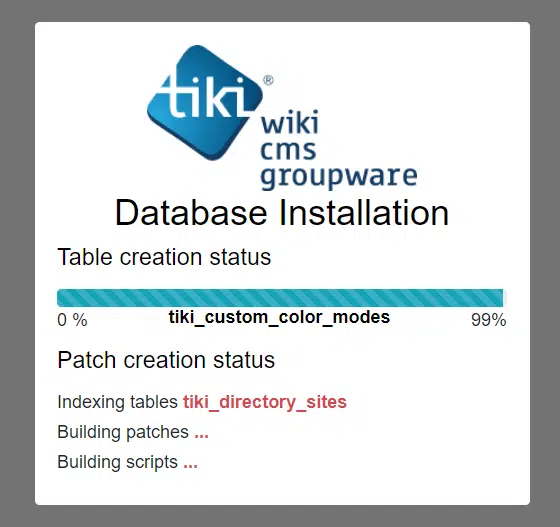
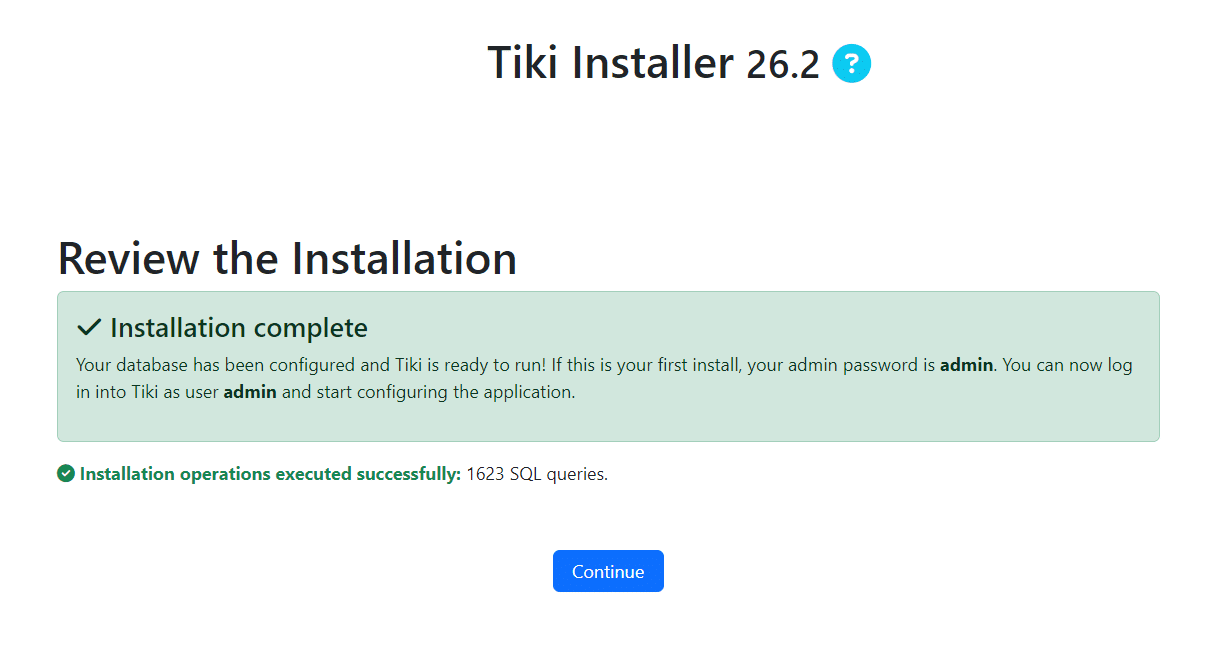
Click on the Continue button
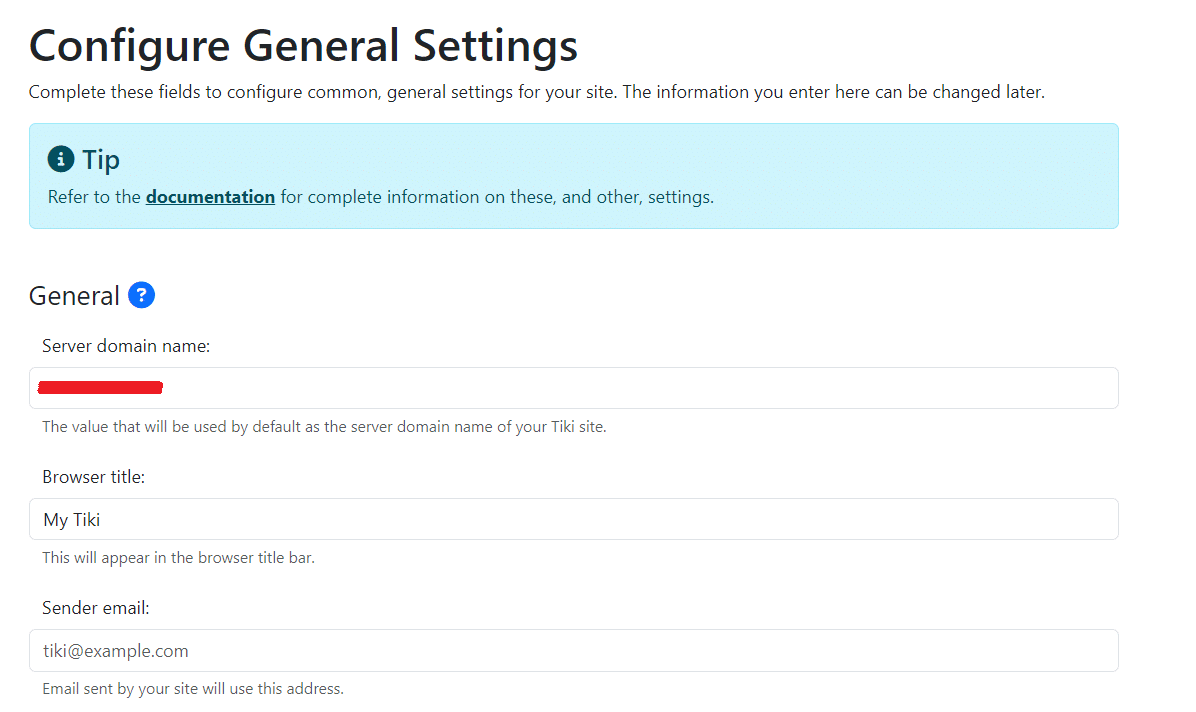
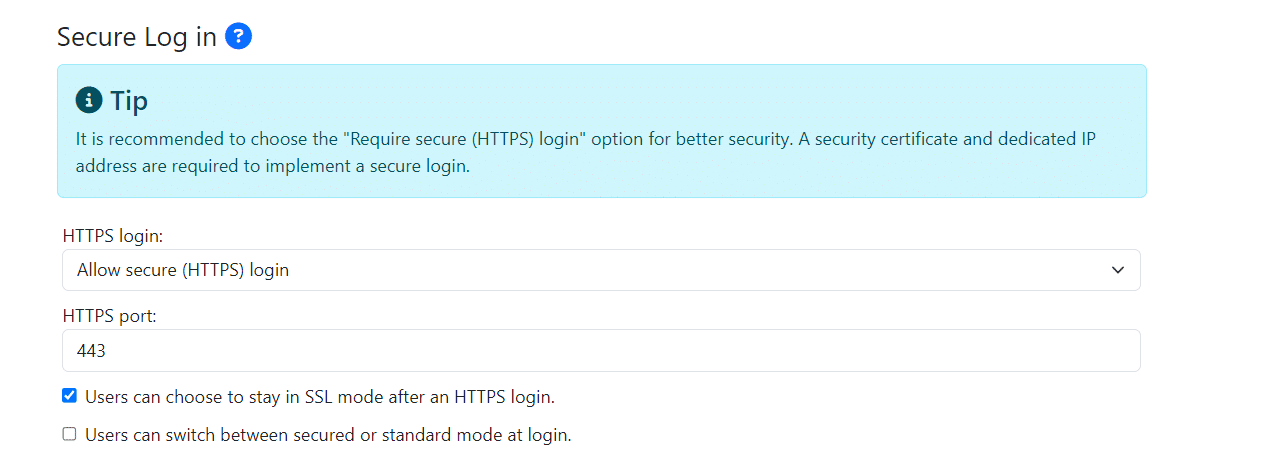
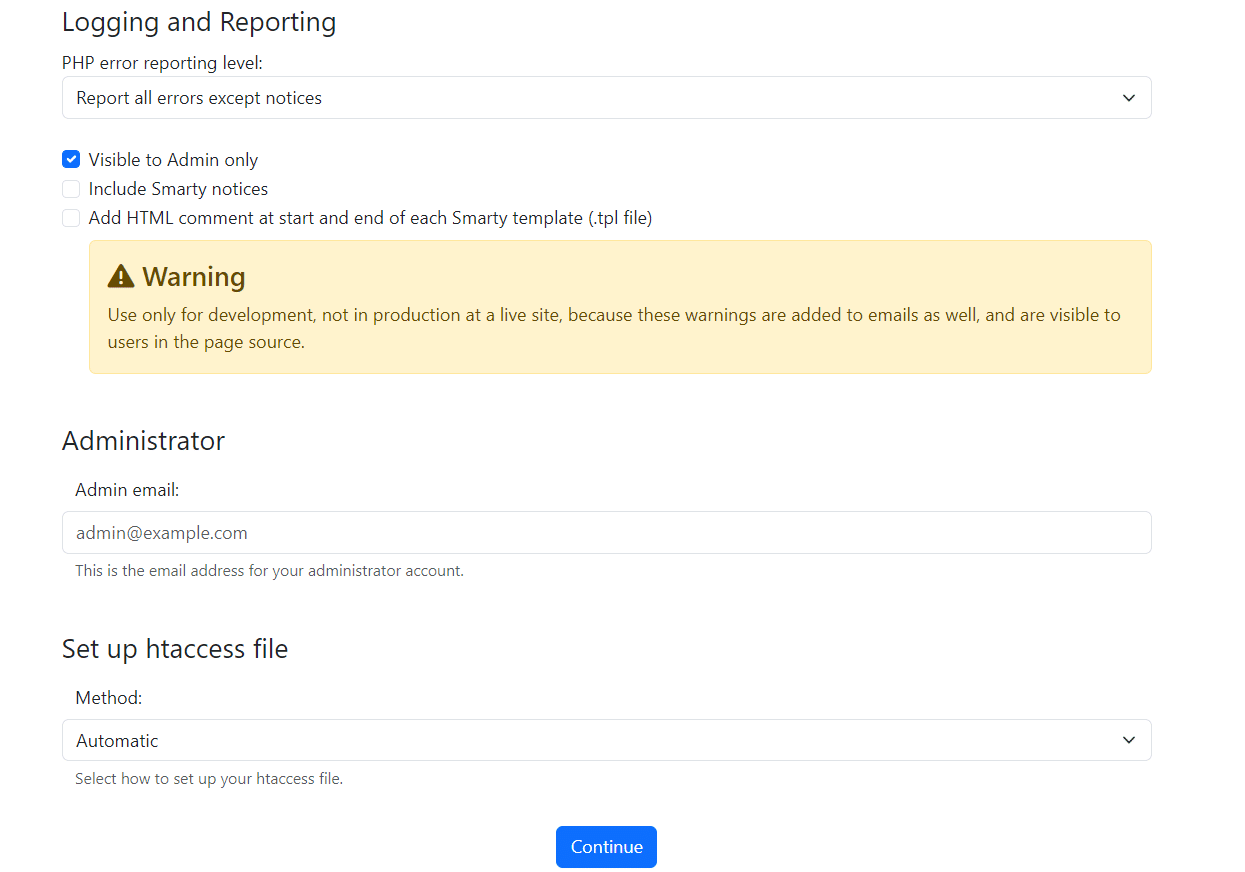
Provide your site information and click on the Continue button.

Click on the Continue button and Click on the Enter Tiki and Lock Installer, Your account should be validated at this moment, and you must set an admin password. After that, click on Apply.
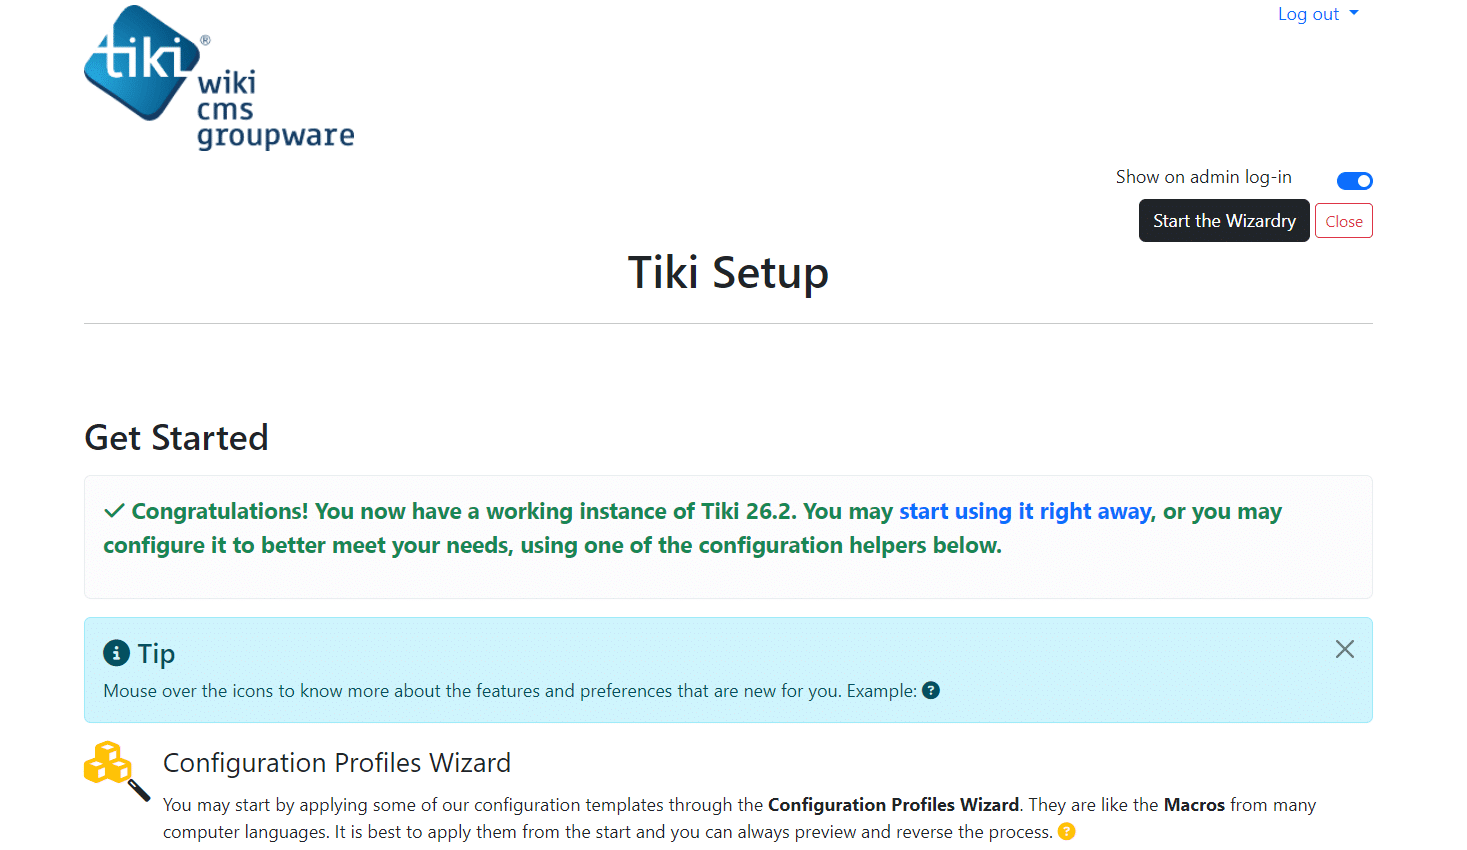
You’ve effectively launched your Tiki Wiki CMS groupware on your Ubuntu instance. This accomplishment opens up a world of collaborative possibilities for your team or community. With Tiki Wiki, you can streamline communication, organize information, and foster teamwork seamlessly. Congratulations on this significant step towards enhancing productivity and collaboration within your environment!