How to Install a GUI on Ubuntu
Ubuntu is one of the most popular open-source operating systems based on open-source Linux. It’s made extremely easy to use by a multitude of open-source applications. You’ll be able to run rich, graphical applications on top of it. Ubuntu Server does not come with a GUI by default, Linux-based servers are not just for background processes. An application that is normally used for server-oriented tasks (memory and processing resources) has a cost. GUI environments, however, can sometimes be more efficient for managing tasks and applications. In this tutorial, you will learn how to install a GUI on Ubuntu.
For Ubuntu systems to be registered with VPSie, you need to create a VPSie account if you don’t have one already.
Now open your terminal and run the following commands to update your package list and your system.
# apt-get update && apt-get upgrade -y
Please be patient while the installation is completed.
Then run the following command to install the tasksel :
# sudo apt install tasksel

Now run the following command to launch the tasksel package manager:
# sudo tasksel
You will see a new window in your terminal. Select the “Ubuntu Desktop“. Gnome is one of several desktop environments available here. You can choose the one that suits your preferences.
Select:
Kubuntu for KDE environment
lubuntu desktop for LXQt.
ubuntu budgie desktop for budgie.
ubuntu mate for mate.
xubuntu desktop for xfce.

Once the installation is complete, reboot your system to load the new desktop:
# reboot
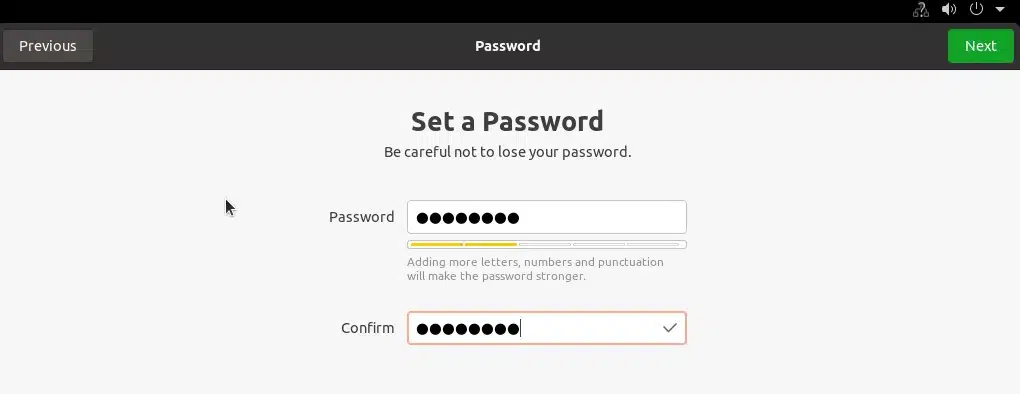
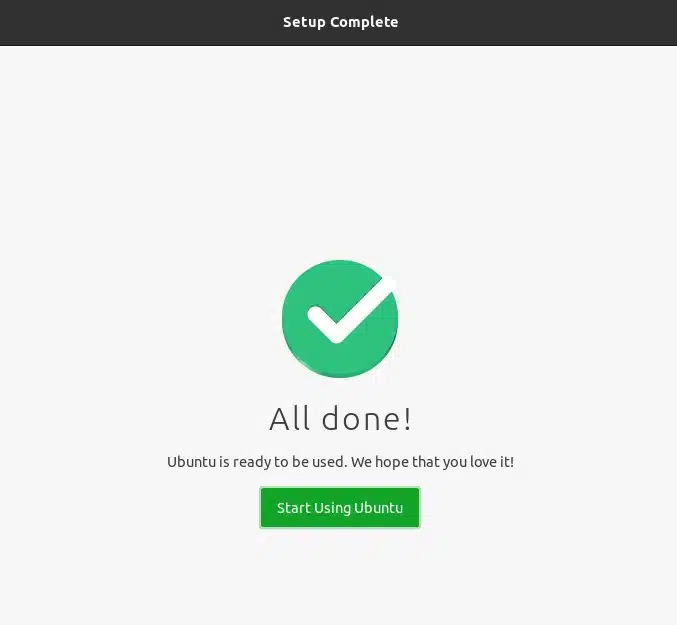
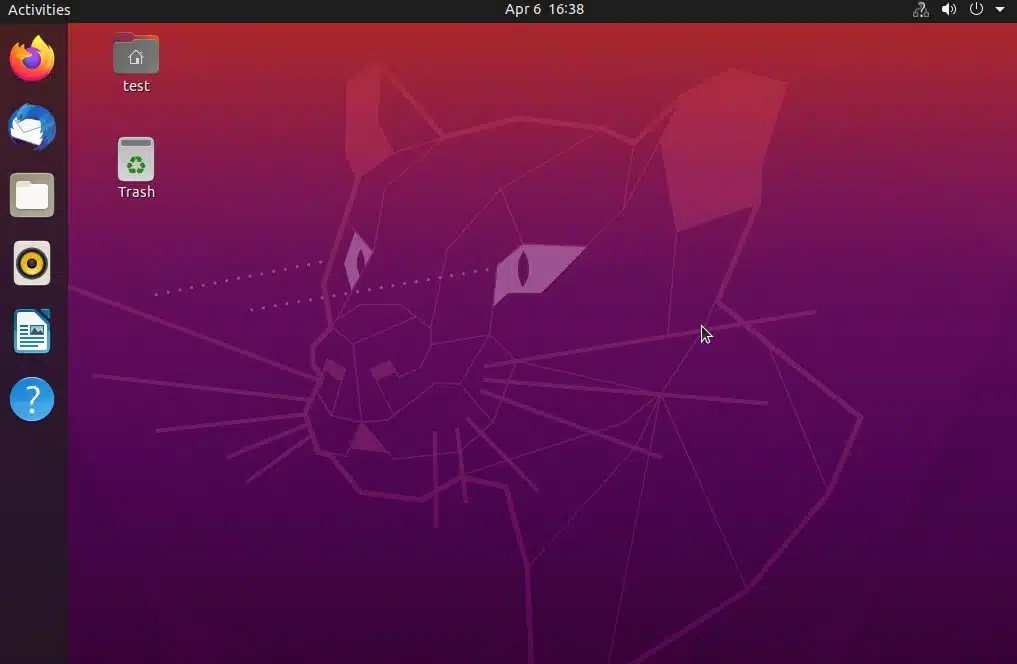
Please follow the pictorial representation to set up the GUI for Ubuntu.


Ubuntu Server comes with a number of GUI desktops. While we discussed only one of them here, there are several others available. Our Gnome desktop for Ubuntu has been installed and is now running. You can now start using the GUI. We hope you found this information useful.


