The new VPSie account permissions model introduces significant enhancements to manage access control, designed to boost security and operational efficiency. This model builds on existing features, including substantial improvements to Role-Based Access Control (RBAC), and offers robust capabilities such as granular permission settings and expanded resource sharing options.
Key Improvements
Expanded Resource Sharing
Users can now receive multiple resource-sharing invitations from various colleagues, facilitating better collaboration. This feature streamlines the process of working on shared projects, making it easier to coordinate efforts across different teams and departments.
Centralized Resource Management
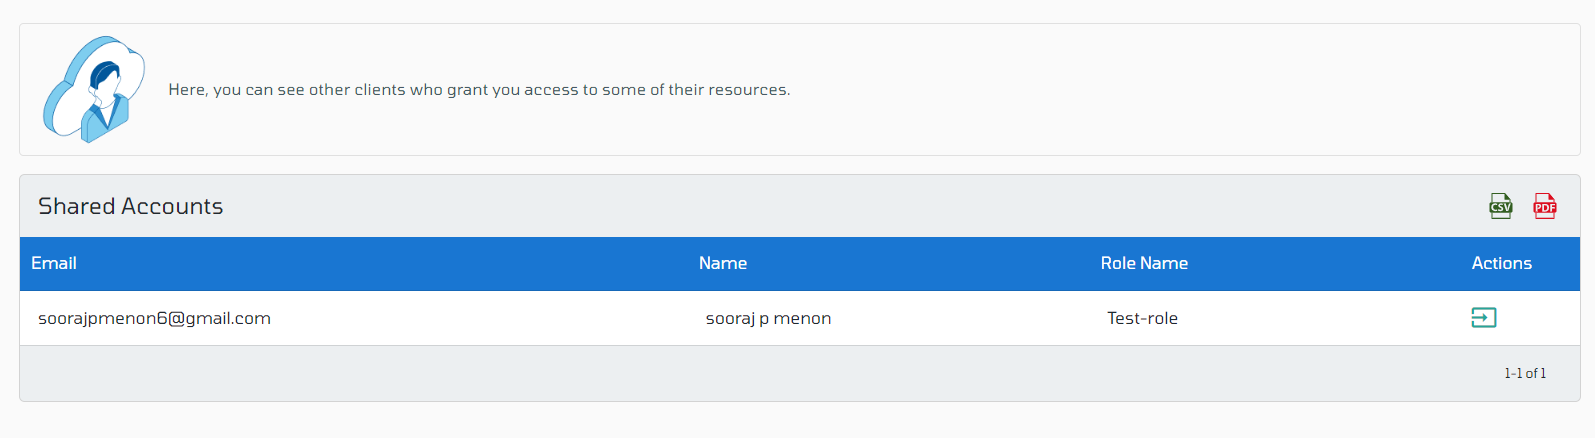
Shared account resources can be accessed through the “My Account” > “Shared Accounts” section, providing a single place to manage shared assets. This centralization simplifies navigation and ensures that users can quickly find and utilize the resources they need without switching between different interfaces.
Granular Permission Control
Users can share specific resources with others, assigning tailored permissions and roles to ensure precise control over access. This level of granularity allows for customized access settings, ensuring that sensitive data and critical functions are protected while still being accessible to those who need them.
Flexible Account Management
Users can easily disconnect from shared accounts and re-establish connections as needed, offering flexibility in managing shared resources. This flexibility is particularly useful in dynamic environments where team compositions and project requirements frequently change.
Comprehensive Activity Logging
All actions performed on shared accounts are recorded, ensuring transparency and accountability. This logging capability helps in tracking user activities, making it easier to audit changes, identify potential security issues, and maintain compliance with organizational policies.
Role-Based Access Control (RBAC)
Users can create roles with limited permissions for specific resources, ensuring controlled access and improving security. By defining roles that align with job responsibilities, organizations can reduce the risk of unauthorized access and maintain a secure operational environment.
Streamlined Collaboration
The improvements facilitate better teamwork by allowing seamless sharing and management of resources across different user accounts. This means teams can work more effectively, share updates in real-time, and maintain a synchronized workflow without the typical bottlenecks associated with resource sharing.
Enhanced User Experience
The intuitive interface and easy-to-navigate sections make managing permissions straightforward and user-friendly. Users can quickly adapt to the new system, reducing the learning curve and increasing productivity.
Improved Security Measures
The granular control over permissions and comprehensive activity logging enhance the overall security posture of the platform. Organizations can now enforce stricter access controls and monitor all activities to detect and respond to suspicious behavior promptly.
Greater Scalability
As your organization grows, the new permissions model can easily accommodate an increasing number of users and resources. This scalability ensures that the system remains efficient and effective, even as demands and complexities increase.
How to Use the New Permissions Model
- Navigate to My Account on the VPSie dashboard.
- Click on Account Permissions to view and manage permission settings. Enter the name of your role, and then click Add Role to add the new role.
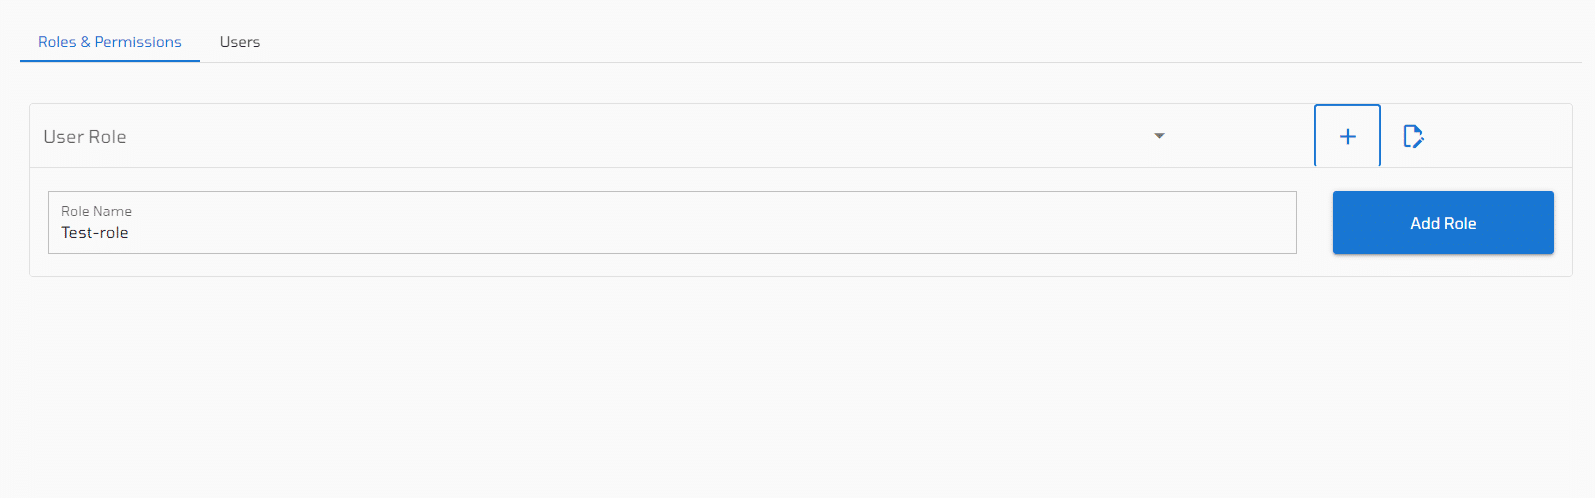
By default, all permissions are allowed. You can configure user permissions according to your needs.
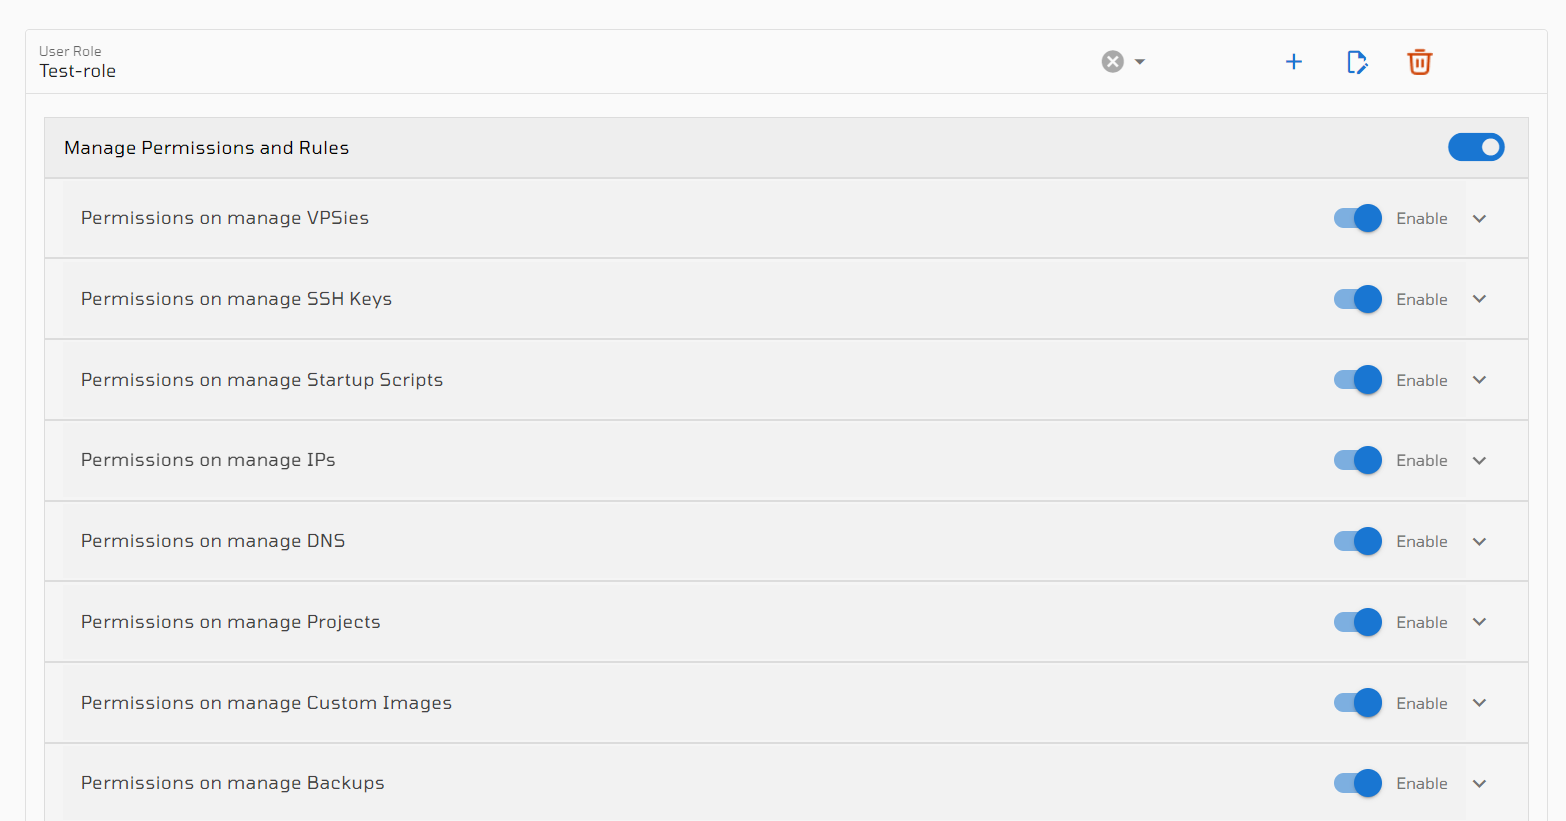
- Now you can manage permissions for the newly created role. Use the toggle bars to enable or disable specific permissions.
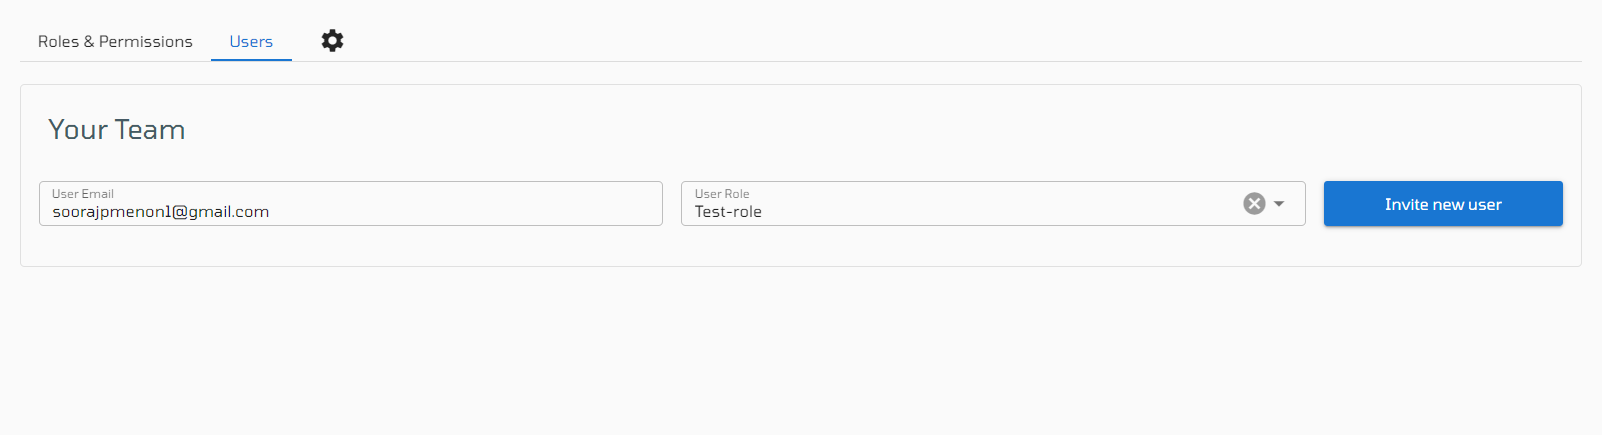
- To invite a user to the newly created role, navigate to the Users section. Complete the fields under Your Team, then click the Invite New User button to send the invitation.
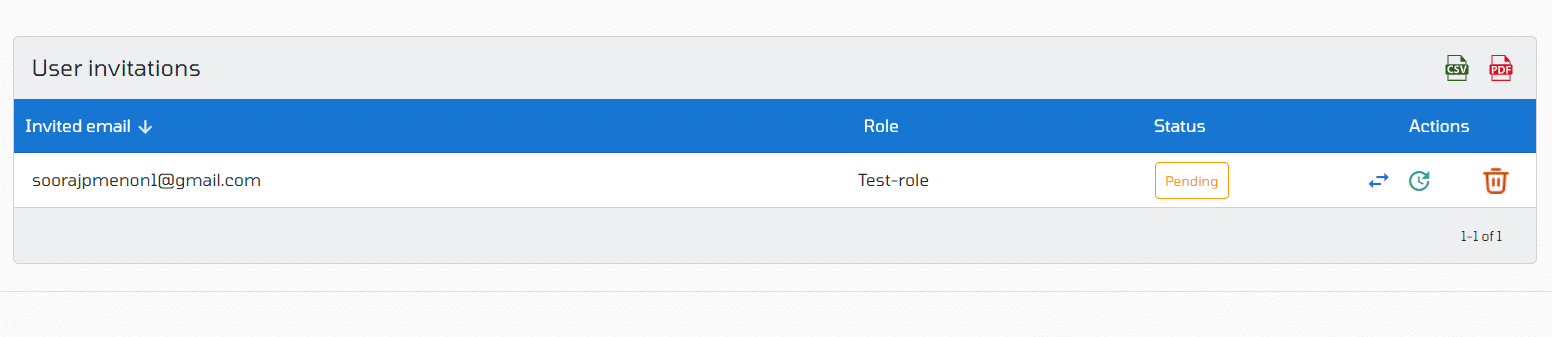
- Once an invitation is sent, you can track the status of the request under the invitation list. There, you have the options to change the role, resend the invitation, or delete the request.
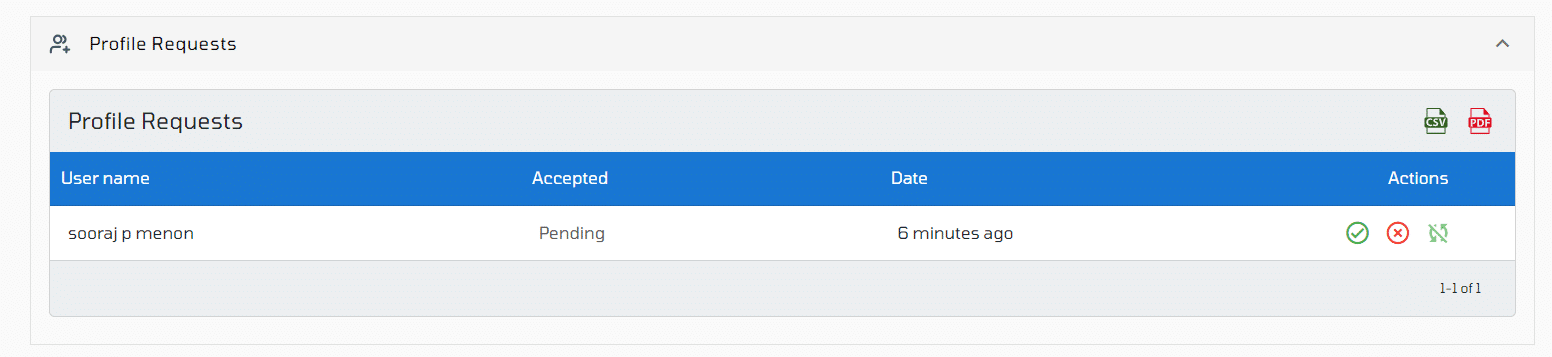
- Now, on the invited user’s account, navigate to My Account -> My Profile -> Profile Requests to view the invitation request. Click on the tick symbol to accept the request.
- From now on, you can easily access the account by navigating to My Account -> Shared Accounts and clicking on the Login symbol to manage the shared resources.

- You can manage resources now. To return to your account, go to My Account -> Return to Your Account.
- Users can share their accounts with multiple users without any limitations.
- Users can also receive invitations from multiple accounts simultaneously.
- No Looping of Shared Accounts: Users invited to user X’s account will not see any other shared accounts that user X has access to, preventing looping and ensuring clear access boundaries.
These steps outline how to effectively use the new VPSie permissions model, from managing account permissions and handling invitations to sharing resources and monitoring activities. If you have any questions or need further assistance, please contact our support team.