How to Install ClamAV on Ubuntu 20.04 LTS
The Clam AntiVirus utility is a free, open-source, cross-platform program for detecting viruses and other types of malware. Although originally developed for Unix, it is now available in AIX, BSD, HP-UX, Linux, macOS, OpenVMS, OSF, and Solaris versions.
The application supports a wide range of file formats, including mail formats, archive formats, executables, and popular document formats. Basically, the package consists of an anti-virus engine, which can be accessed as a shared library.
Let’s begin the installation process,
First, For the Ubuntu system to be registered on the VPSie platform, A VPSie account needs to be created if it hasn’t been created already.
Our example is based on an Ubuntu instance with GUI installed. Here is a link that will guide you to installing Ubuntu’s GUI if you do not already have it installed.
Now open your terminal and run the following commands to update your system.
# apt-get update && apt-get upgrade -y
Step 1: Install ClamAV
Let’s get to the installation, run the following command to install ClamAV
# sudo apt-get install clamav
Step 2: Install ClamAV Daemon
Run the following command to install it:
# sudo apt-get install clamav-daemon
Now let’s update the clamAV, you will see some errors please ignore it, it will auto-update anyway.
# sudo freshclam
Step 3: Scan using CalmAV
ClamAV is now ready for use. Here you can use many scanning commands. Let’s take a look at a few of them now. For example we will scan the root directory.
Run the following command to scan the home directory:
# clamscan -r /root
Run the following command to see the infected items in your home directory.
# clamscan -ri /root
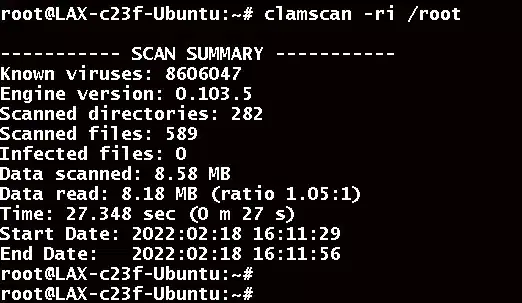
In order to remove the infected file, you can use the following command. However, this command is not recommended as it will destroy your files if it is infected. If you wish to delete files, use this command.
# clamscan -ri --remove /root# clamscan -r --move=/root/VIRUS /root
For avoid complications when deleting files. It is possible to create a folder and move the infected files inside it. Hence, you can check which files need to be removed and remove them accordingly. Run the following command to do so.
Run the following commands :
# mkdir VIRUS - Create Folder# ls - To check the folder created or not# cd VIRUS/ - To navigate in to the folder# pwd - To copy the location of file. 
Then, run the command to move the infected file to the folder we just created. On the command /root is the folder we are going to scan.
# clamscan -r --move=/root/VIRUS /root
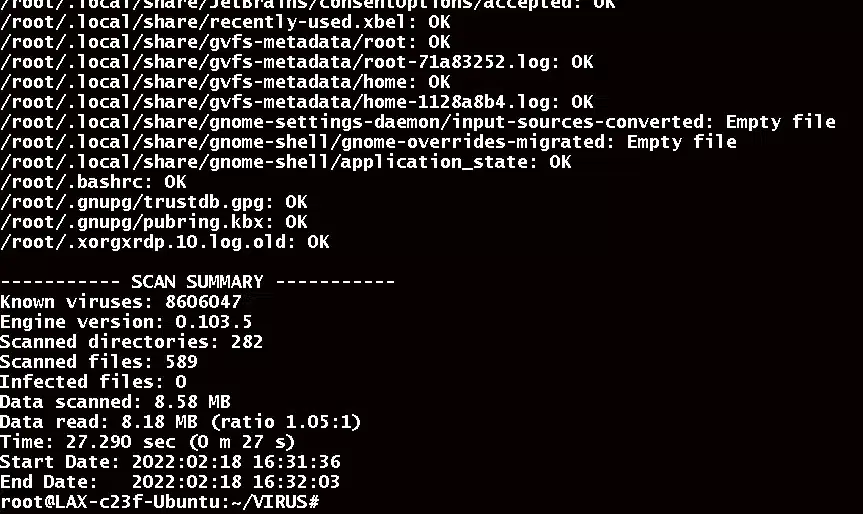
Once the scanning is complete, you can check the folder and delete files if necessary.
Step 3: Install CalmAV UI
Run the following command to install the UI for ClamAV.
# sudo apt install clamtk
Clamtk can now be found under activities.

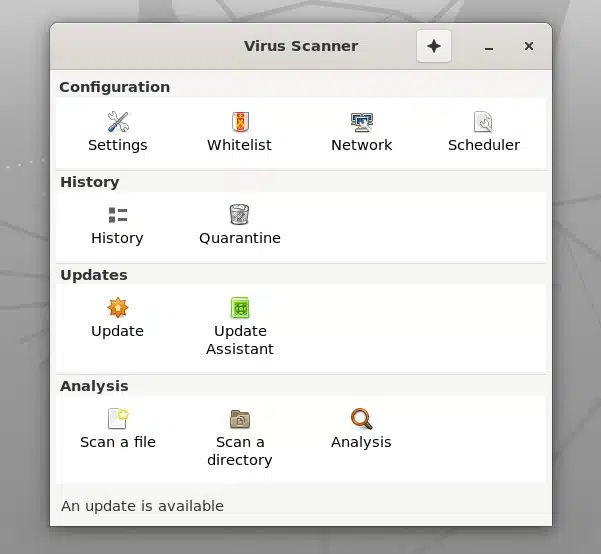
The directory has been successfully scanned using ClamAV and installed UI. Thanks for reading! I hope it was informative for you!
which-is-better-for-linux-command-line-users-terminator-or-tmux
FAQ
ClamAV is an open-source antivirus software that is used to detect and remove malware and viruses from files and emails.
If you regularly download files or receive emails, installing ClamAV can help protect your system from malware and viruses.
You can install ClamAV on Ubuntu by following these steps:
- Open the Terminal application on your Ubuntu system.
- Update the package index by running the command: sudo apt-get update
- Install ClamAV by running the command: sudo apt-get install clamav
- Once the installation is complete, update the virus definitions by running the command: sudo freshclam
You can scan a file with ClamAV by running the command: clamscan /path/to/file
You can scan a directory with ClamAV by running the command: clamscan -r /path/to/directory
You can schedule regular virus scans with ClamAV by setting up a cron job. To do this, open the crontab configuration file by running the command: sudo crontab -e. Then, add a new line to the file with the following syntax:
0 0 * * * clamscan -r /path/to/directory
This will schedule a virus scan of the specified directory every day at midnight.
You can update the virus definitions manually by running the command: sudo freshclam
You can uninstall ClamAV from your Ubuntu system by running the command: sudo apt-get remove clamav. You can also remove any configuration files associated with ClamAV by running the command: sudo apt-get purge clamav

