PyCharm Installation
PyCharm is a popular unified development environment (IDE) for Python programming. JetBrains, a Czech company specializing in creating developer tools, developed it. In this article, we will talk through the history of PyCharm, how to install it on Ubuntu, and its advantages and disadvantages.
History of PyCharm
was first released in 2010 and has since become one of the most popular IDEs for Python development. It was developed by JetBrains, the same company that created IntelliJ IDEA, a popular Java IDE. The idea for PyCharm came from a group of developers at JetBrains who needed more good Python IDEs available at the time. They decided to create their own Python IDE, and PyCharm was born.
Over the years, PyCharm has evolved to become a powerful and feature-rich IDE for Python development. It won several awards, including the Jolt Award for Best Development Environment in 2012 and the Python Software Foundation’s Productivity Award in 2013.
Let’s begin the installation process,
First, For the Ubuntu system to be registered on the VPSie platform, A VPSie account needs to be created if it hasn’t been created already.
Our example is based on an Ubuntu instance with GUI installed. Here is a link that will guide you to installing Ubuntu’s GUI if you do not already have it installed.
Now open your terminal and run the following commands to update your system.
# apt-get update && apt-get upgrade -y
Step 1: Install PyCharm
Run the following command to determine the version of Python on your system before beginning.
# python3 --version
Let’s get started with the installation. The first thing we have to do now is to find the latest version of PyCharm on its official website.
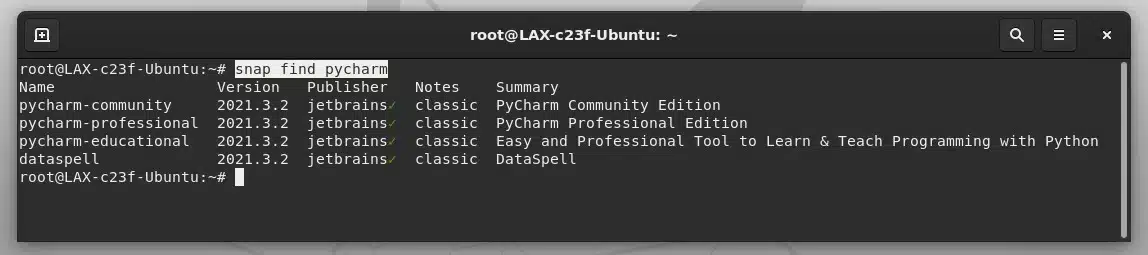
Now, Run the following command to Find the community version of the PyCharm:
# snap find pycharm
Run the following command to install PyCharm community version with the latest version:
# sudo snap install pycharm-community --classic

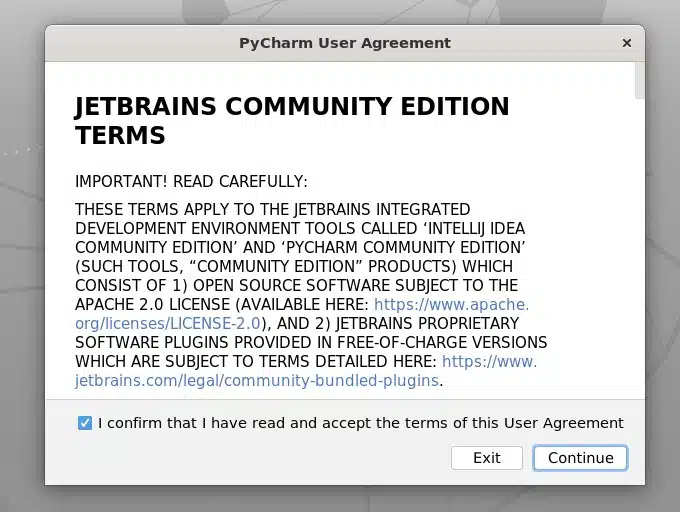
You can now search for PyCharm in Activities. Open and launch it.

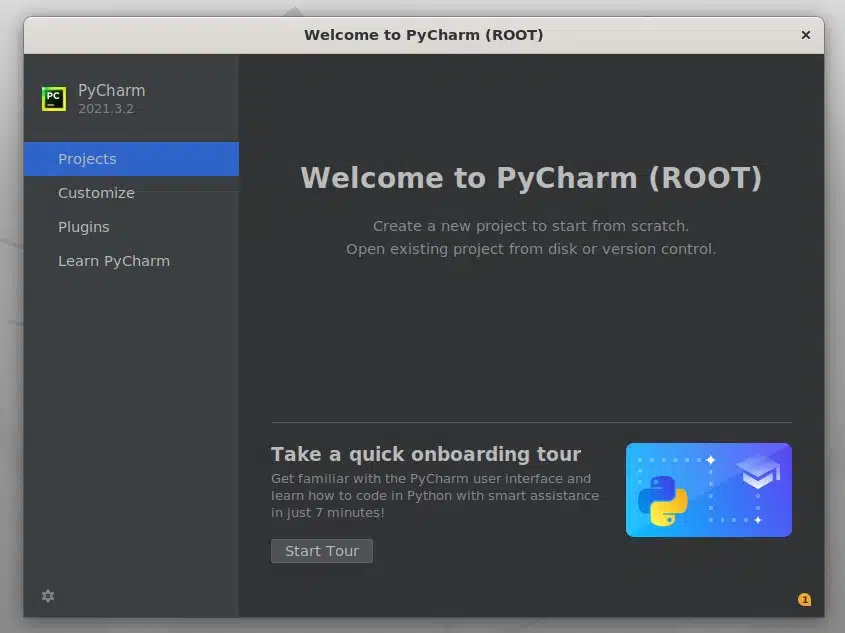
The PyCharm IDE now runs successfully on your Ubuntu system. Thanks for reading! I hope it was informative for you!
Using PyCharm on Ubuntu Once PyCharm is installed on Ubuntu, you can use it to write and debug Python code. PyCharm provides a range of features to simplify Python development, including code completion, syntax highlighting, and debugging tools.
Advantages:
- Code analysis: pycharm’s powerful code analysis engine helps identify real-time coding issues, performance bottlenecks, and security flaws. This feature saves developers time by providing instant feedback on code quality, reducing the number of bugs and vulnerabilities that need to be fixed in the long run.
- Intelligent coding assistance: pycharm’s code completion and suggestion feature offers competent coding service by providing relevant suggestions based on the current context. This feature helps developers write code faster and with fewer errors.
- Integrated development environment: PyCharm offers an all-in-one integrated development environment (IDE) with features like version control, debugging, testing, and code profiling. This integration streamlines the development process by reducing the need for switching between multiple tools.
- Cross-platform support: PyCharm is compatible with Windows, macOS, and Linux, making it a popular choice for developers on multiple platforms.
- Extensive community and ecosystem: PyCharm has a large community of developers and users who provide support, share knowledge, and develop plugins and extensions to enhance its functionality. This ecosystem makes it easier for developers to find solutions to common problems and extend the functionality of the IDE.
Disadvantages:
- Resource-intensive: PyCharm is a resource-intensive application that can consume an extraordinary amount of memory and CPU power, especially when working on larger projects. This can result in slower performance on older or less powerful computers.
- Cost: While the Community edition of PyCharm is free, the Professional edition requires a license fee. This cost may be prohibitive for some developers, especially those working on personal projects or for non-profit organizations.
- Steep learning curve: PyCharm offers a wide range of features and functionality, which can make it overwhelming for new users. This may require significant time and effort to learn how to use the IDE effectively.
- Limited to Python: PyCharm is explicitly designed for Python development and does not support other programming languages. This may limit its usefulness for developers working with multiple languages.
Conclusion: Overall, PyCharm is a powerful and popular IDE for Python development, offering advanced code analysis, intelligent coding assistance, an all-in-one development environment, cross-platform support, and a large community and ecosystem. However, its resource-intensive nature, cost, steep learning curve, and limited language support may be significant drawbacks for some developers. Each developer must weigh the pros and cons before deciding whether to use PyCharm for their development needs.
Modify your hosts file in Linux, Windows, and Mac
setup-and-configure-elasticsearch-logstash-and-kibana
FAQ
PyCharm is an integrated development environment (IDE) used for programming in Python. It is developed by JetBrains and is available in both a free and paid version.
Here are the steps to install PyCharm on Ubuntu:
Open the Ubuntu terminal by pressing
Ctrl+Alt+Ton your keyboard.Update your system’s package list using the following command:
sqlsudo apt updateInstall the snapd package, which is required to install PyCharm using snap:
sudo apt install snapdInstall the PyCharm snap package using the following command:
csssudo snap install pycharm-community --classicIf you want to install the professional version of PyCharm, replace “pycharm-community” with “pycharm-professional” in the above command.
Once the installation is complete, you can launch PyCharm by searching for it in the applications menu or by typing the following command in the terminal:
pycharm-communityIf you installed the professional version, use “pycharm-professional” instead.
When you launch PyCharm for the first time, you will be prompted to configure it. Follow these steps to configure PyCharm:
- Select the option to “Create new project.”
- Choose the location where you want to create the project.
- Select the Python interpreter you want to use. If you don’t have one installed, you can create a new one by clicking on the “New environment” button.
- Choose the project type and template you want to use.
- Click on the “Create” button to create the project.
To update PyCharm to the latest version, follow these steps:
Open the Ubuntu terminal.
Run the following command to update your system’s package list:
sqlsudo apt updateRun the following command to update PyCharm:
sudo snap refresh pycharm-communityIf you installed the professional version, use “pycharm-professional” instead.
To uninstall PyCharm from Ubuntu, follow these steps:
Open the Ubuntu terminal.
Run the following command to uninstall PyCharm:
csharpsudo snap remove pycharm-communityIf you installed the professional version, use “pycharm-professional” instead.
Optionally, remove the PyCharm configuration directory using the following command:
javascriptrm -rf ~/.config/JetBrains/PyCharm*This will remove all the settings and configuration files for PyCharm from your system.