
In this tutorial we will demonstrate how to install OSSN (Open Source Social Network) on your VPSie in 30 seconds
Opensource-Socialnetwork (OSSN) is a Free social networking software written in PHP. It allows you to make a social networking website and helps your members build social relationships, with people who share similar professional or personal interests.
First you will need a VPSie account – If you don’t already have one you can use this link to create a free account
Once your account is funded you can go ahead and click on Add VPSie button and follow screenshots below:
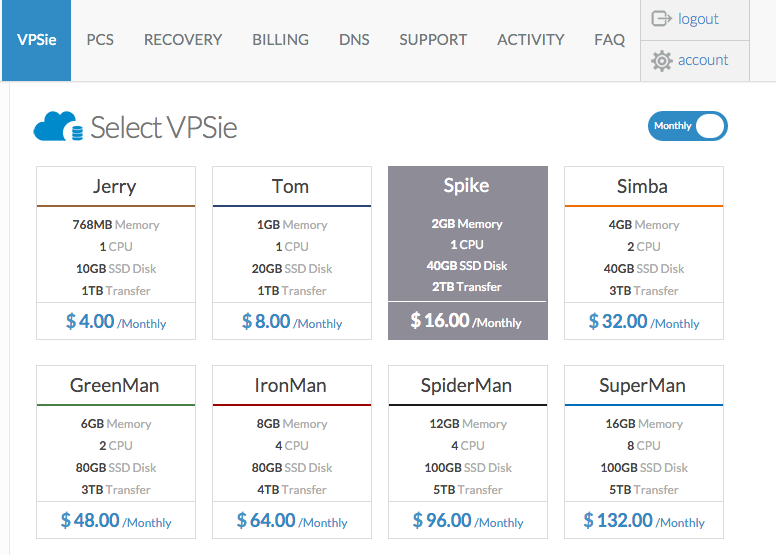
We will select the Spike package to ensure enough memory to provide best user experience (2GB memory minimum)- Tom package will also work fine for testing or small group of users.
Jerry package is not recommended as it will cause issues since many dependent services will fail to start.
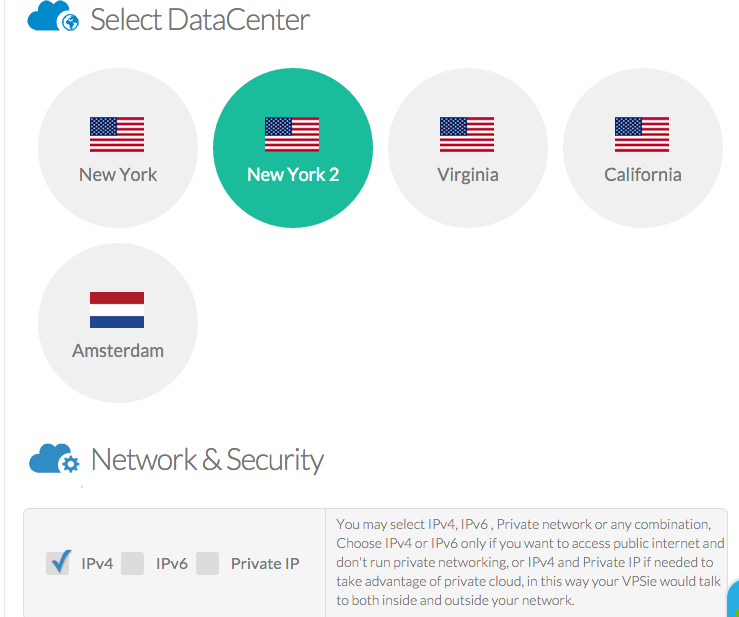
When selecting a location – You want to select the location closer to your visitors / users not to your location – Example if you will serve clients in the US and you located in Europe – It’s recommended to select New York location and so on…
For the IP selection we will stick to the default (IPv4 checked only) unless you want to have a more secured setup behind firewall using our PCS (Private Cloud Solution) In that case you would only check private IP box.
If you have an SSH key added you can select it – – if not or if you don’t understand what is SSH key then just skip that:)
At the select Operation System screen you will want to click on APPs then select OSSN as per the screenshot

If this server will be serving production – It’s highly recommended to enable daily automatic backups.
Give your server a name – Which can be FQDN (Fully qualified domain name) or just a simple word “example OSSN”
Go ahead and click create VPSie – Within 30 seconds you will have your server up and running and email will be sent to you instantly after the VPSie creation process is completed (although it’s not common however you may need to check all email folders (Junk – Spam))
The email will look like the screenshot below:
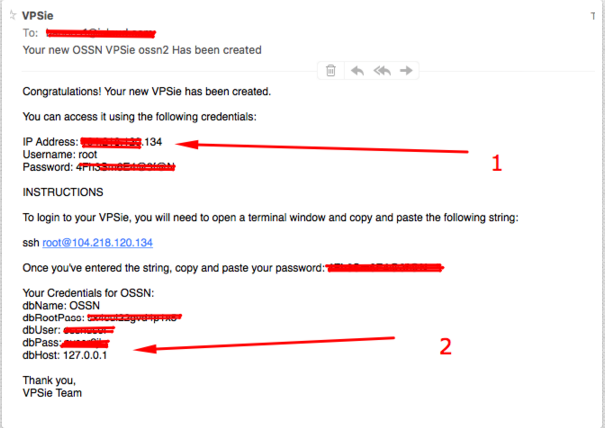
Open a browser window and type the IP as indicated in arrow #1 – If you have DNS already configured – you can also use the domain name instead of the IP. If you need help setting up DNS you may refer to this link.
You should see the OSSN wizard – Fill up the details requested in each fillable box – Make sure you copy and paste and fill up all boxes accurately.
Note your administrator username / Password and email used during the wizard so you won’t lose/forget it.
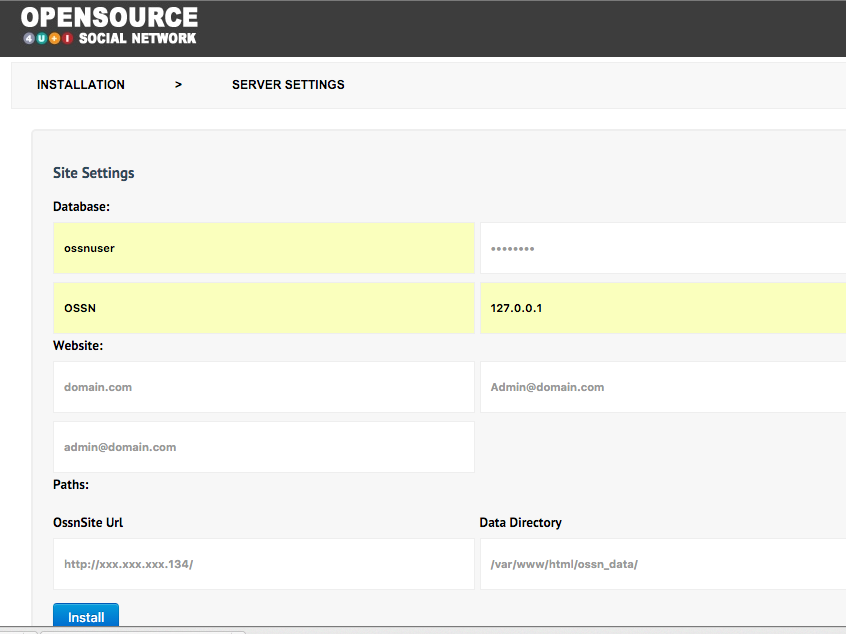
Once you click install – within few seconds you should be getting the back-end login – (created earlier)
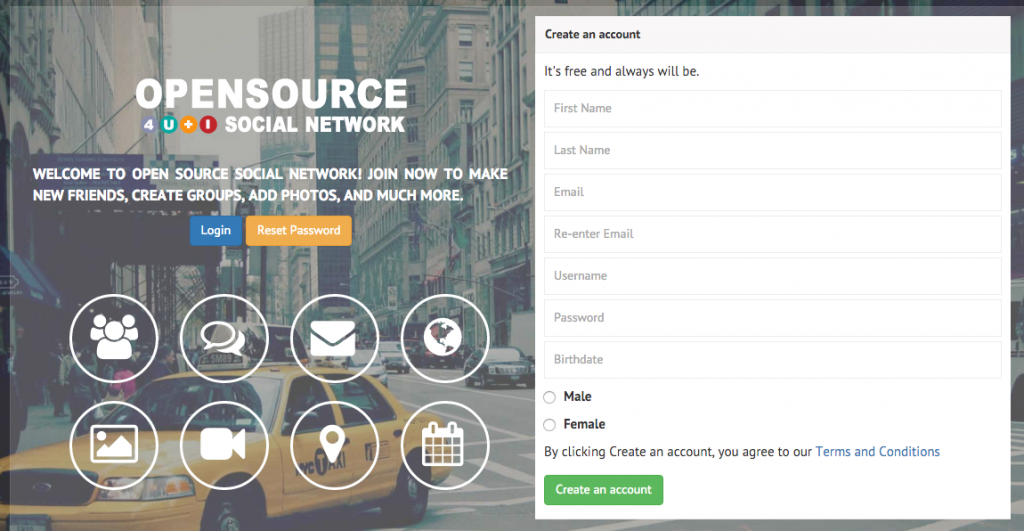
Here is a screenshot of the user’s signup screen
Enjoy !!
If you have questions you can always ping us on chat or open a support ticket for help.