
Install cPanel on VPSie one click deployment
cPanel is an online (Linux-based) web hosting control panel that provides a graphical interface and automation tools designed to simplify the process of hosting a website. cPanel utilizes a 3 tier structure that provides capabilities for administrators, resellers, and end-user website owners to control the various aspects of website and server administration through a standard web browser.
First, you need to create an account in VPSie. You can create a free account by following this link. After, fund your account and click Add VPS button.
Next, let’s dive into the steps:
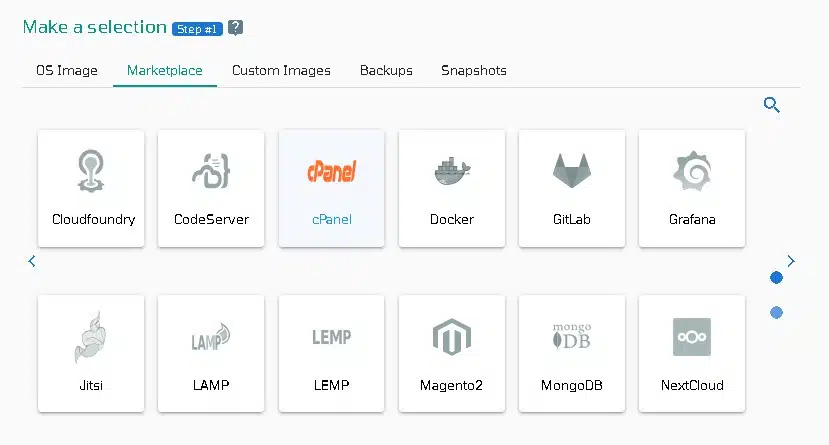
Step 1: Select Cpanel from VPSie Marketplace
In order to set up, you must visit the Marketplace and select Cpanel for your server.
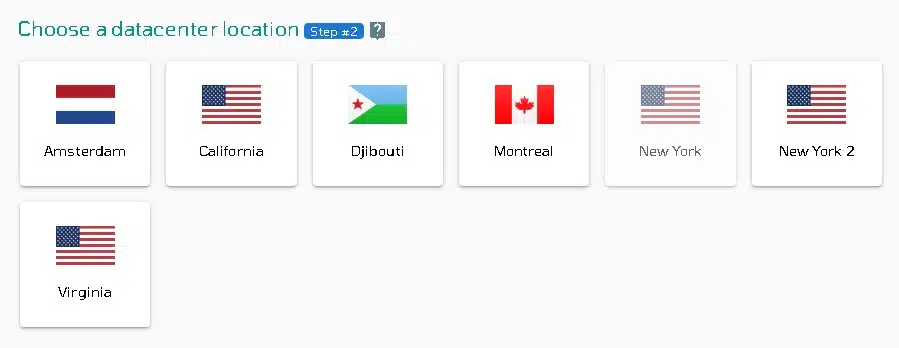
Step 2: Select VPSie DataCenter
Make sure your data center is close to your customers. Data centers should be located close to where your clients are rather than at your own location. In the case of Europeans with clients in the United States, U.S.A. locations must be selected.
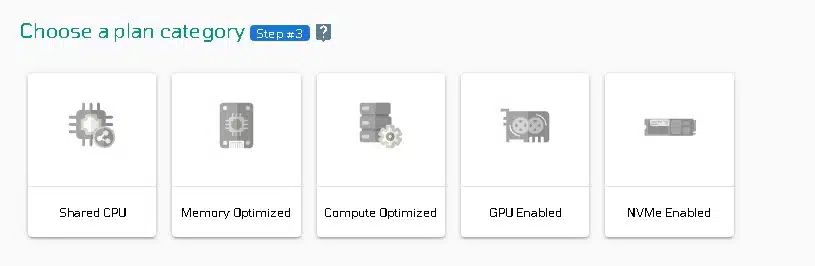
Step 3: Choose your plan category
Choose a plan category and the options within it to determine the best plan for your business.
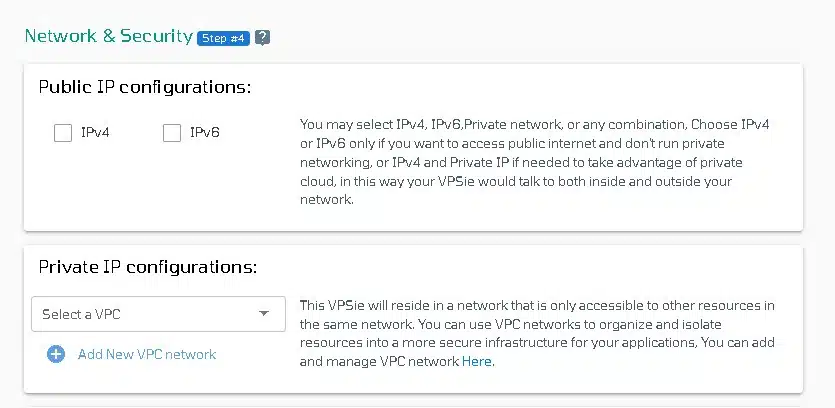
Step 4: Configure your Cpanel server’s network and security
We recommend you select public IPv4 when selecting an IP address. VPSie provides you with the option of selecting private from the default Virtual Private Cloud(VPC) or creating your own VPC and assigning an private IP from it.
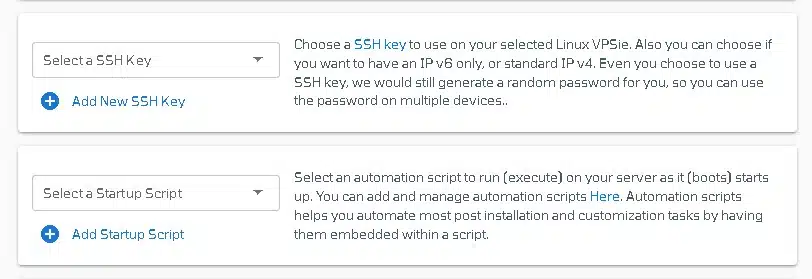
The SSH key and StartUp Script can be added here, as well as new ones that you can create. Note that this step is optional. If you don’t need it, you can skip it.
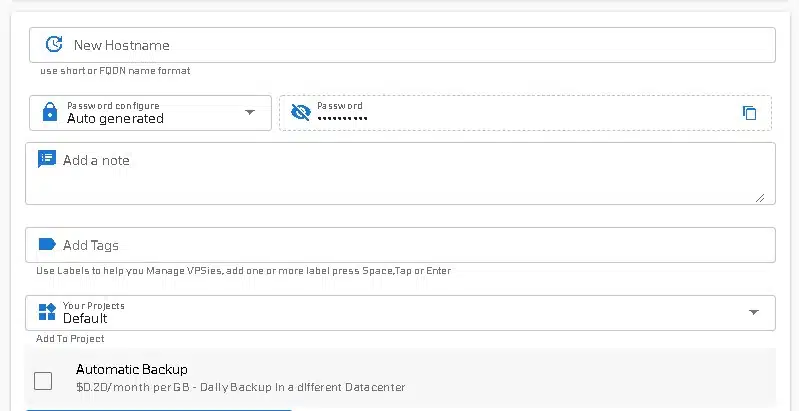
You can edit your hostname on the Hostname tab. By default, VPSie generates one automatically.
You will be given an automatically generated password by VPSie by default. By clicking on the password configure tab and selecting the custom option, you can change your password and add your own.
Create a note and tags for your Cpanel server. It is highly recommended that you enable automatic backup.
We are offering a very handy feature that allows you to create multiple Cpanel servers with the same configuration that we configured now, and make use of it if necessary. Lastly, click on the Add VPSie button to create your Cpanel server.

It will take no more than a minute for your Cpanel server to be operational. You will receive an email with all details regarding all the server credentials.
Currently, Cpanel server webpages can be accessed through a web browser by using the server IP address.
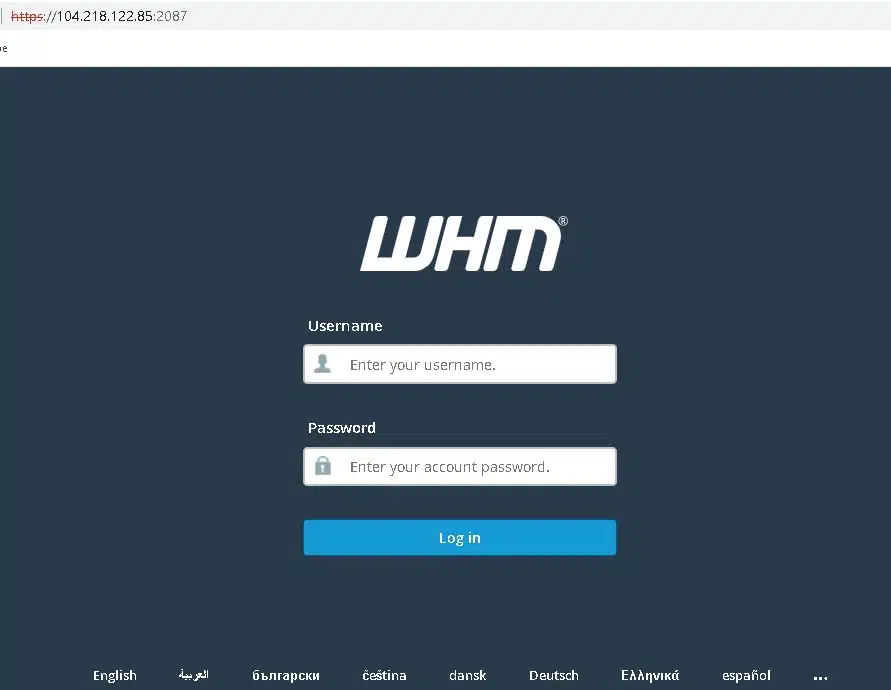
To log in to the WHM interface enter the IP address and the 2087 service port in your preferred browser.
https://{your-IP}:2087
Log in with your root password as root.
Your email address will be used to receive notifications and stats for your Cpanel account. You can add or purchase your license here, or you can contact us if you need assistance. Access your Cpanel and webmail once you have setup WHM.
To log in to the cPanel interface enter the IP address and the 2083 service port in your preferred browser.
https://{your-IP}:2083To log in to the Webmail interface enter the IP address and the 2096 service port in your preferred browser.
https://{server-ip}:2096
That’s all. Enjoy Cpanel. I hope this has been useful.