Search
Close this search box.

Install Splunk on Ubuntu in 5 mins

Table of Contents

This article will show you How to Install Splunk on Ubuntu in 5 mins.

Splunk is an American multinational corporation based in San Francisco, California, producing software for searching, monitoring, and analyzing machine-generated big data via a Web-style interface.[1]

Splunk (the product) captures, indexes, and correlates real-time data in a searchable repository from which it can generate graphs, reports, alerts, dashboards, and visualizations.

To Install Splunk, you need a VPS server with Ubuntu OS. If you don’t know where to get it, I suggest VPSie.

The first thing to do is to download Splunk for Ubuntu.

You can do it by following this link.

Be sure if your Ubuntu is 32-bit or 64-bit by following this command

After downloading, you can install it easily.

It’s only this command:

sudo dpkg -i Downloads/splunk-6.6.3-e21ee54bc796-linux-2.6-amd64.deb

It would be best if you were sure that the location of the deb is by the command.

After installing, start the Splunk server by following this command:
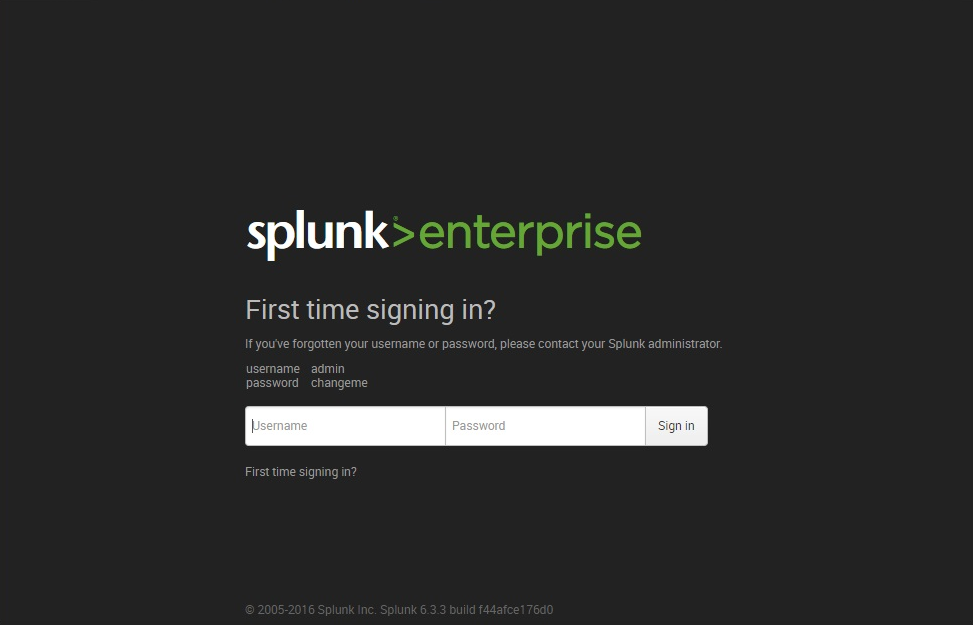
sudo /opt/splunk/bin/splunk start

You successfully installed Splunk Server.
The Splunk web interface is at http://youdomain:8000 or http://youripaddress:8000.

Screenshot_27
Enjoy Splunk!

If you have questions, you can always ping us on chat or open a support ticket for help.

How to Install Slack in Centos / Redhat / Fedora

Splunk is a software platform used for searching, analyzing, and visualizing machine-generated data in real time. It can be used to monitor systems, detect security threats, troubleshoot issues, and gain insights into operational data.

You can download the Splunk installer for Ubuntu from the Splunk website and follow the installation instructions provided. Alternatively, you can use the command line to install Splunk using the package manager or a third-party tool like apt-get or dpkg.

The minimum system requirements for running Splunk on Ubuntu are a 64-bit processor, 4GB of RAM, and at least 20GB of disk space. However, the exact requirements will depend on the volume of data you need to process and the complexity of your queries.

You can start and stop Splunk on Ubuntu using the command line. To start Splunk, use the command “sudo /opt/Splunk/bin/splunk start.” To stop Splunk, use the command “sudo /opt/splunk/bin/splunk stop.”
Q: How do I configure Splunk on Ubuntu? A: Splunk can be configured using the web-based Splunk Enterprise UI or by editing the configuration files directly. Some common configuration tasks include setting up data inputs, creating search queries, configuring user permissions, and setting up alerts and dashboards.

You can upgrade Splunk on Ubuntu by downloading the latest version from the Splunk website and following the upgrade instructions provided. Alternatively, you can use the package manager or a third-party tool like apt-get or dpkg to upgrade Splunk.

Make a Comment
Share on
Facebook
Twitter
LinkedIn
Print
VPSie Cloud service

Fast and Secure Cloud VPS Service

Try FREE
For a month

The First 1 orders gets free discount today! Try Sign up on VPSie to get a chance to get the discount.