Learn Everything about Angular CLI
Angular is a widely used open-source front-end web application framework developed and maintained by Google since 2010. It enables developers to create complex web applications using a modular architecture, reusable components, and dependency injection. Angular CLI is a command-line interface tool developed to create it easier for developers to create, build, and test Angular applications.
In this article, we will explore what Angular CLI is, how it compares to other development tools, Installation its use cases, features, advantages, and disadvantages, and provide a conclusion to help you understand if Angular CLI is the right choice for your next project.
What is Angular CLI?
Angular CLI is a command-line interface tool developed to simplify creating, building, and testing Angular applications. It uses a collection of commands to generate components, services, directives, pipes, and modules and build and serve the application.
Angular CLI provides several benefits to developers, such as:
- Speed: Angular CLI automates the repetitive tasks that developers would otherwise perform manually, such as creating components, services, and modules. This allows developers to focus on the core functionality of their applications, making them more productive and efficient.
- Consistency: Angular CLI enforces consistent development practices, such as file naming conventions, that help maintain code quality and readability. This makes it easier for developers to collaborate on and keep projects over time.
- Standardization: Angular CLI uses a standardized folder structure for projects, which makes it easy to navigate and understand the project’s architecture. This also makes deploying the application to a server or cloud platform accessible.
Let’s Get Started with the installation Angular CLI on ubuntu
For Ubuntu systems to be registered with VPSie, you need to create a VPSie account if you don’t have one already.
Our example is based on an Ubuntu instance with GUI installed. Here is a link that will guide you to installing Ubuntu’s GUI if you do not already have it installed.
Now open your terminal and run the following commands to update your system.
# apt-get update && apt-get upgrade -y
Step 1: Install Node Js
You can get the latest version of node js from the official website and download it. After downloading it follow the following commands:

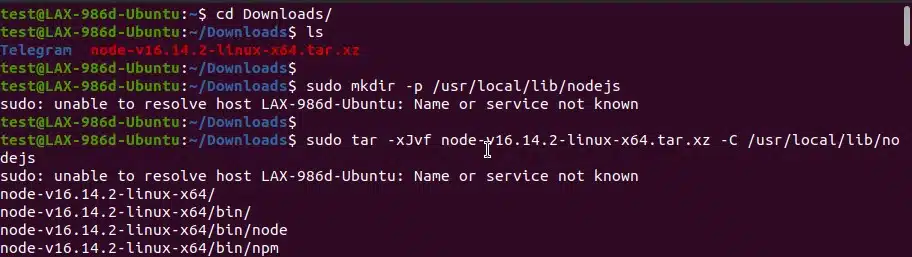
Go to download folder:
# cd Downloads/
Run the following to create a directory with root folder:
# sudo mkdir -p /usr/local/lib/nodejs
Unzip and copy the downloaded file to the folder that we just created:
# sudo tar -xJvf node-v16.14.2-linux-x64.tar.xz -C /usr/local/lib/nodejs
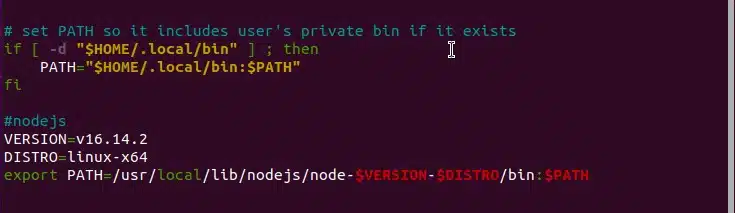
Now open the a file using the following command and add the lines given below.
# sudo nano ~/.profile
Lines to add:
#nodejs
VERSION=v16.14.2
DISTRO=linux-x64
export PATH=/usr/local/lib/nodejs/node-$VERSION-$DISTRO/bin:$PATH
After saving it run the following command:
# . ~/.profile
Now check the versions:
# node --version
# npm --version

Step 2: Install Angular CLI
Run the following command to install Angular CLI
# npm install -g @angular/cli
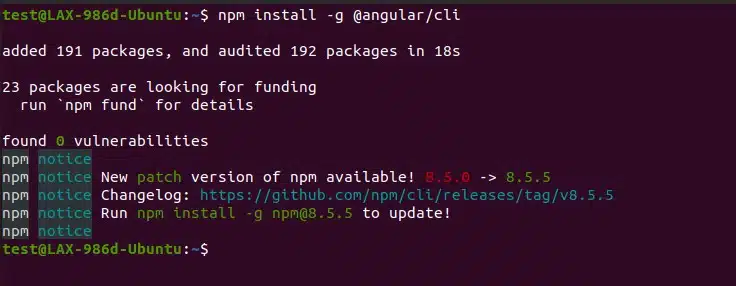
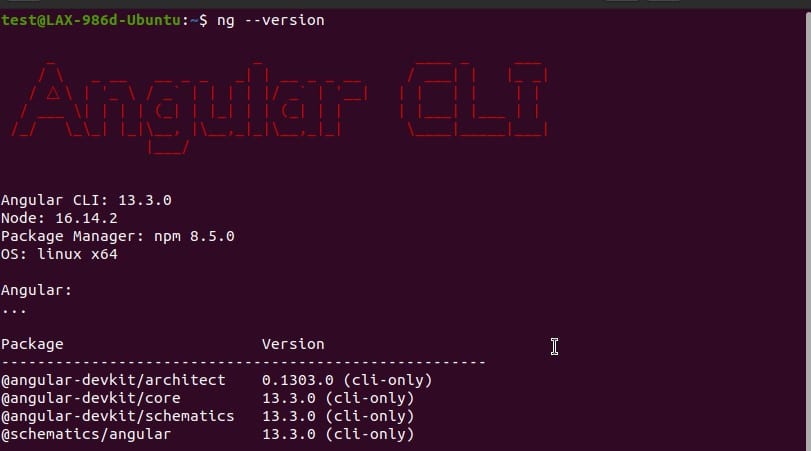
Check the installation using the following command:
# ng --version
How does Angular CLI compare to other systems?
Developers can use several other tools to build Angular applications, including Visual Studio Code, WebStorm, and IntelliJ IDEA. While these tools provide similar functionality to Angular CLI, they often require additional configuration and setup.
Angular CLI provides a more streamlined development experience by automating many tasks required to build an Angular application. This can be particularly useful for developers new to Angular or working on smaller projects that don’t need the complete feature set of an integrated development environment (IDE).
Angular CLI on Ubuntu: Use Cases
Somebody can use Angular CLI to create a wide variety of applications, including:
- Single-page applications (SPAs)
- Progressive web applications (PWAs)
- Enterprise-level applications
- Mobile applications (using tools like NativeScript or Ionic)
Angular CLI Features
Angular CLI provides several features that make it a popular tool for Angular development:
- Code generation: Angular CLI can generate components, services, directives, pipes, and modules using commands. This makes it easy to create new functionality for an application without having to write all the code from scratch.
- Build and serve: Angular CLI can build and operate an application using a single command. This makes it easy to test an application locally before deploying it to a server or cloud platform.
- Code scaffolding: Angular CLI provides a set of blueprints for generating commonly used files, such as tests, models, and components. This makes it easy to follow best practices and maintain consistency throughout a project.
- Configuration: Angular CLI provides a standardized configuration file for projects, which makes it easy to manage dependencies and settings across multiple environments.
- Integration with other tools: Angular CLI integrates seamlessly with other tools, such as testing frameworks like Jasmine and Karma, and code analysis tools like SonarQube.
Advantages of Angular CLI
- Speed and productivity: Angular CLI automates repetitive tasks and provides a streamlined development experience, saving developers a significant amount of time and increasing productivity.
- Consistency and standardization: Angular CLI enforces consistent development practices and uses a standardized folder structure for projects, making it easier to collaborate and maintain projects over time.
- Code quality: Angular CLI provides built-in support for testing and linting, which helps ensure that code is of high quality and free of errors.
- Community support: Angular CLI is widely used and has a large community of developers who contribute to its development and provide support through forums, documentation, and tutorials.
Disadvantages of Angular CLI
- Learning curve: While Angular CLI can simplify development, using it effectively is still a learning curve. Developers must learn how to use the various commands and understand the underlying architecture of Angular applications.
- Limited customization: While Angular CLI provides a standardized development experience, it may not be suitable for developers who require a high degree of customization.
- Complex configuration: While Angular CLI provides a standardized configuration file, it can be complicated and challenging to manage for larger projects or applications that require custom arrangements.
Conclusion
Angular CLI is a powerful tool for developers who are building Angular applications. It provides a streamlined development experience, automates repetitive tasks, and enforces consistent development practices, which can increase productivity and code quality.
While there is a learning curve to using Angular CLI effectively, its benefits outweigh the disadvantages for many developers. With its standardized folder structure, built-in testing and linting support, and integration with other tools, Angular CLI is a popular choice for building complex web applications.
However, developers should consider their project requirements carefully before choosing a development tool. Angular CLI may only be suitable for some projects, particularly those that require a high degree of customization or complex configurations. Nonetheless, it remains a powerful and widely used tool for Angular development.
We have successfully installed Angular CLI on your Ubuntu Instance. Thank you for taking the time to read this.
Angular CLI is a command-line interface tool for developing Angular applications. It automates tasks such as creating new projects, generating components, services, and modules, and building and testing applications.
Angular CLI provides a standardized development experience, which can increase productivity and code quality. It also integrates with other tools, such as testing frameworks and code analysis tools. However, it may not be suitable for developers who require a high degree of customization.
Angular CLI can be used on Ubuntu to develop Angular applications using the command-line interface. It can also generate components, services, and modules and build and test applications on Ubuntu.
Angular CLI provides a standardized folder structure for projects, built-in support for testing and linting, and integration with other tools, such as testing frameworks and code analysis tools.
Angular CLI can save developers time by automating repetitive tasks and enforcing consistent development practices. It also provides built-in support for testing and linting and has a large community of developers who support and contribute to its development.
Angular CLI has a learning curve and may not be suitable for developers who require a high degree of customization. Its configuration can also be complex for larger projects or applications that require custom configurations.