Here, you have the option to augment your VPSie with additional storage and tailor its type, capacity, and filesystem to your preferences. Follow these steps:
Click on Add Storage to navigate to the Storage creation page.
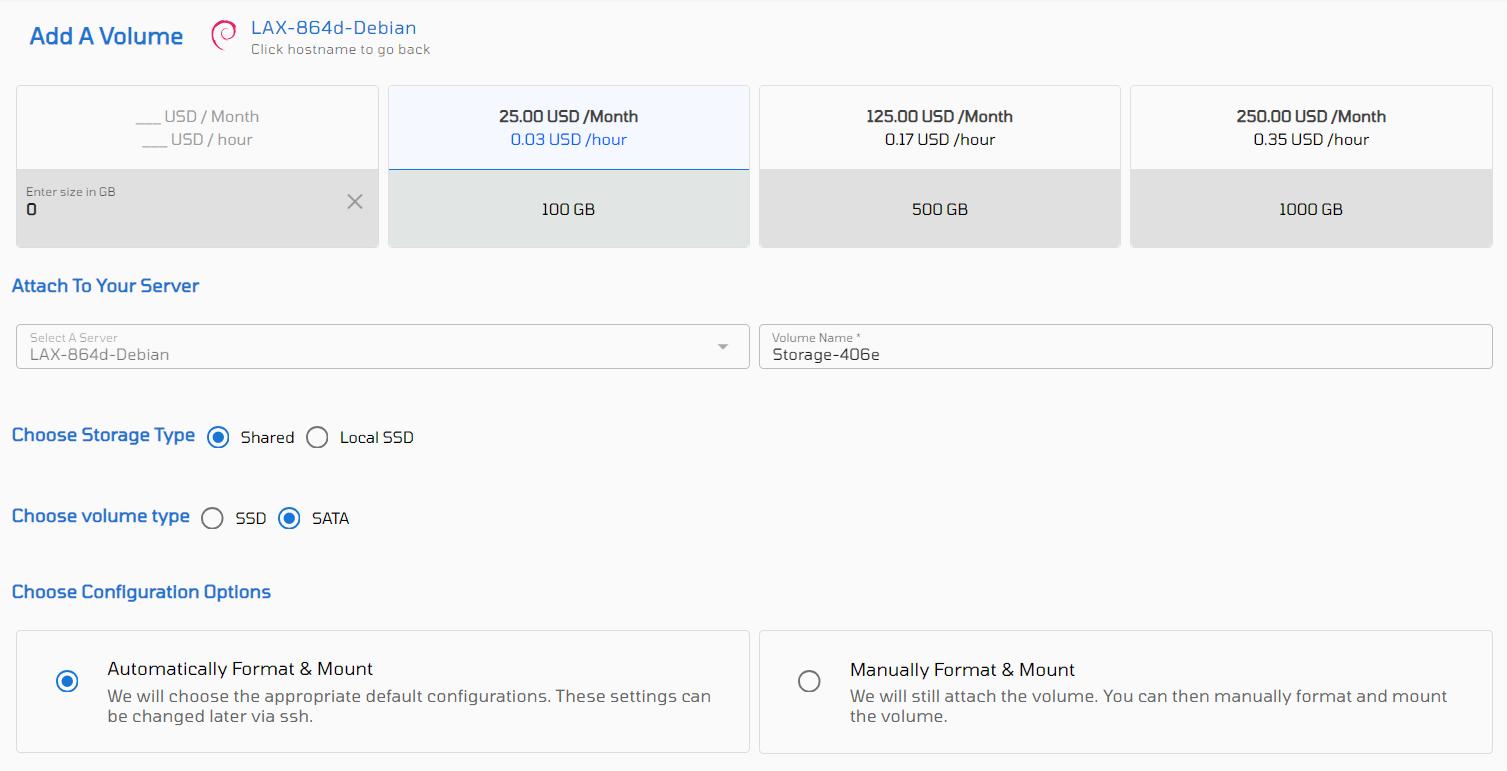
To add storage:
- Choose from the Add a volume menu one of the existing packages (100 GB, 500 GB, or 1000 GB), or manually input your desired capacity in GB.
- Select the VPSie to which you want to attach the storage (if you have only one, it will be automatically selected), and specify a name for the additional storage in the “Volume Name” field. Alternatively, a name will be generated automatically.
- Determine the Storage Type whether you prefer a Shared drive or a Local SSD drive (SSD is the default for local). If opting for a Shared drive, choose between SSD or SATA volume types.
- In the Choose Configuration Options section, decide whether to automatically or manually format and mount the storage on your server.
Additionally, Select your preferred file system for the additional storage by clicking on the radio buttons. Optionally, add any additional tags in the Tags field, and then proceed by clicking the Create Volume button highlighted in blue.

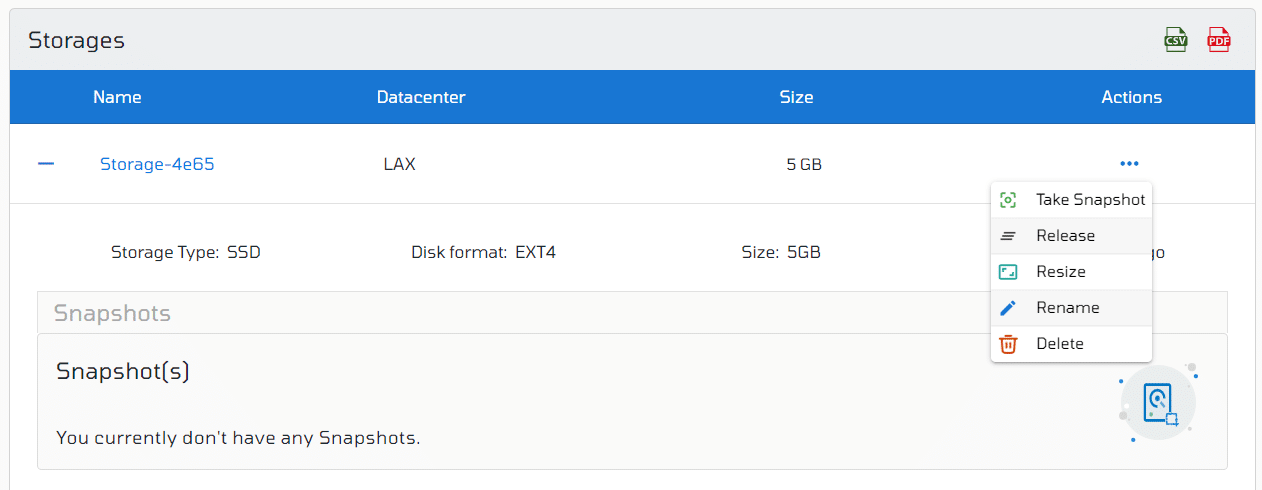
For LOCAL storage, you have the straightforward option to resize, rename, and delete files as outlined below:

For SHARED storage, you have two additional options: Release and Snapshot. The purpose of the other option remains the same as discussed previously.
Storage Release: To remove or detach shared storage from your server, you must first release the storage from the server and then either delete it or attach it to another server.
Storage Snapshot: You can take a snapshot of the storage, allowing you to roll back the storage to the point when the snapshot was taken.