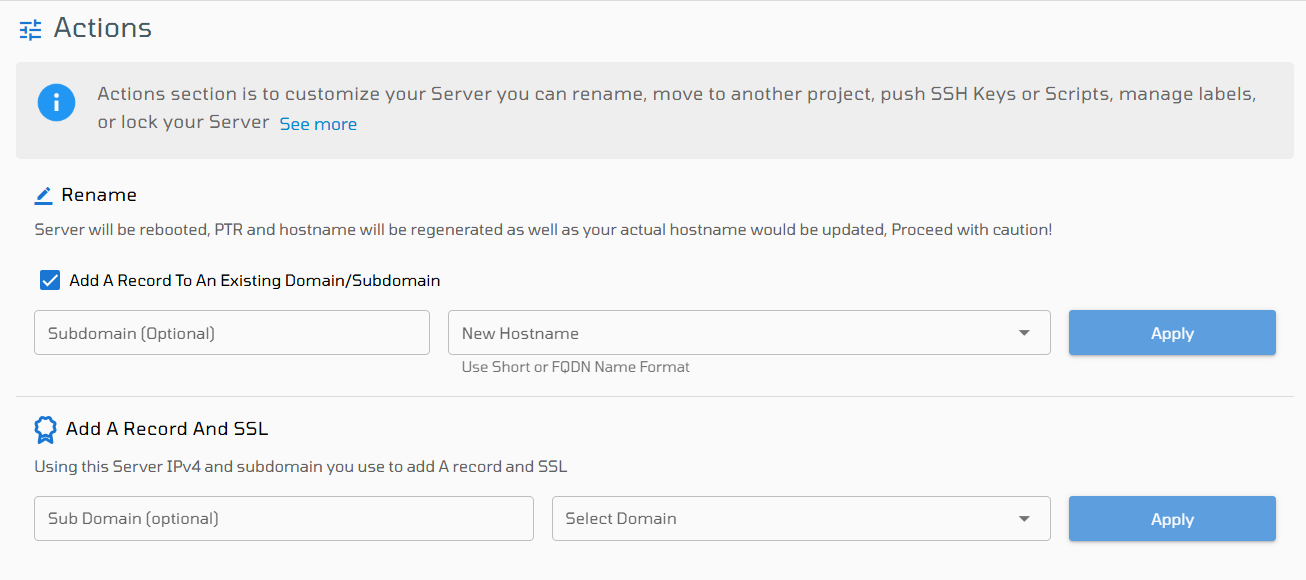
1. Change Hostname
Modify your server’s hostname with ease.
- Optionally, tick the Add A Record To An Existing Domain/Subdomain checkbox to automatically add an A Record for the new hostname to an existing domain or subdomain in your DNS settings.
2. Add A Record and SSL
Add a DNS A Record pointing to your server and enable SSL (HTTPS) for secure communication.
- This feature simplifies web deployments by handling DNS and SSL setup in one step.
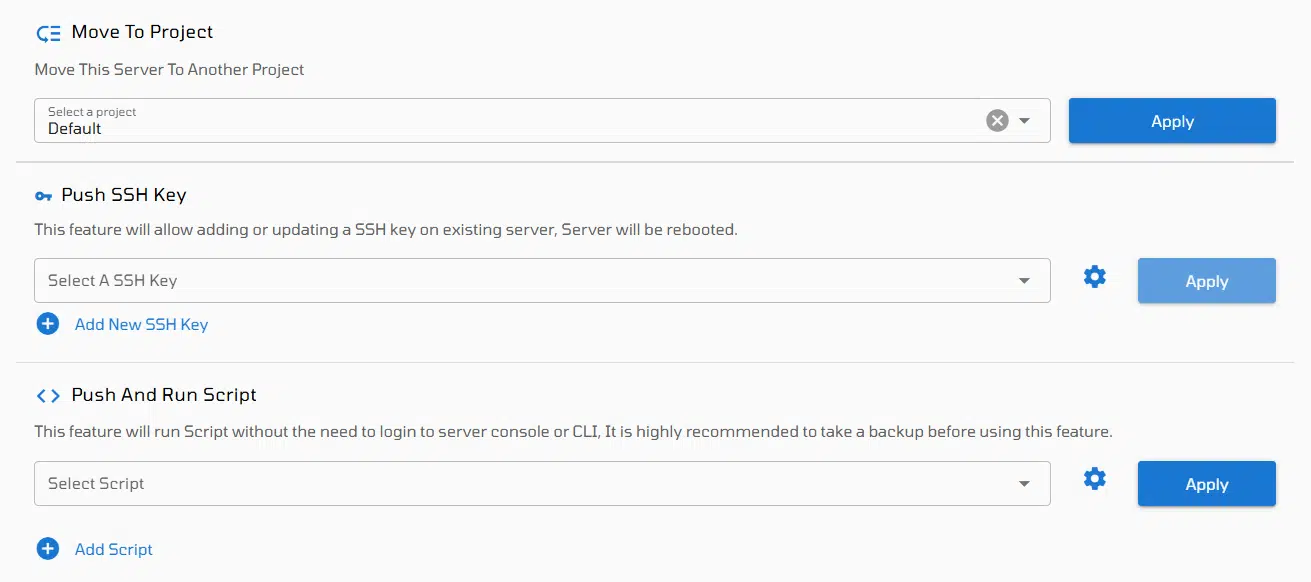
3. Move to Project
Organize your servers by assigning them to different projects.
- Simply select the desired project from the drop-down list to move your VM under its context.
4. Push SSH Key
Manage secure access to your server.
- Select an existing SSH key from the drop-down menu or create a new one to push it directly to your VM.
5. Push and Run Script
Automate deployments and configurations.
- Choose a previously created startup script or add a new one. This script will be pushed and executed on your VM instantly.
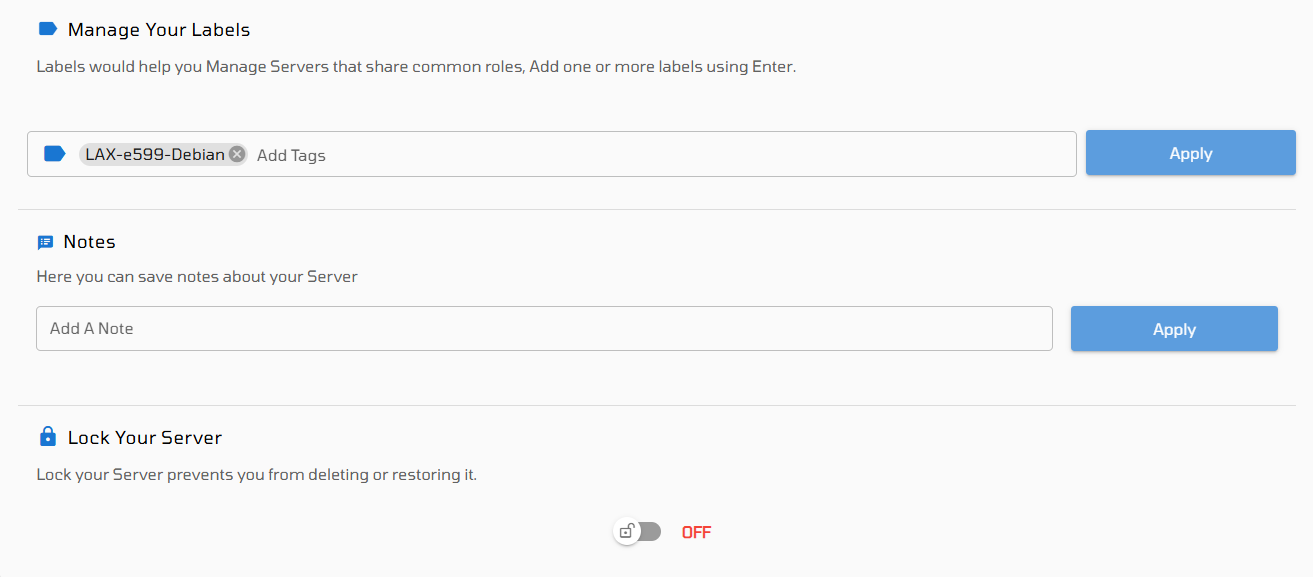
6. Manage Your Labels
Organize and search your infrastructure efficiently.
- Add labels to categorize servers by their role (e.g., web, db, staging). Press Enter after each label to save it.
7. Notes
Add internal notes for your VM.
- Useful for keeping track of server purpose, configurations, or any other relevant information.
8. Lock Your Server
Prevent accidental actions.
- Locking a server disables the ability to delete or restore it until it is manually unlocked, providing an extra layer of safety.