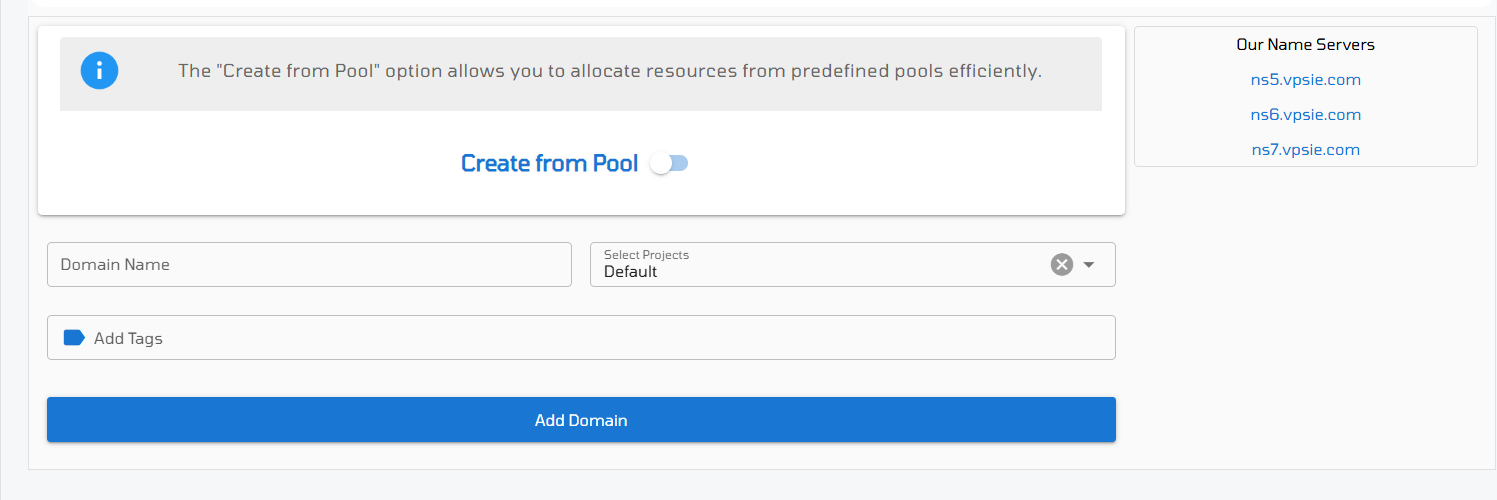
To include a domain in your VPSie account, follow these steps:
- Enter your domain name in the designated field.
- Select the associated project from the drop-down menu.
- Attach a tag to help you easily identify and manage the DNS object.
- Click Add Domain to complete the process.
Once your domain has been added, it will appear in the Domains section.
On the Left Side:
Click the <–> icon to access Domain Settings, where you can manage DNS records and perform other configurations.
On the Right Side:
- Verify Status: Look for a green checkmark to confirm that the domain is verified.
- Export Zone Records: Click the Download icon to generate a text file containing your DNS zone data.
- Delete Domain: Use the Red Trash Bin icon to remove the domain.
- Export Domain List: Download the domain list in CSV or PDF format by clicking the corresponding icons.

Once you access the Domain settings page, you can add and manage different DNS records by selecting the appropriate record type tab.
For example, the A Record is shown by default. If you want to add a CNAME Record, simply click on the CNAME tab, fill out the required form fields, and click the blue + Add button to complete the process and same for other records as well.