
How to Install Microsoft OneDrive on Ubuntu
In today’s world, data storage and synchronization are essential for every user, whether it’s for personal or professional purposes. Cloud storage services like OneDrive have become a convenient and secure way to store and share data. Microsoft OneDrive is a cloud-based storage service provided by Microsoft. It allows users to store files and folders online and access them from any device with an internet connection. This article will discuss Installing and using Microsoft OneDrive on Ubuntu, its features, advantages, disadvantages, and use cases.
What is Microsoft OneDrive on Ubuntu?
Ubuntu is a popular operating system based on Linux, which is widely used in the open-source community. Microsoft OneDrive on Ubuntu refers to using OneDrive’s cloud storage service on Ubuntu. Microsoft provides an official OneDrive client for Linux, which allows Ubuntu users to access their OneDrive account directly from their Ubuntu system.
So let’s get started.
Step 1: Configure VPSie cloud server
- Sign in to your system or register a newly created one by logging in to your VPSie account.
- Connect by SSH using the credentials we emailed you.
- Once you have logged into your Ubuntu instance, run these commands to update your system.
# apt-get update
Step 2: Install Microsoft OneDrive
Install the PPA repository using the following command:
# sudo add-apt-repository ppa:yann1ck/onedrive
The OneDrive Package you downloaded in the previous step must be extracted with the following command:
# sudo apt install onedrive
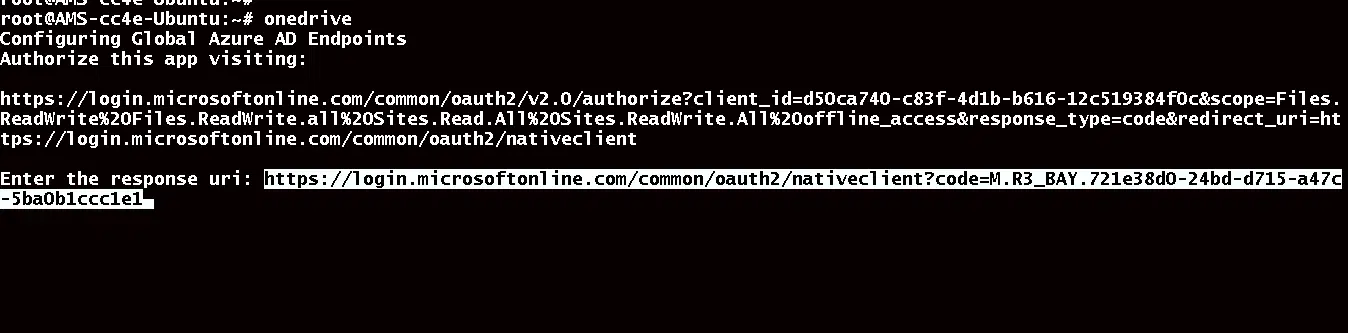
By running the following command in Ubuntu terminal, you can run Microsoft OneDrive:
# onedrive

In your browser, copy and paste the given link.
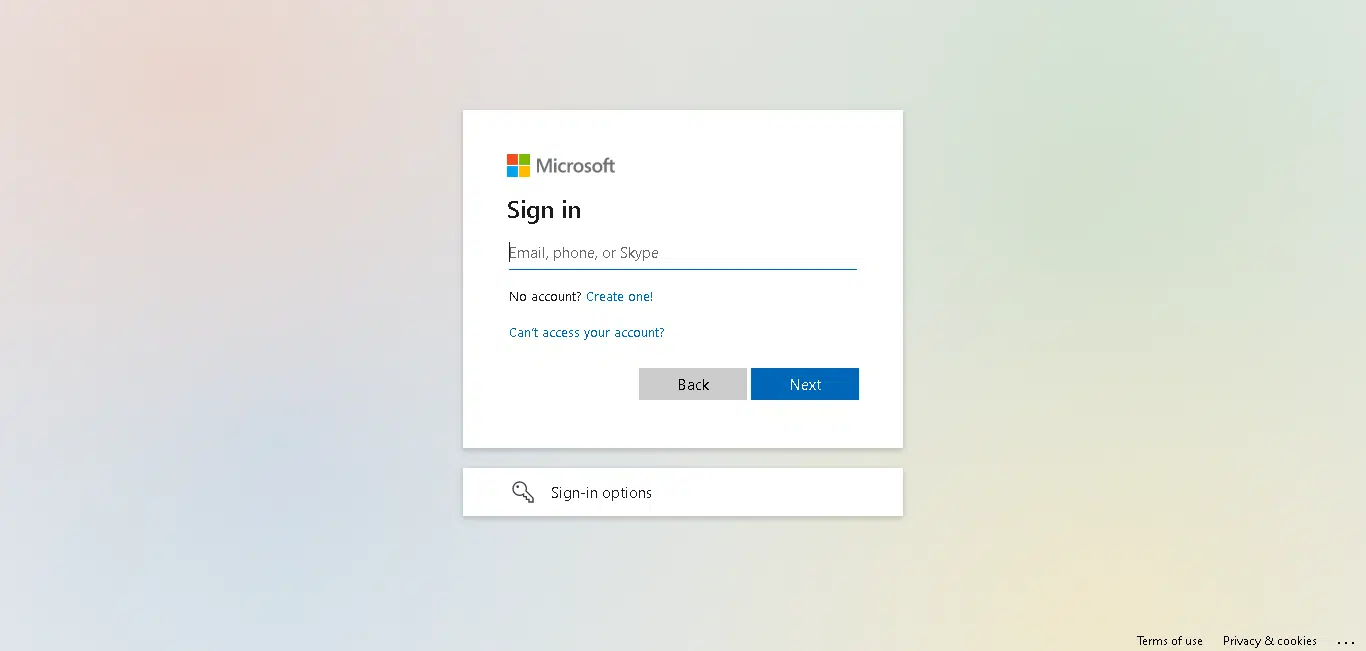
After you are redirected to the sign-in page, sign in with your credentials. After login, a blank web page will appear. Copy the URL of the blank page and paste that link on the terminal.

Microsoft OneDrive has now been successfully synced with Ubuntu. Running the following command will display help regarding the functionality of the OneDrive client.
# onedrive --help
Uninstall Microsoft OneDrive
If you want to uninstall OneDrive. You can uninstall Microsoft OneDrive from Ubuntu by running the following command:
# sudo apt remove onedrive
Microsoft OneDrive has been successfully installed and authorized on your Ubuntu computer. Thanks for reading! I hope it was informative for you!
Compared to Other Systems
Microsoft OneDrive on Ubuntu is similar to OneDrive on Windows and other platforms regarding its features and capabilities. However, there are some differences in the user interface and installation process. On Ubuntu, the OneDrive client can be installed using the command line interface or via the Ubuntu Software Center.
OneDrive on Ubuntu Use Cases
There are various use cases for using Microsoft OneDrive on Ubuntu, such as:
- Storing and Sharing Files: OneDrive provides a convenient and secure way to store and share files with others. With OneDrive on Ubuntu, users can easily upload, download, and share files with friends, family, or colleagues.
- Synchronizing Files Across Devices: OneDrive allows users to synchronize their files across multiple devices. With OneDrive on Ubuntu, users can access their files from any device with an internet connection and keep them in sync.
- Backup and Restore: OneDrive can be a backup solution for important files and folders. With OneDrive on Ubuntu, users can quickly back up and restore their files in case of data loss.
Features of Microsoft OneDrive on Ubuntu
Some of the key elements of Microsoft OneDrive on Ubuntu include:
- Seamless Integration: OneDrive on Ubuntu seamlessly integrates with the Ubuntu file manager, making accessing OneDrive files directly from the Ubuntu desktop easy.
- Synchronization: OneDrive on Ubuntu allows users to synchronize their files and folders with the OneDrive cloud storage service.
- Sharing: OneDrive on Ubuntu allows users to share their files and folders with others, either by providing a link or by permitting specific users.
- Offline Access: OneDrive on Ubuntu allows users to access their files offline, which means that users can work on their files even without an internet connection.
Advantages of Microsoft OneDrive on Ubuntu
- Cross-Platform Compatibility: OneDrive is available on multiple platforms, including Ubuntu, meaning users can access their files from any device with an internet connection.
- Ease of Use: OneDrive on Ubuntu is easy to use, with a simple and intuitive user interface.
- Seamless Integration: OneDrive on Ubuntu integrates seamlessly with the Ubuntu file manager, making accessing OneDrive files directly from the Ubuntu desktop easy.
- Synchronization: OneDrive on Ubuntu allows users to synchronize their files and folders with the OneDrive cloud storage service, ensuring their files are always up to date.
Disadvantages of Microsoft OneDrive on Ubuntu
- Limited Storage: OneDrive provides only 5 GB of free storage, which may need to be increased for some users.
- Privacy Concerns: OneDrive is a cloud-based storage service, meaning users must trust Microsoft with their data.
- Internet Connection Required: OneDrive requires an internet connection to access files, which may be an issue for users with slow or unreliable internet connections.
In conclusion, Microsoft OneDrive on Ubuntu provides a convenient and secure way to store and share files. It offers seamless integration with the Ubuntu desktop, making accessing OneDrive files directly from the Ubuntu file manager easy. OneDrive on Ubuntu also allows users to synchronize their files and folders with the OneDrive cloud storage service, ensuring their files are always up to date.
While limitations include limited storage and privacy concerns, OneDrive on Ubuntu is still a valuable tool for users who want to store and share files in the cloud. Overall, Microsoft OneDrive on Ubuntu is a reliable and efficient solution for the Ubuntu platform’s cloud storage and synchronization needs.
Additionally, it is worth noting that other cloud storage services are available for Ubuntu, such as Google Drive, Dropbox, and ownCloud. Each of these services has its features and advantages, and users should consider their specific needs and requirements before choosing a cloud storage solution.
In conclusion, Microsoft OneDrive on Ubuntu is an excellent solution for Ubuntu users who need a cloud storage and synchronization service. It provides seamless integration with the Ubuntu desktop and offers a range of valuable features. However, users should be aware of cloud storage services’ limitations and privacy concerns and choose a service that meets their specific needs and requirements.
Yes, you can use Microsoft OneDrive on Ubuntu by installing the OneDrive client for Linux. The OneDrive client can be installed using the command line interface or via the Ubuntu Software Center.
Microsoft OneDrive offers 5 GB of free storage to all users, including Ubuntu users. However, users who require more storage can upgrade to a paid plan.
Once you have installed the OneDrive client on Ubuntu, your OneDrive files will be accessible through the Ubuntu file manager. You can browse, open, and edit your OneDrive files just like any other file on your computer.
Yes, you can synchronize your files between OneDrive and Ubuntu using the OneDrive client. The OneDrive client allows you to upload, download, and synchronize your files and folders between your Ubuntu system and the OneDrive cloud storage service.
OneDrive on Ubuntu is secure and uses encryption to protect your files and data. However, as with any cloud storage service, users should be aware of the privacy concerns associated with storing their data on third-party servers.