How To Install ArangoDB on Ubuntu
ArangoDB is an open-source multi-model NoSQL database developed by ArangoDB GmbH. The tool supports graph, document, and key-value data models, giving users the ability to combine all the data types in one query. This allows you to set up a master-slave configuration or to distribute large datasets over multiple servers. Ok, let’s do it.
Step 1: Configure VPSie cloud server
Those who already have a system up and running should skip this step and do update their system.
- Sign in to your system or register a newly created one by logging in to your VPSie account.
- Connect by SSH using the credentials we emailed you.
- Once you have logged into your Ubuntu instance, run these commands to update your system.
# apt-get update && apt-get upgrade -y
Step 2: Register ArangoDB Apt repository
To install the apt repository, run the following command.
# echo 'deb https://download.arangodb.com/arangodb34/DEBIAN/ /' | sudo tee /etc/apt/sources.list.d/arangodb.list
Step 3: Install ArangoDB
Add the repository key to apt like this:
# curl -OL https://download.arangodb.com/arangodb38/DEBIAN/Release.key

# sudo apt-key add - < Release.key
Install arangodb using apt-get:
# echo 'deb https://download.arangodb.com/arangodb38/DEBIAN/ /' | sudo tee /etc/apt/sources.list.d/arangodb.list

# sudo apt-get install apt-transport-https

# sudo apt-get update

# sudo apt-get install arangodb3=3.8.4-1
After running the above command, the package configuration will begin. Enter the password for your root user at the beginning of the process.
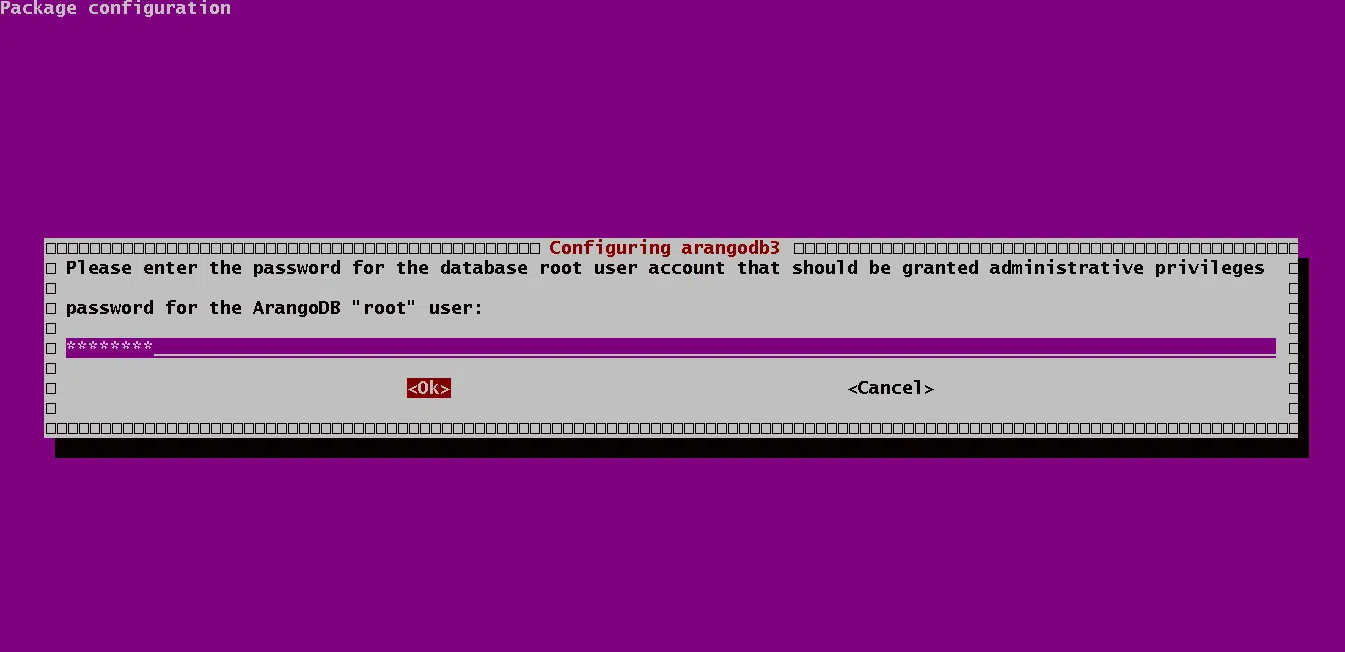
Enter ‘Yes‘.

Step 4: Start ArangoDB
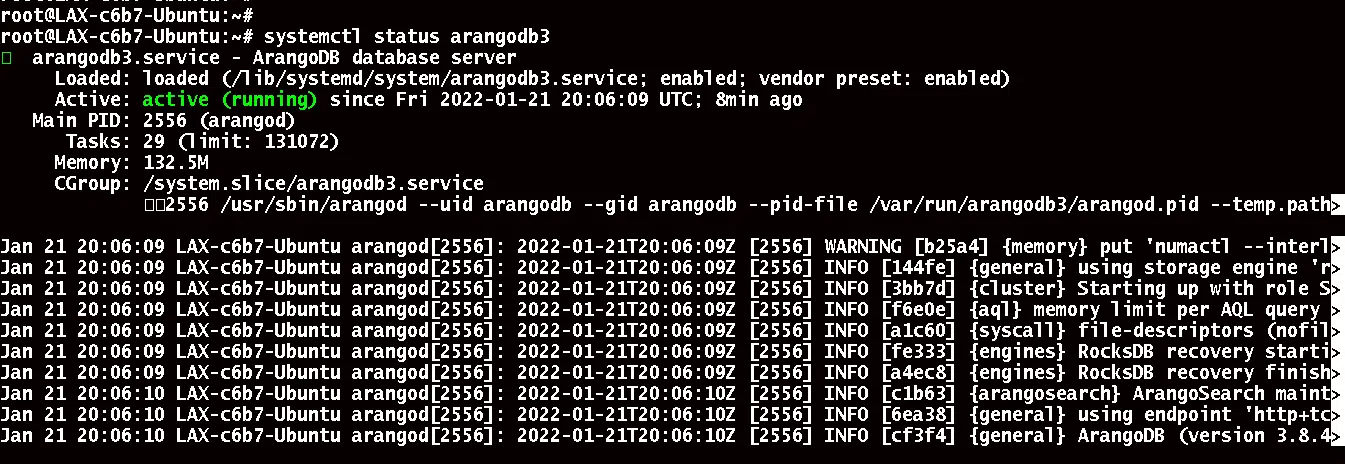
It should be started automatically after installation. By using the systemctl service management command, you can manually start it if it isn’t running.
#sudo systemctl start arangodb3

#sudo systemctl enable arangodb3
Run the following command to check the arangodb status,
# systemctl status arangodb3
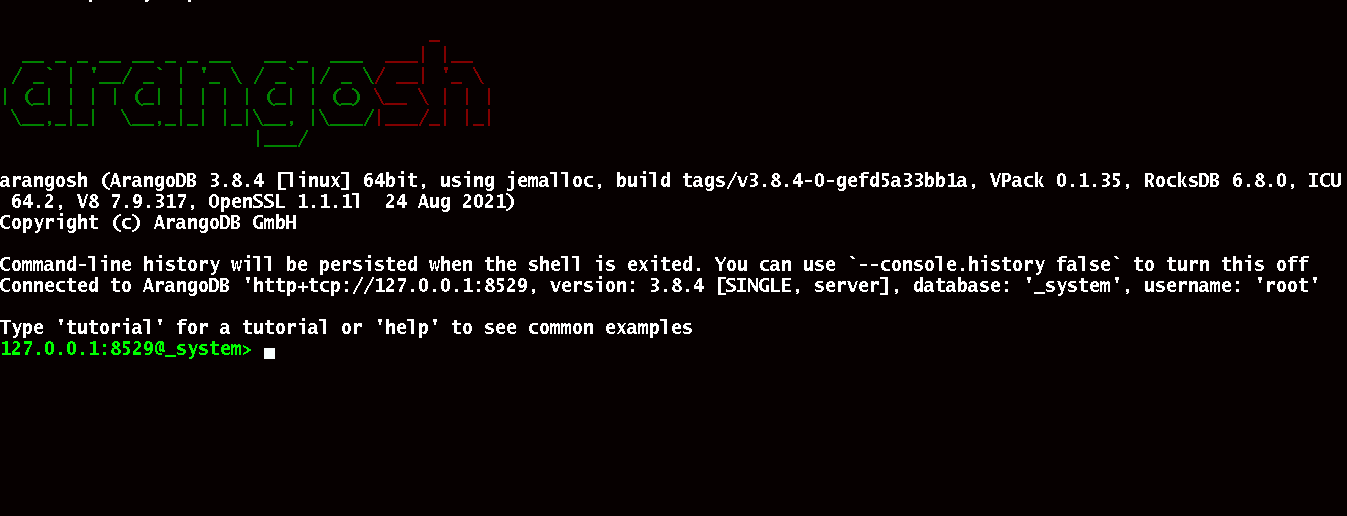
Step 5: Launch ArangoDB
To launch ArangoDB shell, run the following command.
# sudo arangosh
Step 6: Navigating ArangoDB Admin Web Interface
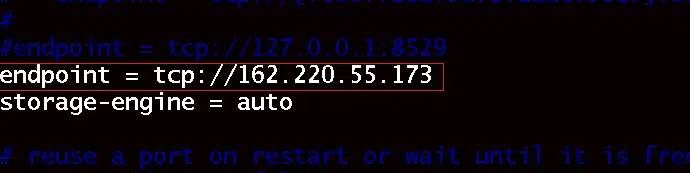
Open the ‘arangod.conf‘ file in the/etc/arangodb3/ directory and Please comment as follows, Then, enter your network IP address.
Run the following command:
# sudo vim /etc/arangodb3/arangod.conf
Once this change has been made, restart the ArangoDB service. Run the following command:
# sudo systemctl restart arangodb3
Ensure that port 8529 is allowed in the firewall if you have the UFW firewall enabled.
# sudo ufw allow proto tcp from any to any port 8529
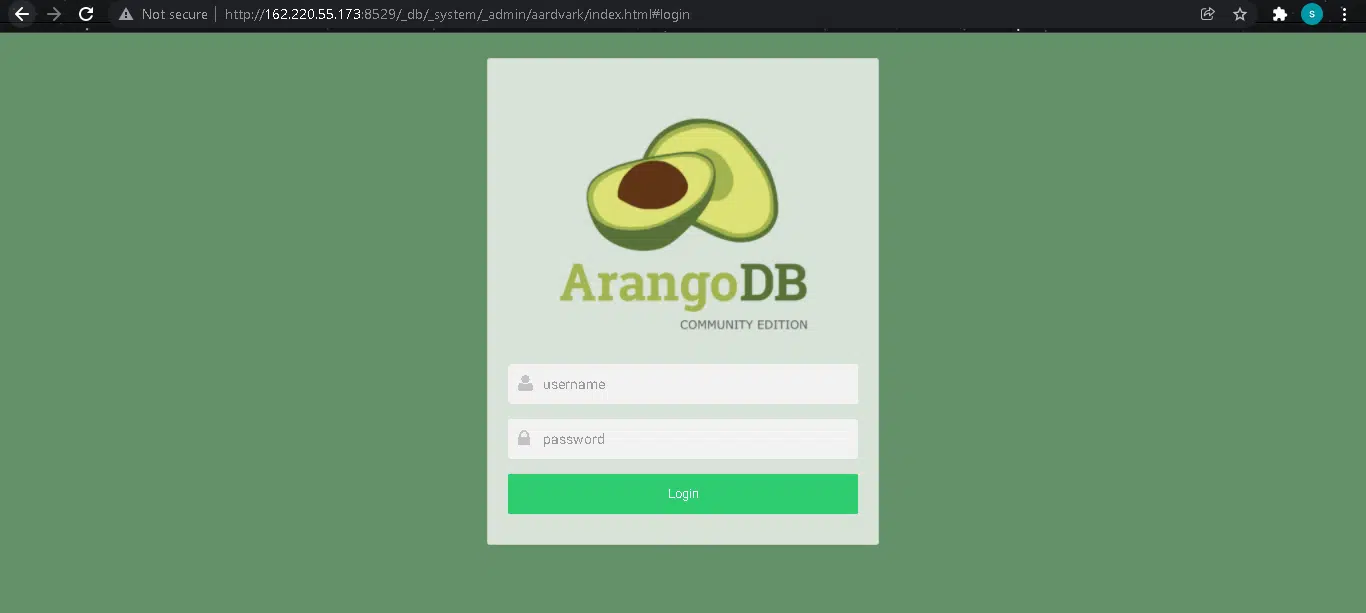
You can access the Admin dashboard at ‘http://{serverip}:8529‘ In its default configuration, authentication is enabled. Once you’ve accessed the web interface, enter your credentials and click ‘Login‘, and in the sencond window select the DB_system.
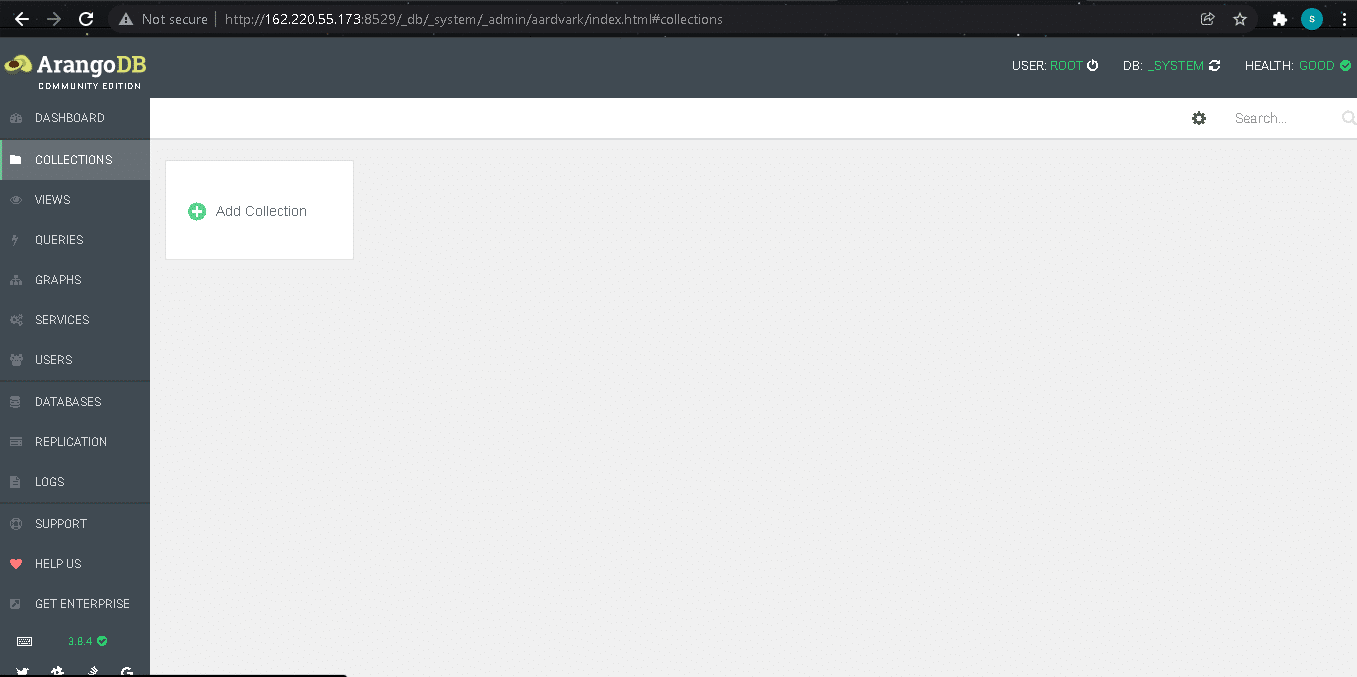
You are now ready to create your collection and begin using ArangoDB. Thanks for reading! I hope it was informative for you!