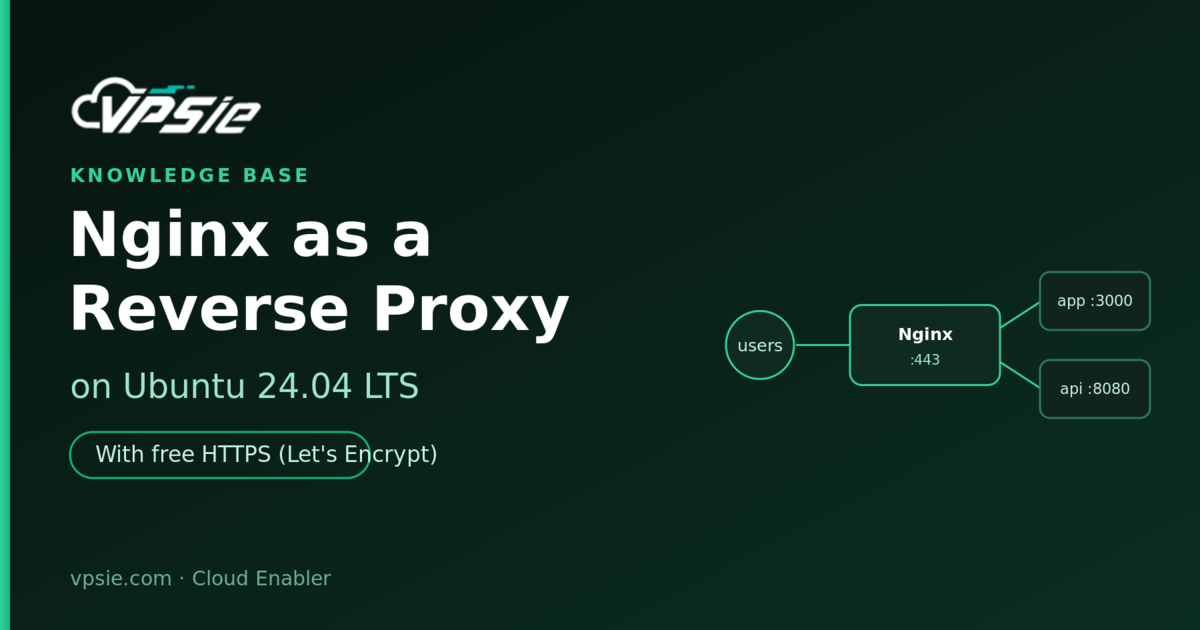
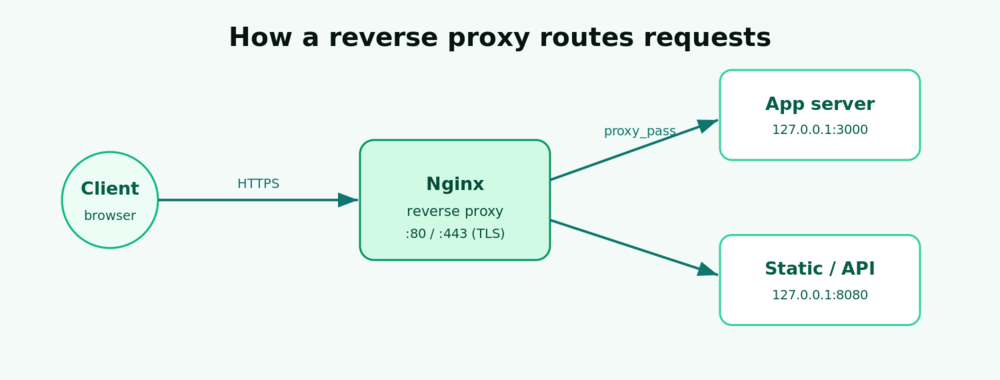
A reverse proxy sits in front of one or more backend applications and forwards client requests to them. It gives you a single public entry point, terminates HTTPS in one place, hides internal ports, and lets you host several apps on one server. In this guide you will configure Nginx as a reverse proxy on Ubuntu 24.04 LTS and secure it with a free Let’s Encrypt certificate.
Prerequisites
- An Ubuntu 24.04 LTS server, such as a VPSie cloud VPS.
- A
sudouser and SSH access (see SSH hardening). - A backend application listening locally — for example a Node.js, Python, or Docker app on
127.0.0.1:3000. - A domain name pointed at your server’s IP (needed for HTTPS).
Step 1 — Install Nginx
sudo apt update
sudo apt install -y nginx
systemctl status nginx
Step 2 — Allow web traffic through the firewall
If you use UFW, open the HTTP and HTTPS ports with the bundled profile:
sudo ufw allow 'Nginx Full'
sudo ufw reload
Step 3 — Create a reverse proxy server block
Create a configuration file for your site:
sudo nano /etc/nginx/sites-available/your_domain.confAdd a server block that forwards all requests to your backend and passes the headers your app needs to see the real client:
server {
    listen 80;
    server_name your_domain.com www.your_domain.com;

    location / {
        proxy_pass http://127.0.0.1:3000;
        proxy_http_version 1.1;
        proxy_set_header Host              $host;
        proxy_set_header X-Real-IP         $remote_addr;
        proxy_set_header X-Forwarded-For   $proxy_add_x_forwarded_for;
        proxy_set_header X-Forwarded-Proto $scheme;

        # WebSocket support
        proxy_set_header Upgrade    $http_upgrade;
        proxy_set_header Connection "upgrade";
    }
}
Enable the site by linking it into sites-enabled, test the syntax, then reload Nginx:
sudo ln -s /etc/nginx/sites-available/your_domain.conf /etc/nginx/sites-enabled/
sudo nginx -t
sudo systemctl reload nginx
Step 4 — Test the proxy
Visit http://your_domain.com. Nginx should transparently serve your backend application. From the server you can confirm the upstream is reachable with curl -I http://127.0.0.1:3000.
Step 5 — Add free HTTPS with Let’s Encrypt
sudo apt install -y certbot python3-certbot-nginx
sudo certbot --nginx -d your_domain.com -d www.your_domain.com
Certbot edits your server block to listen on port 443, installs the certificate, and sets up automatic HTTP→HTTPS redirects. Renewal is handled by a systemd timer; test it with:
sudo certbot renew --dry-runStep 6 — Troubleshooting
- 502 Bad Gateway — the backend is not running or is on a different port. Confirm it is listening on
127.0.0.1:3000. - Changes not applied — always run
sudo nginx -tbeforesudo systemctl reload nginx. - Check the logs —
sudo tail -f /var/log/nginx/error.log.
Conclusion
Nginx is now routing public traffic to your backend over HTTPS. You can add more location blocks or server blocks to route different paths or domains to different apps — a clean, production-ready front door for everything you host. Pair this with Docker and Docker Compose to run and expose containerized apps safely.