
MinIO is a high-performance, S3-compatible object storage server. The MinIO Web Console provides a graphical interface to manage buckets, access keys, users, and monitoring.
This guide walks you through installing MinIO on Debian or Ubuntu Linux as a background service (systemd), assigning dedicated system users, and securing the Web Console.
Get Your VPSie Instance Ready
- Create an Account: Register at the VPSie Client Portal.
- Fund Your Account: Go to Billing in the portal to add funds or set up payment methods.
- Deploy a Server: Create a Linux VM running Ubuntu 24.04 / 26.04 LTS or Debian 12 / 13 with at least 2 vCPUs and 2 GB RAM.
Update System and Install Dependencies
Ensures your package manager and security updates are current. Log into your server via SSH and update the system package database:
sudo apt update && sudo apt upgrade -y
sudo apt install wget curl -y
Download and Install the Official MinIO DEB Package
Download and Install the Official MinIO DEB Package, Uses official .deb binaries for native Debian/Ubuntu system integration.
Download the official MinIO .deb package:
wget https://dl.min.io/server/minio/release/linux-amd64/minio.deb -O minio.deb
Install the package using dpkg:
sudo dpkg -i minio.deb
(This creates the /usr/local/bin/minio binary and configures the systemd service file automatically).
Create Dedicated System User and Data Directory
Isolates MinIO process permissions for security.
Running storage services as root is a security risk. Create a dedicated system user and group for MinIO:
Create system group and user:
sudo groupadd -r minio-user
sudo useradd -M -r -g minio-user minio-user
Create storage directory for MinIO files:
sudo mkdir -p /mnt/data
Grant ownership to the minio user:
sudo chown -R minio-user:minio-user /mnt/data
Configure Environment File & Console Binding
Sets up the web UI port and administrator credentials.
Create and edit the default environment file where MinIO reads its configuration:
sudo nano /etc/default/minio
Paste the following environment variables into the file:
# Storage volume location
MINIO_VOLUMES="/mnt/data"
# Server & Console Options
# --console-address ":9001" explicitly exposes the Console Web UI on port 9001
MINIO_OPTS="--console-address :9001"
# Initial Root Admin Credentials (CHANGE THESE!)
MINIO_ROOT_USER="admin"
MINIO_ROOT_PASSWORD="ChangeThisStrongPassword123!"
Save and exit (Ctrl+O, Enter, Ctrl+X in Nano).
Ensure the environment file is owned by your minio-user:
sudo chown minio-user:minio-user /etc/default/minio
Enable and Start the MinIO Service
Configures systemd auto-start on boot.
Reload systemd daemon to register any service updates, then enable and start MinIO:
sudo systemctl daemon-reload
sudo systemctl enable minio
sudo systemctl start minio
Verify that the service is running properly:
sudo systemctl status minio
(You should see an active (running) status).
Accessing the MinIO Console
Open your web browser and navigate to:
http://<YOUR_SERVER_IP>:9001
Log in using the credentials defined in /etc/default/minio:
Username: admin
Password: ChangeThisStrongPassword123!
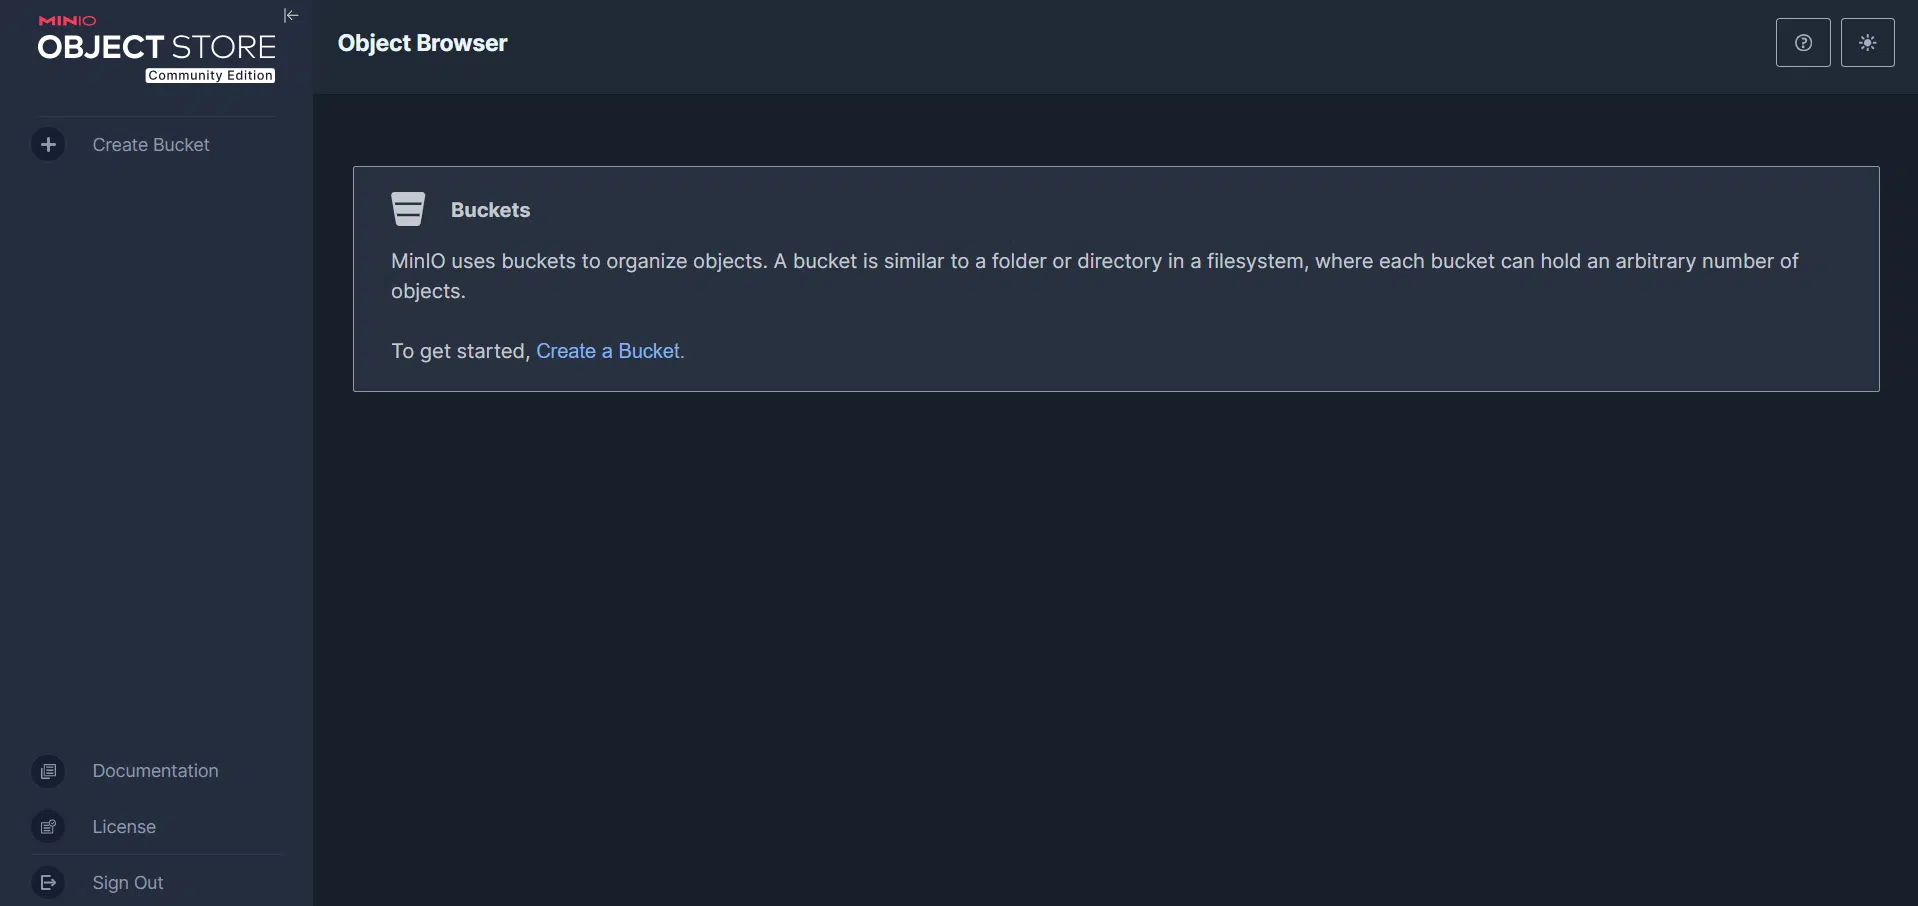
Once logged in, you can create buckets, manage access keys, set policies, and monitor system storage.

Once you log in with your credentials, acknowledge the prompt and click Continue.