How to Install Zoom on Ubuntu 20.04 LTS
Zoom Meetings is Zoom Video Communications’ proprietary videoconferencing service. Audio and/or video conferencing can be conducted using Zoom. A Basic Plan is available for free with unlimited meetings supported by advertisements. If you have a free account, you can support up to 100 people with 40 minutes of talk time. If you have a paid account, you can support 1,000 people. There is no trial period for Zoom you can use it for as long as you like. Here are the steps for installing it on Ubuntu.
For Ubuntu systems to be registered with VPSie, you need to create a VPSie account if you don’t have one already.
Our example is based on an Ubuntu instance with GUI installed. Here is a link that will guide you to installing Ubuntu’s GUI if you do not already have it installed.
Now open your terminal and run the following commands to update your system.
# apt-get update && apt-get upgrade -y
Let’s begin the zoom installation via terminal:
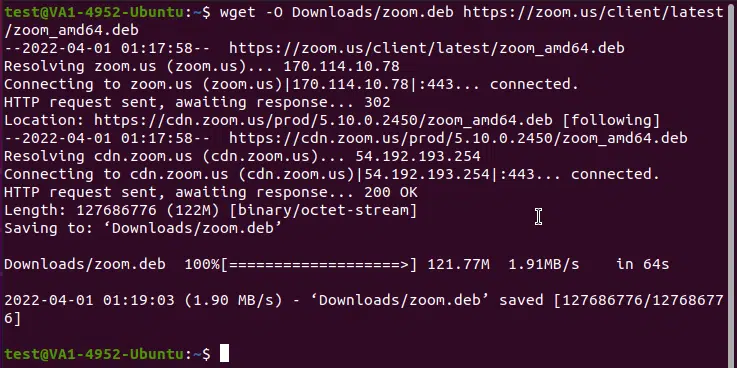
Run the following command to download the latest zoom package to your downloads folder:
# wget -O Downloads/zoom.deb https://zoom.us/client/latest/zoom_amd64.deb
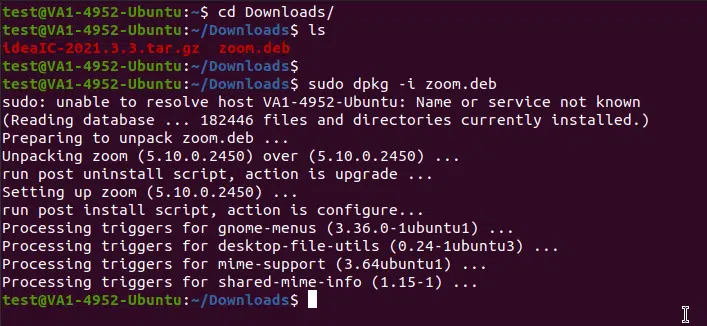
Check the downloaded file on downloads folder and install it, run the following command to do so:
# cd Downloads/
# sudo dpkg -i zoom.deb
Zoom is now installed on your system via the terminal. To launch it: search for it in the applications menu and launch it!

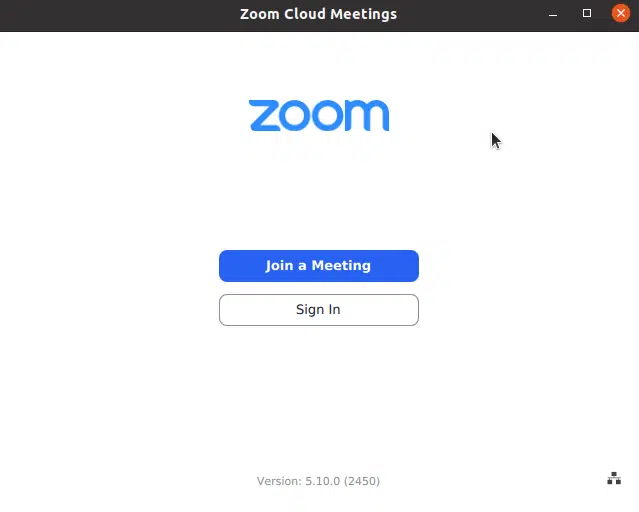
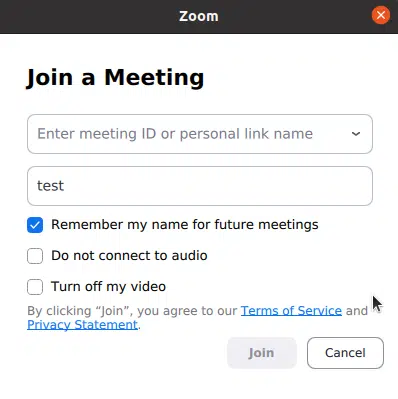
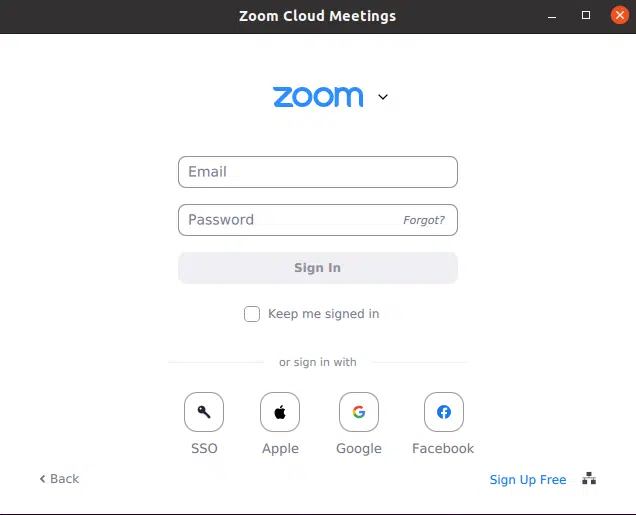
You can join a meeting by using the meeting ID or your personal link. First, we recommend you to login to your zoom account by clicking the Sign-in button.
We have successfully installed Zoom on your Ubuntu machine. We hope this tutorial was useful for you.
zoom is a popular video-conferencing application that enables users to participate in online events, webinars, and virtual meetings.
You can install Zoom on Ubuntu by following these steps:
- Go to the Zoom website (https://zoom.us/download) and download the Zoom package for Ubuntu.
- Open a terminal window by pressing Ctrl+Alt+T.
- Navigate to the directory where you saved the Zoom package and enter the command “cd Downloads” (if it was saved in the Downloads folder).
- Install the necessary dependencies by entering the following command: “sudo apt install libgl1-mesa-glx libegl1-mesa libxcb-xtest0”.
- Install the Zoom package by entering the command: “sudo dpkg -i zoom_amd64.deb” (replace “zoom_amd64.deb” with the actual name of the Zoom package you downloaded).
- If you encounter any missing dependencies or errors during installation, use the following command to install them: “sudo apt –fix-broken install”.
After installing Zoom on Ubuntu, you can launch the application from the Applications menu or by entering “zoom” in a terminal window. You will need to sign in or create a new account if you haven’t done so already. Once you’re logged in, you can start hosting or joining Zoom meetings.
To remove Zoom from Ubuntu, open a terminal window and enter the command “sudo apt-get remove zoom”. This will uninstall the Zoom package. If you want to delete any leftover configuration files as well, enter the command “sudo apt-get purge zoom”.