Jellyfin Media Server is an open-source software that allows users to manage and stream their media files, including movies, TV shows, music, and photos. It provides a platform for organizing media libraries, accessing content remotely, and streaming to various devices such as smart TVs, computers, tablets, and smartphones. Jellyfin offers features like transcoding, subtitle support, user management, and parental controls, making it a versatile solution for media enthusiasts and home entertainment setups.
Here we will provide step-by-step process of installing Jellyfin Media Server on Debian 12 with this comprehensive guide. From setting up the repository to updating packages and configuring media streaming, this article provides all the necessary instructions for seamlessly deploying and enjoying Jellyfin on your Debian 12 system. Whether you’re a media enthusiast or simply looking to streamline your media management, this guide equips you with the knowledge to get started efficiently.
To set up a Debian 12 server on the VPSie platform, simply click the link provided to create your account.
We’ll begin the process by recommending that you update your system before installing any software. To do this, please open your terminal and run the following commands:
sudo apt-get update
Install the necessary Jellyfin packages:
To proceed, open the terminal and execute the following command:
sudo apt install software-properties-common apt-transport-https ca-certificates curl -y
Import Jellyfin APT repositories:
To install Jellyfin Media Server, we need to import its APT repositories since it’s not available in the default repository. This involves importing the Jellyfin GPG key and repository to ensure the authenticity of the package. Let’s start by importing the GPG key. Open your terminal and run the following command:
curl -fsSL https://repo.jellyfin.org/debian/jellyfin_team.gpg.key | sudo gpg --dearmor -o /usr/share/keyrings/jellyfin.gpg > /dev/null
After importing the GPG key, proceed to add the Jellyfin repository. You can opt for either the stable (well tested) or unstable versions based on your requirements.
For Stable Jellyfin Version, run the following command:
echo "deb [arch=$( dpkg --print-architecture ) signed-by=/usr/share/keyrings/jellyfin.gpg] https://repo.jellyfin.org/debian $(lsb_release -cs) main" | sudo tee /etc/apt/sources.list.d/jellyfin.list
For Unstable Jellyfin Version, run the following command:
echo "deb [arch=$( dpkg --print-architecture ) signed-by=/usr/share/keyrings/jellyfin.gpg] https://repo.jellyfin.org/debian $(lsb_release -cs) unstable" | sudo tee /etc/apt/sources.list.d/jellyfin.list
Your system requires an update. To incorporate the newly added repository, execute the following command:
sudo apt update
After executing this command, the system’s repository listing will be updated, ensuring recognition of the Jellyfin Media Server.
Install Jellyfin Media Server:
Now, set up Jellyfin. The procedure is simple and can be done with just one straightforward command:
sudo apt install jellyfin jellyfin-ffmpeg5 jellyfin-server jellyfin-web
This command installs Jellyfin from the added repository, enabling automatic startup on your system. To verify the operational status and proper functioning of the Jellyfin service, run the following command:
systemctl status jellyfin

If the Jellyfin service isn’t running, you can initiate it manually using the command:
sudo systemctl start jellyfin
To configure Jellyfin to start automatically whenever your system boots up, use the following command:
sudo systemctl enable jellyfin
This ensures your media server is always ready whenever you start your system.
Access the Jellyfin Web UI:
Simply launch your preferred web browser and enter the IP address of your Debian server followed by the default Jellyfin port 8096:
http://{IP}:8096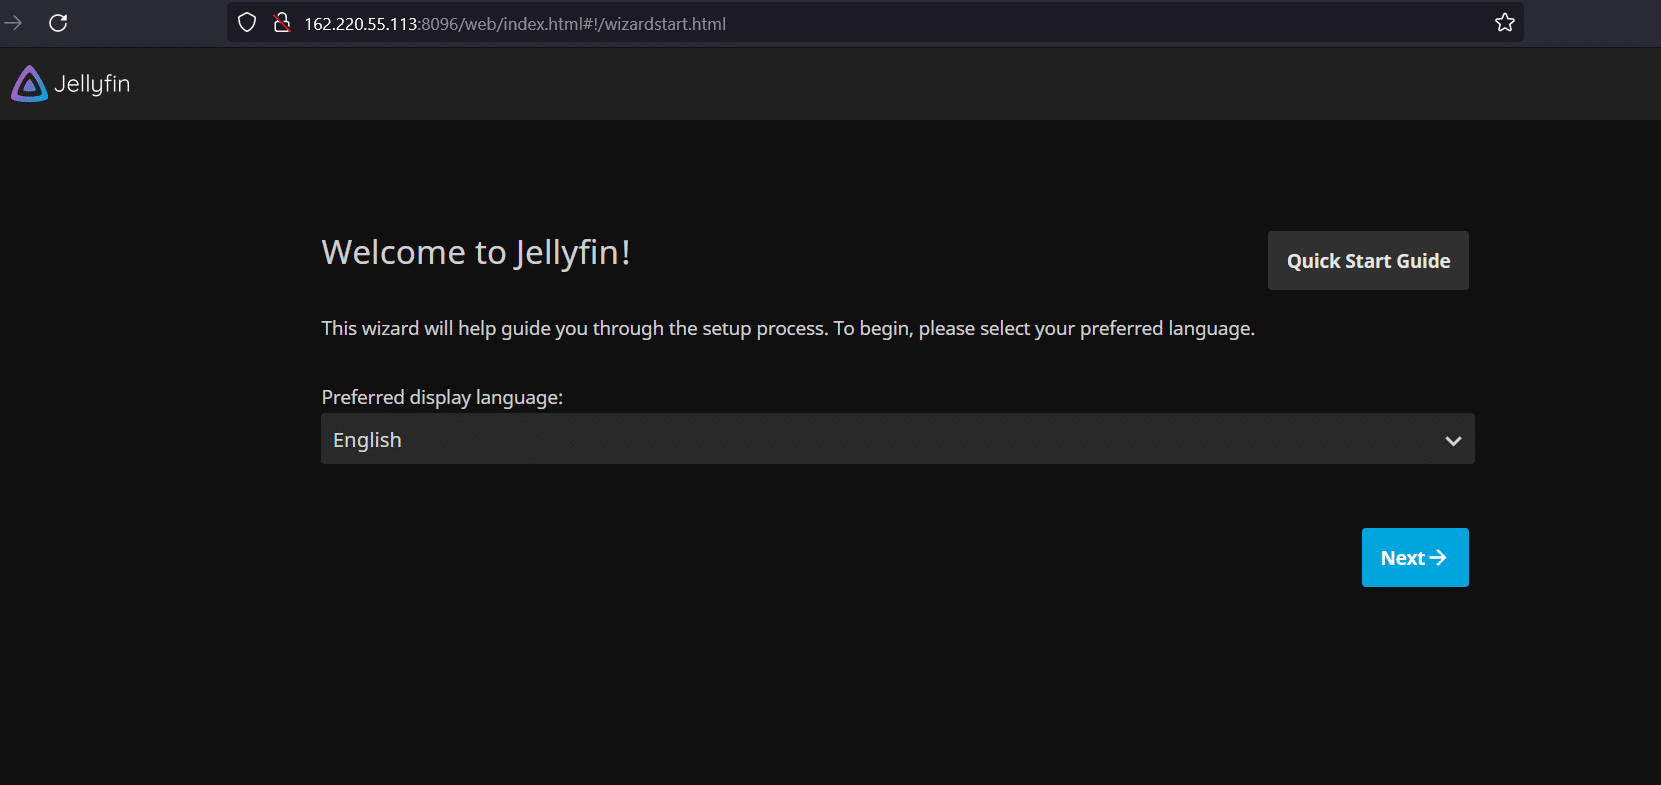
Once you’ve made it, click on the Next button to proceed to the next step.

Please create your username and password, then proceed by clicking the Next button.

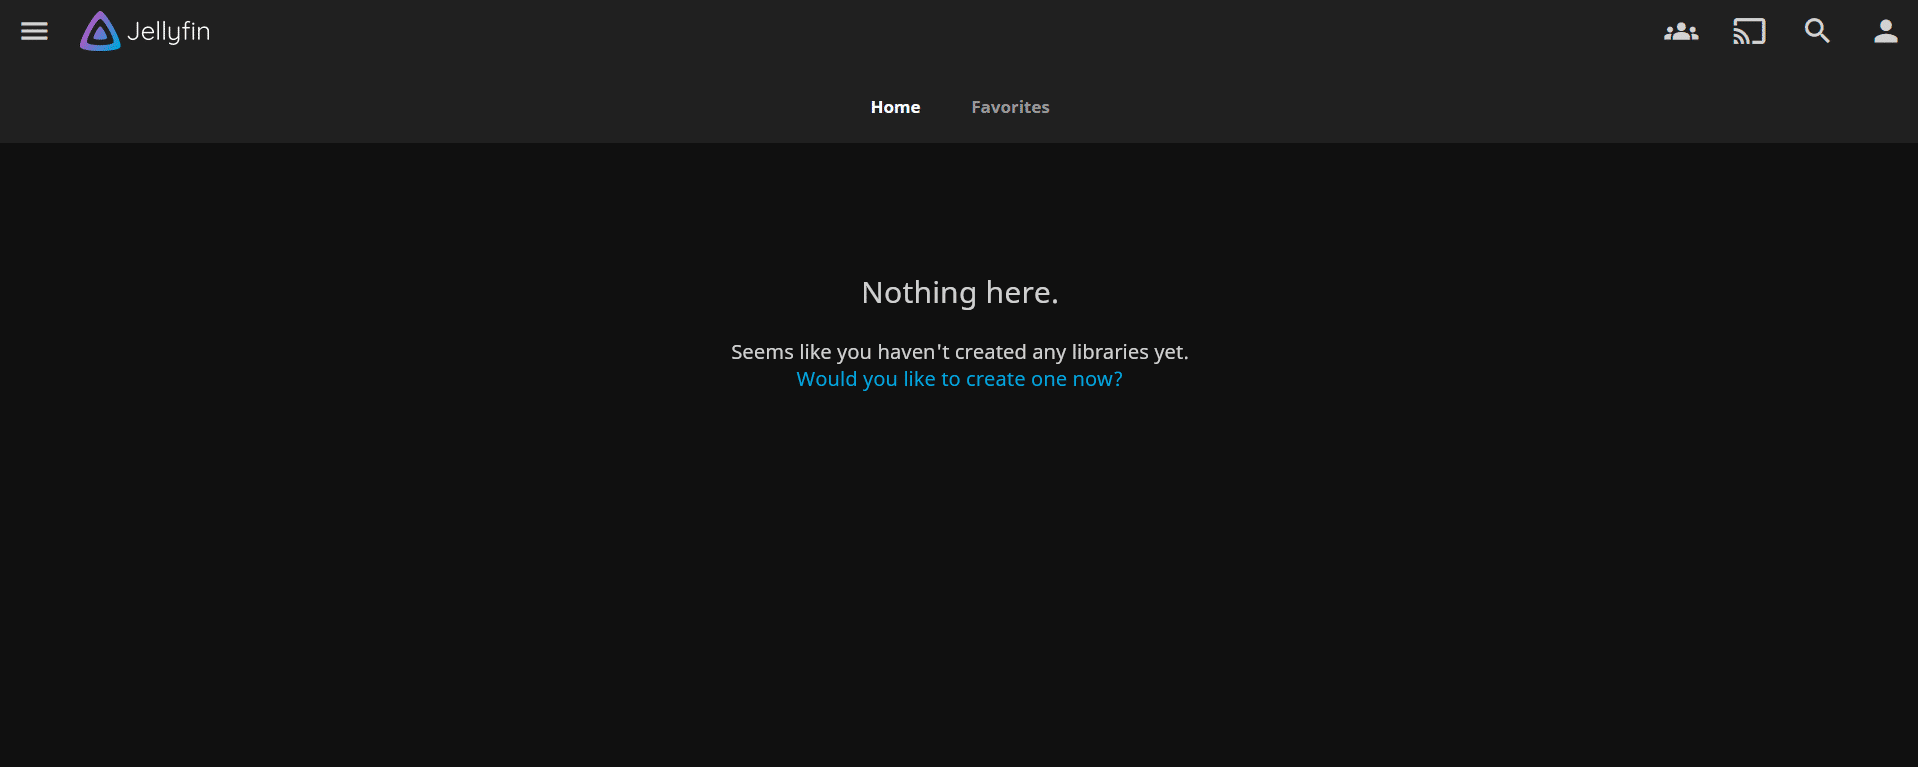
Here you can add and arrange your media content. You have the flexibility to create multiple libraries for various types of media like movies, TV shows, and music. To populate your libraries with media files and effectively organize your content on Jellyfin, simply click the prominent + or Add Media Library button on the Jellyfin dashboard.

Choose your desired language for the metadata of your media content. This metadata enhances your media content by providing supplementary information such as cast and crew profiles, plot summaries, and reviews, then proceed by clicking the Next button.
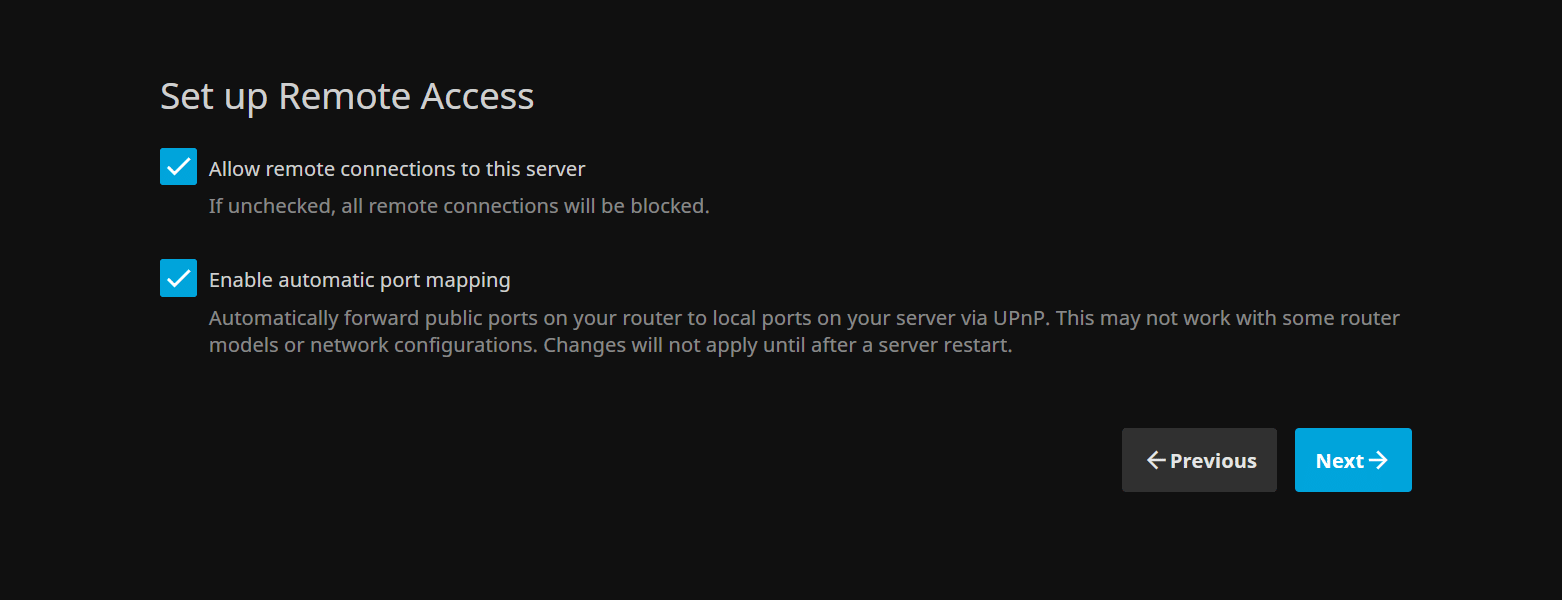
This functionality allows you to reach your media library from any location with an internet connection. To activate it, enable remote connections to your Jellyfin server and switch on automatic port mapping. This ensures that incoming traffic is properly directed to your Jellyfin server, enabling seamless streaming.
If remote access is not needed, simply Unselect it, then proceed by clicking the Next button.

All tasks completed. Jellyfin has commenced gathering information regarding your media library. Click “Finish” to access the Dashboard.

Please log in using the credentials we generated during the initial setup.
In conclusion, setting up Jellyfin Media Server on Debian 12 offers a straightforward process for users seeking to organize and stream their media content. With its user-friendly interface and compatibility with various devices, Jellyfin provides a reliable solution for managing digital libraries and enhancing media accessibility.