This article serves as your comprehensive guide to installing the UniFi Controller on your Debian 12 VM. Whether you are a seasoned IT professional or a tech enthusiast exploring the intricacies of network management, this step-by-step walkthrough will empower you to harness the full potential of UniFi within the virtualized environment.
From updating your Debian system to navigating the UniFi setup wizard, we’ll cover every aspect of the installation process. By the end of this journey, you’ll have a fully functional UniFi Controller, ready to oversee and optimize your UniFi-enabled network. Let’s embark on this exploration of connectivity, control, and customization as we dive into the installation of UniFi Controller on Debian 12.
Prerequisites
Before you begin the installation process, ensure you have the following:
- Machine running Debian 12.
- User account with sudo privileges.
Installation
Before installing any new software, it’s a good practice to update the system packages to their latest versions. Open a terminal and run the following commands:
sudo apt update
Get the most recent UniFi Network Application by following the provided link.

Paste the link on the following command syntax run it :
wget {link address}
Now execute the downloaded script named unifi-8.0.26.sh by running the following command:
sudo bash unifi-8.0.26.sh
During the installation process, you’ll need to allow all prompted confirmations by entering ‘Y’ and pressing ‘Enter’. It will take some time, please be patient.

The installation has been completed successfully. Access the UniFi web console using the provided link on the above screen.
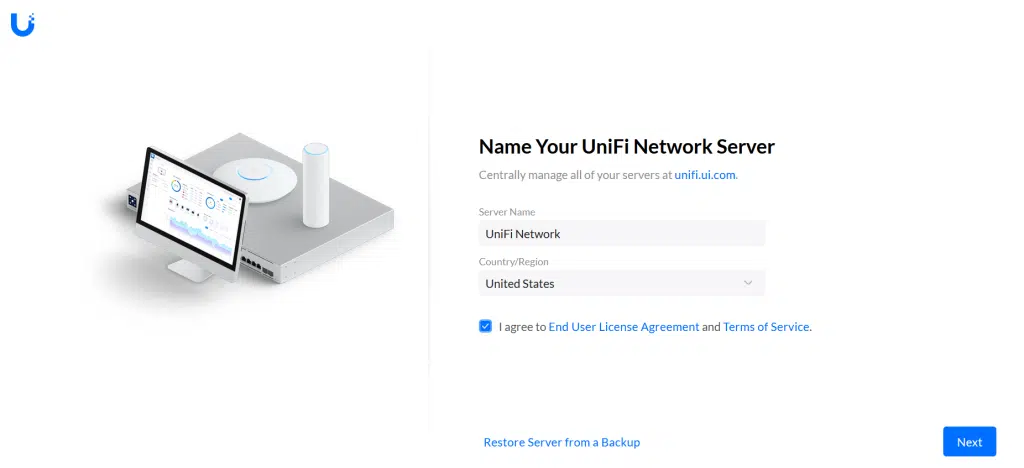
Agree the End user license agreement and click on Next. Proceed to the following page, select Advanced Setup for a locally hosted controller, and input your user details and then click on Finish.
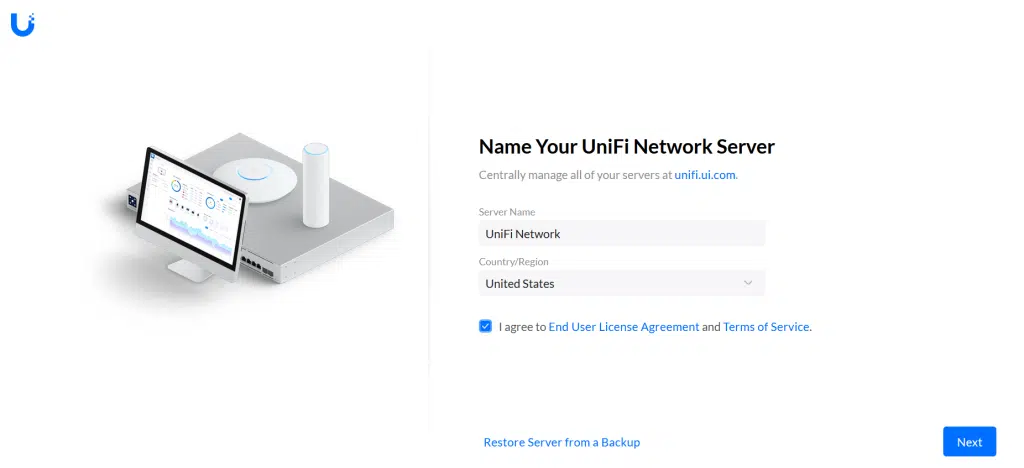
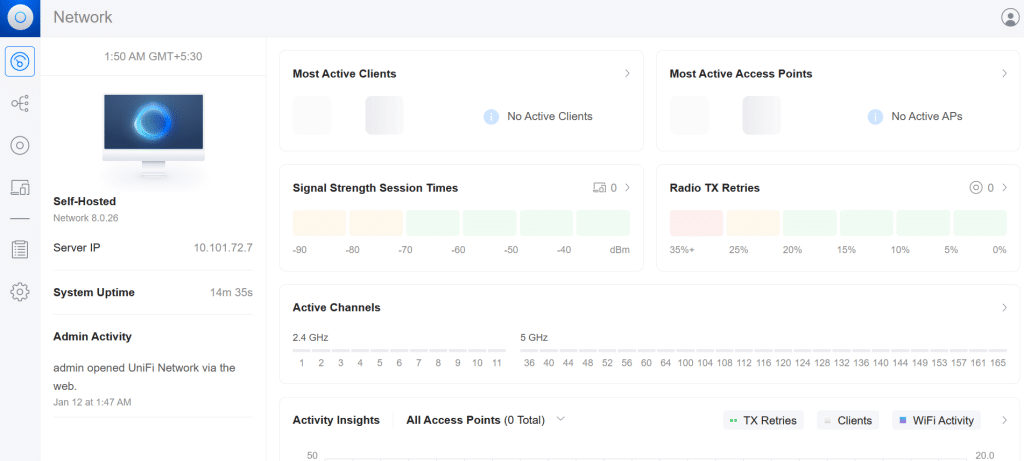
Verify version details and review all aspects within the controller. Appreciate your time for reading this article.

