Netadata on Debian 12
Dive into the world of distributed and real-time performance monitoring with our step by step guide on installing the Netdata Monitoring Tool on Debian 12. Uncover insights into your system’s health and optimize performance effortlessly with this powerful monitoring solution.
Prerequisites
Before you begin the installation process, ensure you have the following:
- Machine running Debian 12.
- User account with sudo privileges.
Before installing any new software, it’s a good practice to update the system packages to their latest versions. Open a terminal and run the following commands:
sudo apt update -y
Now proceed with the Netdata installation on your Debian system. Execute the following command on your server to initiate the installation process:
sudo apt install netdata -y
sudo systemctl start netdata
sudo systemctl enable netdata
sudo systemctl status netdata
Configure Netdata
With Netdata successfully installed on Debian 12, it’s time to customize its configuration. Open the Netdata configuration file in Debian 12 using your preferred text editor. In this example, we’ll use nano.
sudo nano /etc/netdata/netdata.conf
[global]
        run as user = netdata
        web files owner = root
        web files group = root
        # Netdata is not designed to be exposed to potentially hostile
        # networks. See https://github.com/netdata/netdata/issues/164
        bind socket to IP = server-IP
Exit by pressing Ctrl + X and Press Y and Enter.
Execute the given command to implement the alterations and restart Netdata on Debian 12:
sudo systemctl restart netdata
Configure UFW Firewall for Netdata
By default, the UFW firewall is inactive on VPSie. You can choose to skip this step, or if you prefer to install the firewall, follow these instructions.
Assuming UFW is enabled, grant access to Netdata on port 19999 by allowing traffic through the firewall with the provided command.
sudo ufw allow 19999/tcp
Reload the firewall to apply the new rules:
sudo ufw reload
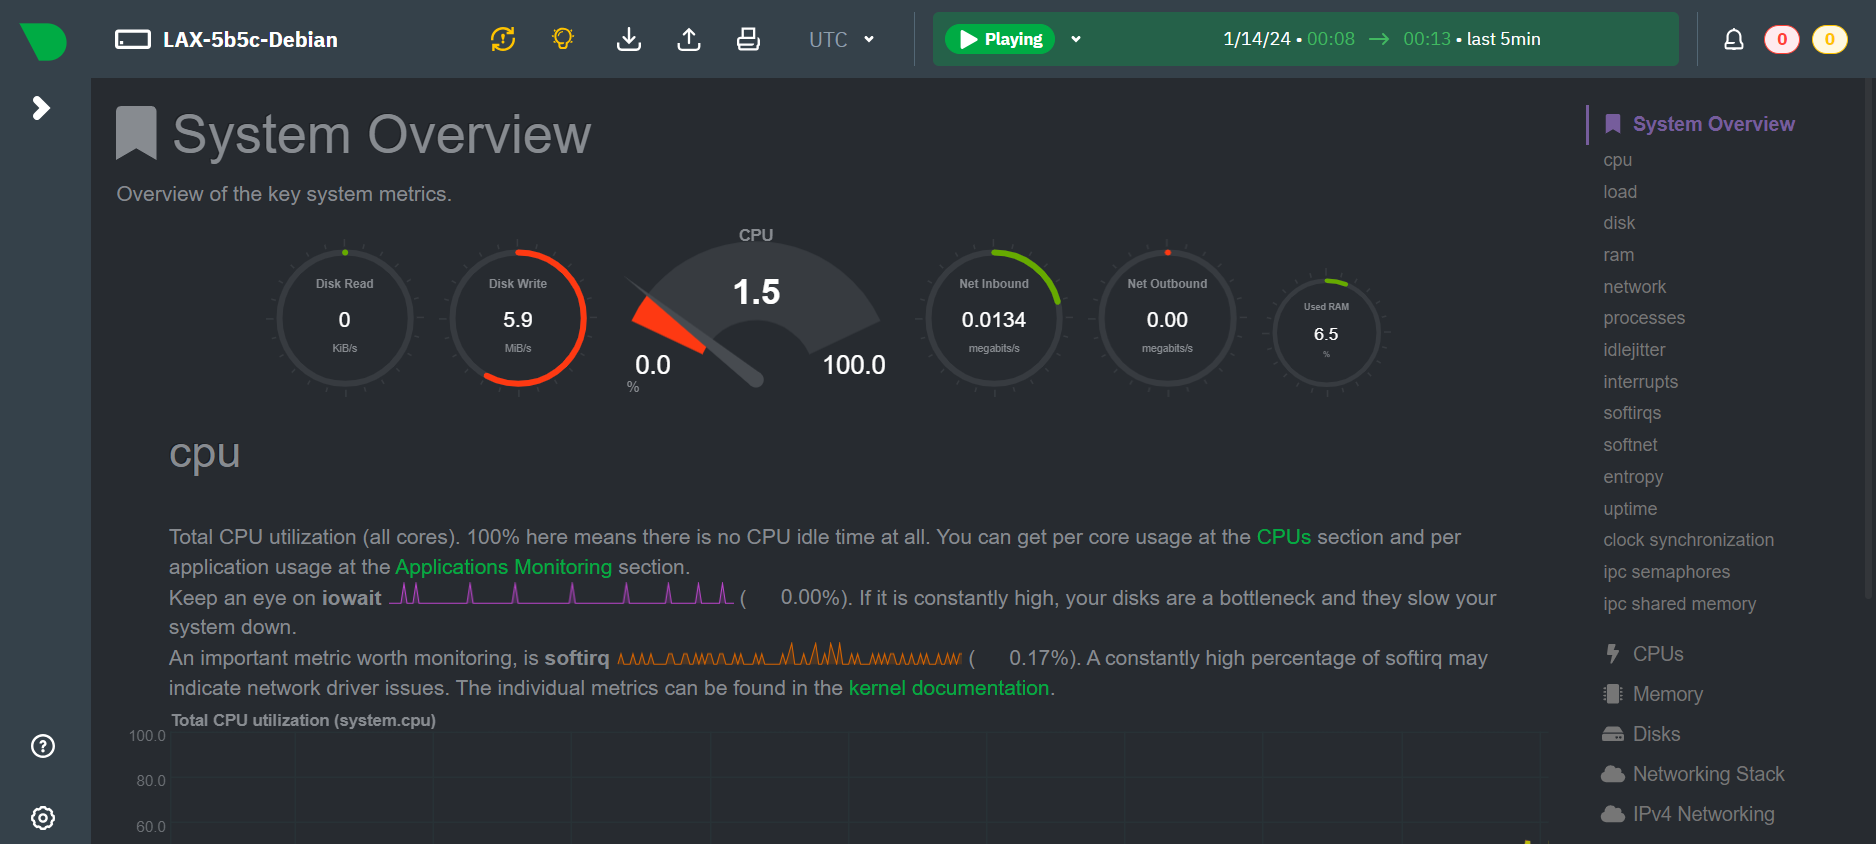
Access Netdata Dashboard from Web Interface
Now, to access the Netdata dashboard on Debian 12, simply enter your server’s IP address in your web browser, followed by 19999:
http://YOUR_SERVER_IP_ADDRESS:19999
Experience a comprehensive system overview right on the Netdata dashboard.