How to Install CockPit on Ubuntu 20.04
Through the Cockpit, system administrators are able to manage their systems through a web browser. The Cockpit allows you to manage system resources, create and remove users, start and stop programs, restart, and shut down the system. Furthermore, it allows you to administer virtual boxes from the Cockpit through a web browser. Okay, let’s start.
For Ubuntu systems to be registered on the VPSie platform, A VPSie account needs to be created if it hasn’t been created already. Throughout this tutorial, a CentOS instance will be used.
Connect by SSH with the credentials we emailed you once you create your Ubunru instance. Run the following commands to update your system.
# apt-get update && apt-get upgrade -y
Do a reboot,
# sudo reboot
Step 2: Install Cockpit
It’s a straightforward install. Run the following command to install the CockPit.
# sudo apt install cockpit -y
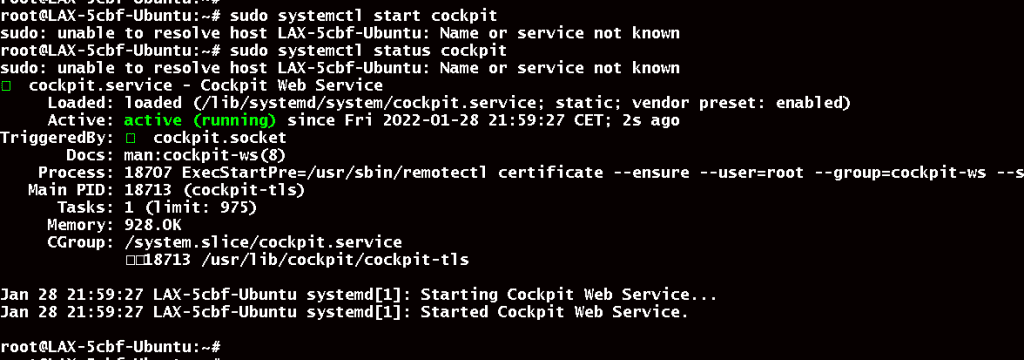
The CockPit service must be started once the installation is complete. Execute the following command.
# sudo systemctl start cockpit
Check CockPit’s status(If the service is inactive, run the above command again):
# sudo systemctl status cockpit
Step 3: Set up the firewall
Port 9090 needs to be opened up in your firewall if it is configured. Port 9090 is used by default by the cockpit.
First check the status of your firewall:
# sudo systemctl status ufw
If it is running, Run the following command to open the port on your firewall:
# sudo ufw allow 9090/tcp
Step 4: Access the we interface
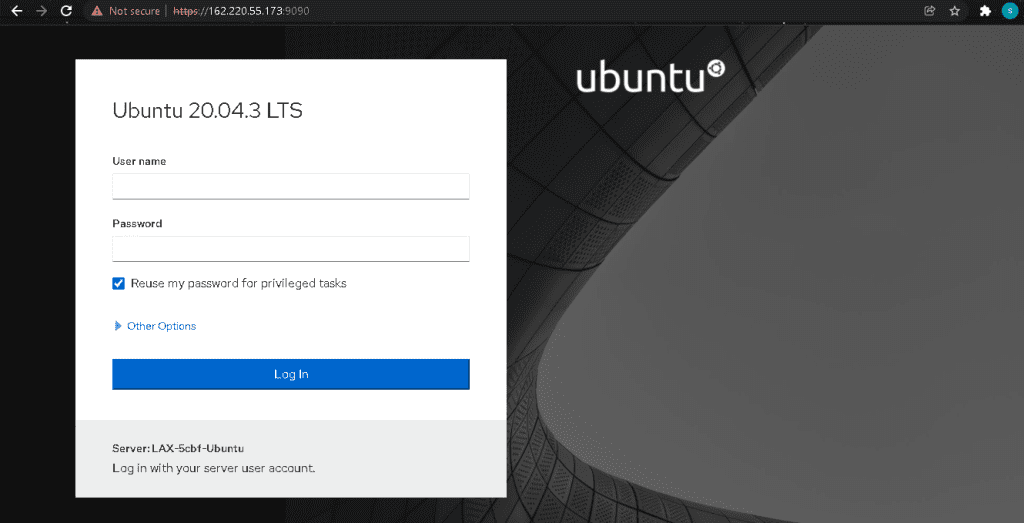
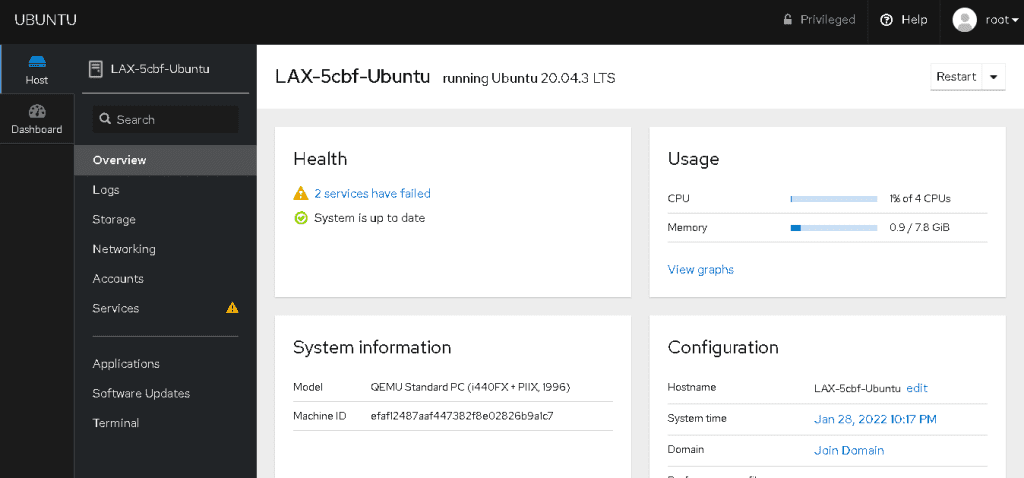
You can access the web interface of CockPit at https://{ServerIP}:9090. Access your account by entering your credentials and login.
We have successfully installed CockPit system administrators on your Ubuntu instance. You can now monitor and do all the administrative work using a browser. Thanks for reading! I hope it was informative for you!
Cockpit is a web-based graphical user interface for managing Ubuntu servers. It provides a simple and easy-to-use interface for system administrators to manage various aspects of their Ubuntu servers, such as monitoring system performance, managing storage, configuring network settings, and more.
Cockpit is included in the default Ubuntu repositories, so it can be easily installed using the apt package manager. To install Cockpit, open a terminal window and enter the following command:
sudo apt-get update
sudo apt-get install cockpit
Once the installation is complete, you can access Cockpit by opening a web browser and navigating to https://localhost:9090.
Cockpit provides a range of features and tools for managing Ubuntu servers, including:
- Monitoring system performance: Cockpit allows you to view real-time system performance metrics, such as CPU usage, memory usage, and disk usage.
- Managing storage: You can use Cockpit to manage storage devices and partitions, create and delete file systems, and monitor disk usage.
- Configuring network settings: Cockpit provides a simple interface for configuring network settings, such as IP addresses, DNS servers, and network interfaces.
- Managing users and groups: You can use Cockpit to manage users and groups on your Ubuntu server, including creating new users, modifying user permissions, and deleting users.
- Managing services and applications: Cockpit allows you to manage services and applications running on your Ubuntu server, such as Apache web server, PostgreSQL database, and more.
Cockpit is designed with security in mind and includes several features to help ensure the security of your Ubuntu server. For example, Cockpit uses SSL/TLS encryption to secure communications between the web browser and the server. Additionally, Cockpit includes support for two-factor authentication and integrates with the system’s PAM (Pluggable Authentication Modules) to enforce user authentication policies.
Yes, Cockpit includes support for managing multiple Ubuntu servers from a single web interface. To manage multiple servers, simply add the servers to Cockpit using their IP addresses or hostnames, and you can switch between servers with just a few clicks.


