VestaCP is a free and open-source web hosting control panel that allows users to manage their web server easily. It is compatible with CentOS, Debian, and Ubuntu operating systems, making it a versatile tool for web developers and administrators. This article will provide an in-depth look at the installation of VestaCP, its features, advantages, disadvantages, and how it can be used to manage a web server.
What is VestaCP?
VestaCP is a free and open-origin web hosting control panel that allows users to manage their web servers through a simple and user-friendly interface. It provides users with different features, such as domain management, email management, database management, and more.
STEP 1
Login to your server with root access.
STEP 2
Download the installation script by running this command:
curl -O http://vestacp.com/pub/vst-install.sh
STEP 3
Run the installation script :
bash vst-install.sh
When you run the installation script, all that need VestaCP will be installed in a few minutes.
Access details will be shown when the installation script finishes.
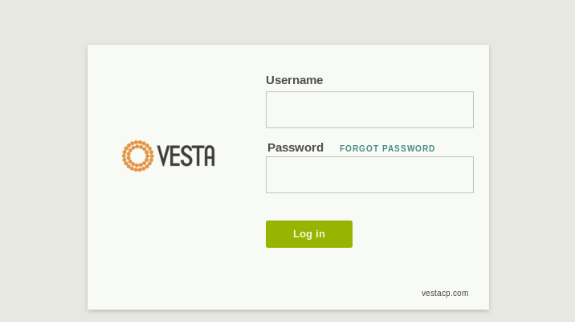
Login to your VestaCP in this URL https://yourIPaddress:8083 or https://yourdomain.com:8083
You have successfully installed VestaCP.
Why use VestaCP?
VestaCP is an excellent choice for small to medium-sized websites that require a simple and easy-to-use web hosting control panel. It provides users with various essential features for managing their web server, including automated backups, security features, and a user-friendly interface.
Its simple and intuitive interface makes it easy for users to manage their web server without requiring any technical expertise. Additionally, it is open-source, meaning it is constantly being improved and updated by a large community of developers.
Features of VestaCP:
- Domain Management: VestaCP allows users to manage multiple domains and subdomains from a single dashboard. Users can easily create, delete, and manage domains and subdomains through the interface.
- Email Management: Users can create and manage email accounts, forwarders, and autoresponders through the VestaCP interface. It also includes spam filtering and antivirus protection to ensure that emails are secure.
- Database Management: VestaCP provides users various database management tools, including support for MySQL, PostgreSQL, and MariaDB. Users can create, delete, and manage databases easily through the interface.
- File Management: Users can manage their website files through the VestaCP file manager, which provides a simple and intuitive interface for uploading, downloading, and editing files.
- Security: VestaCP includes various security features, including SSL/TLS encryption, firewall management, and automated backups. These features help to keep websites secure and protect them from cyber threats.
Advantages of VestaCP:
- User-friendly interface: VestaCP’s interface is designed to be simple and easy to use, creating it accessible to users with no technical expertise.
- Automated backups: VestaCP includes an automatic backup system that makes it easy to back up and restore websites.
- Security features: VestaCP includes various security features to keep websites secure, including SSL/TLS encryption, firewall management, and automated backups.
- Open-source: VestaCP is open-source, constantly being improved and updated by a large community of developers.
Disadvantages of VestaCP:
- Limited customization: VestaCP is designed to be simple and user-friendly, so it may need some advanced features that more experienced users require.
- Limited third-party integration: VestaCP is designed to work with specific web servers and may not support some third-party software or plugins.
- Support: While VestaCP is open-source and has an active community, professional help may be limited.
Conclusion:
VestaCP is a powerful and easy-to-use web hosting control panel that provides users with various features for managing their web server. Its user-friendly interface, automated backups, and security features make it an excellent choice for small to medium-sized websites. While it may lack some advanced features and third-party integration, its simplicity and ease of use make it an attractive option for web developers and administrators. If you are looking for a free and open-source web hosting control panel, VestaCP is an excellent option.