If you’re looking to streamline your customer support and manage your tickets efficiently, you’ve come to the right place. In this guide, we’ll walk you through the steps to install the OTRS (Open Ticket Request System) on Debian 12. OTRS is a powerful, open-source ticketing system that’s perfect for handling customer inquiries, internal requests, and much more. Let’s get started and set up your very own OTRS ticketing system!
To start, make sure you’ve created a VPSie account if you haven’t already. Next, proceed by deploying an Debian 12 server configured to meet your specific needs.
Once the server is deployed, SSH into the command line interface. Before installing any packages, it’s essential to update your system’s package list to ensure you have access to the latest versions. Open a terminal and run the following command:
sudo apt-get update -y
Install Dependencies
OTRS is written in Perl, so you need to install all the Perl dependencies on your server. You can do this by running the following command:
sudo apt install perl libapache2-mod-perl2 libdbd-mysql-perl libtimedate-perl libnet-dns-perl libnet-ldap-perl libio-socket-ssl-perl libpdf-api2-perl libdbd-mysql-perl libsoap-lite-perl libtext-csv-xs-perl libjson-xs-perl libapache-dbi-perl libxml-libxml-perl libxml-libxslt-perl libyaml-perl libarchive-zip-perl libcrypt-eksblowfish-perl libencode-hanextra-perl libmail-imapclient-perl libtemplate-perl libmoo-perl libauthen-ntlm-perl libjavascript-minifier-xs-perl libdbd-odbc-perl libcss-minifier-xs-perl libdbd-pg-perl libdatetime-perl -y
Install Apache and MariaDB Server
First, you’ll need to install Apache and MariaDB servers on your system. Run the following command to install both packages:
sudo apt install apache2 mariadb-server mariadb-client -y
Once installed, start the Apache and MariaDB services and enable them to start automatically after system reboot:
sudo systemctl start apache2 mariadb
sudo systemctl enable apache2 mariadb
Now, ensure the MariaDB installation is secured by executing the command:
mysql_secure_installation
Follow the prompts as shown below:
Enter current password for root (enter for none):
Set root password? [Y/n]: N
Remove anonymous users? [Y/n]: Y
Disallow root login remotely? [Y/n]: Y
Remove test database and access to it? [Y/n]: Y
Reload privilege tables now? [Y/n]: Y
Next, adjust the MariaDB configuration by editing the file:
nano /etc/mysql/mariadb.conf.d/50-server.cnf
Include the following lines within the [mysqld] section:
max_allowed_packet=256M
character-set-server=utf8
collation-server=utf8_general_ci
innodb_buffer_pool_size=5G
innodb_log_file_size=1G
Save and exit the file. Finally, restart the MariaDB service to apply the changes:
systemctl restart mariadb
Install OTRS
Create a dedicated user, “otrs,” to run OTRS:
sudo useradd -r -m -d /opt/otrs -c "OTRS User" otrs
Add the OTRS user to the www-data group:
sudo usermod -aG www-data otrs
First, download the latest OTRS version from their official website by executing this command:
wget https://otrscommunityedition.com/download/otrs-community-edition-6.0.40.tar.gz
Once the download is complete, extract the downloaded file into the OTRS directory:
tar xvfz otrs-community-edition-6.0.40.tar.gz -C /opt/otrs --strip-components=1
Next, change the ownership of the OTRS directory to the user and group otrs:
chown -R otrs:otrs /opt/otrs
Finally, verify all required Perl modules by running the following command:
perl /opt/otrs/bin/otrs.CheckModules.pl
Now rename the OTRS configuration file:
cp /opt/otrs/Kernel/Config.pm{.dist,}
Next, install the required dependencies:
perl -cw /opt/otrs/bin/cgi-bin/index.pl
perl -cw /opt/otrs/bin/cgi-bin/customer.pl
perl -cw /opt/otrs/bin/otrs.Console.pl
perl /opt/otrs/bin/otrs.SetPermissions.pl
Configure Apache for OTRS
First, create a symbolic link to the OTRS Apache configuration file in the Apache web root directory:
ln -s /opt/otrs/scripts/apache2-httpd.include.conf /etc/apache2/sites-enabled/
Next, disable the default Apache site configuration:
a2dissite 000-default.conf
Then, enable the required Apache modules:
a2enmod perl version deflate filter headers
Adjust Apache permissions for OTRS using:
/opt/otrs/bin/otrs.SetPermissions.pl --web-group=www-data
Finally, restart the Apache service to apply the changes:
systemctl restart apache2
To verify Apache’s status and ensure everything is running smoothly, use:
systemctl status apache2
These steps will ensure OTRS is properly configured and accessible via Apache.
Access your ORTS Web UI
Open your web browser and navigate to http://server-ip-or-domain/otrs/installer.pl to access the OTRS web installation wizard. You’ll be greeted by the OTRS installation page.
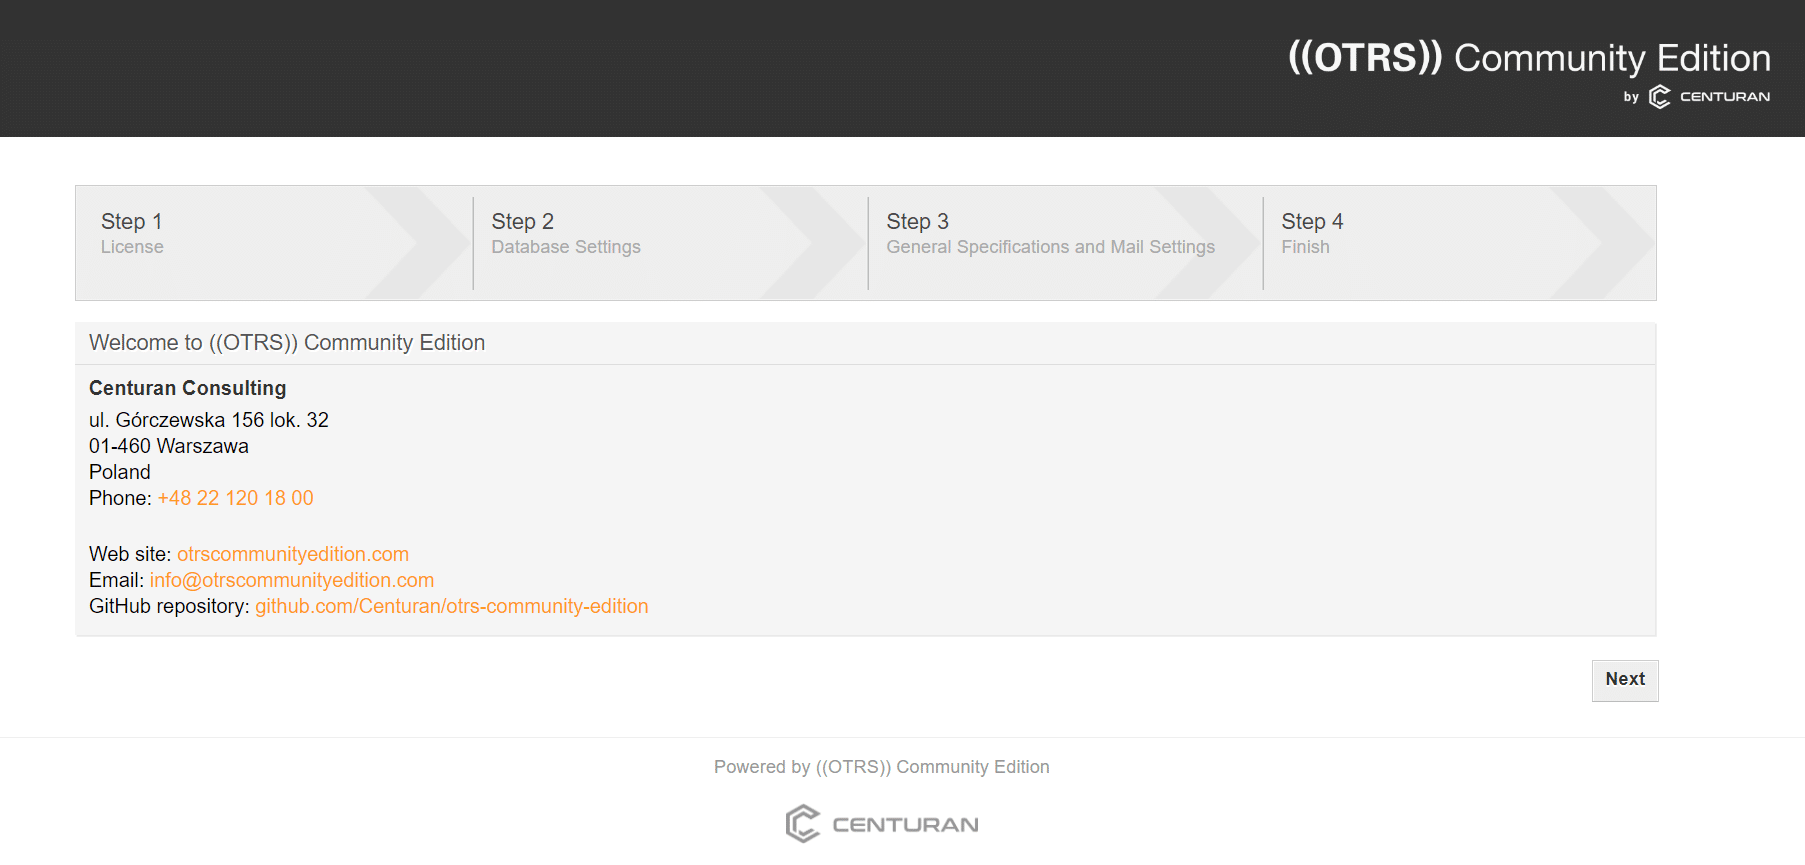
Click the Next button to proceed to the OTRS License screen. Once you reach this page, accept the license terms to continue.
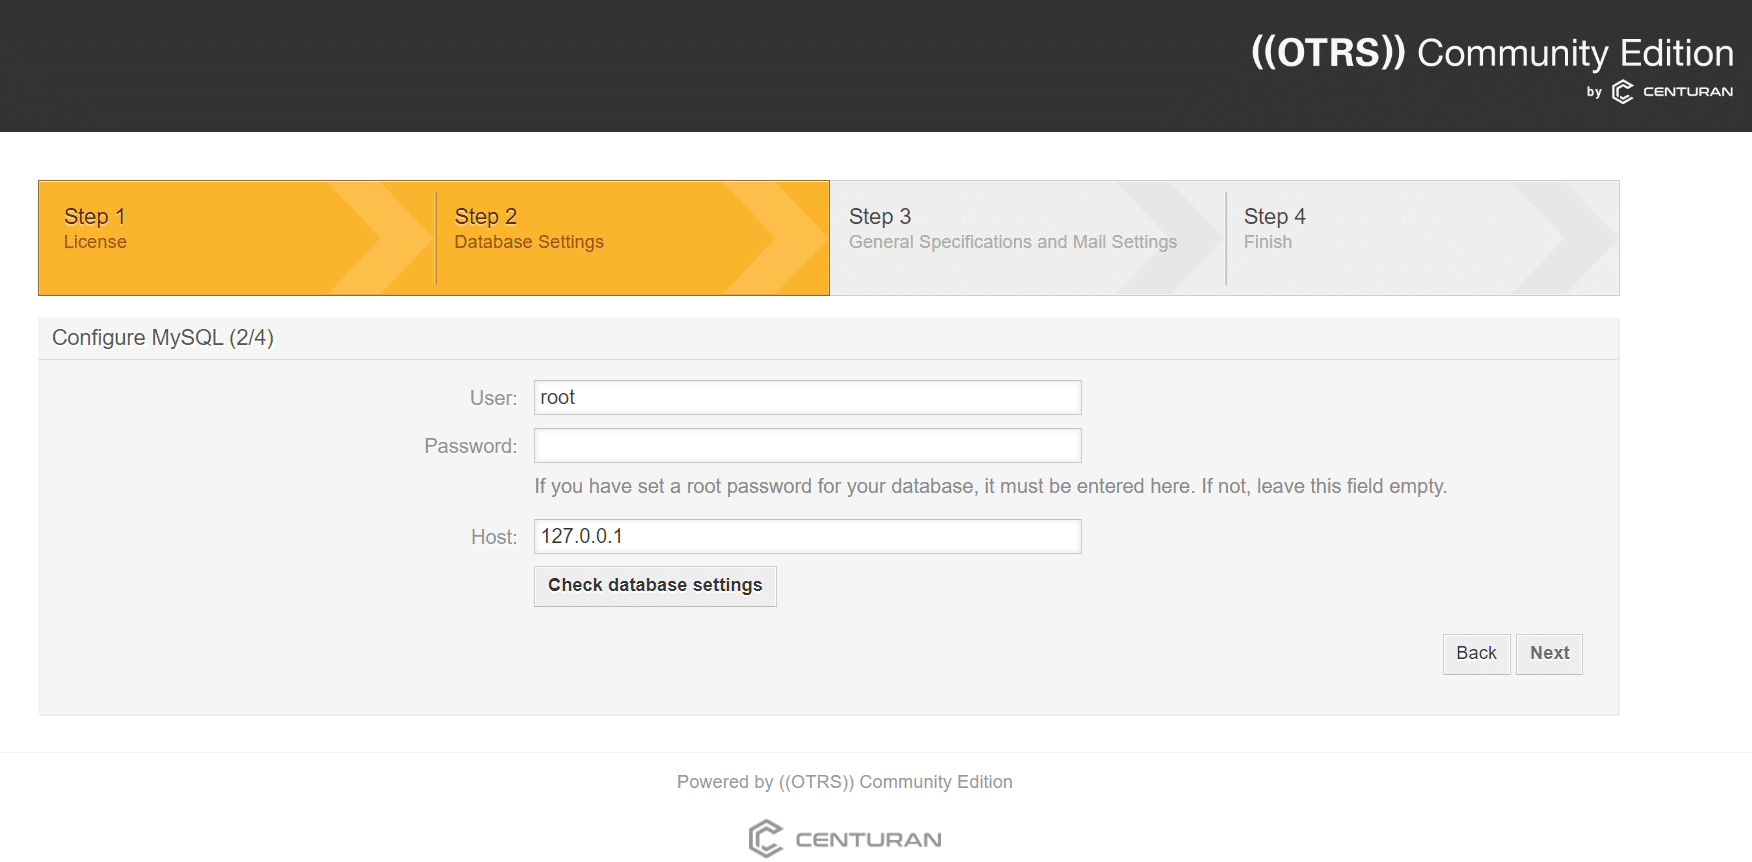
Then Please choose your database and then click the Next button. This will bring up the MySQL configuration screen. Please enter your MySQL root password and click “Check database settings.”
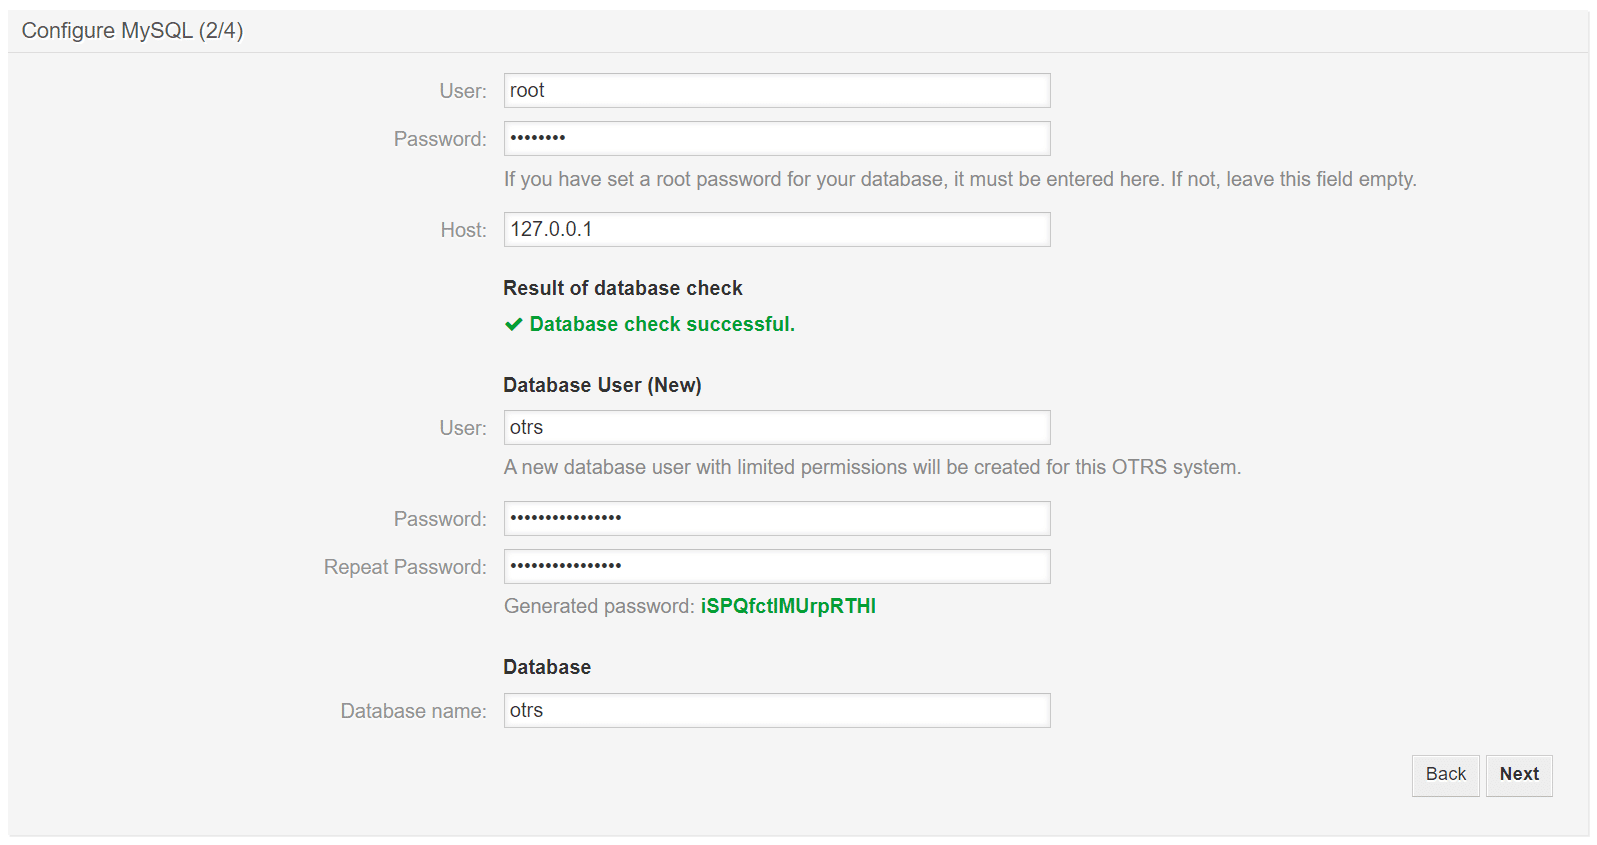
You have the option to use the auto-generated credentials or provide your own new database username and password, then click the Next button.
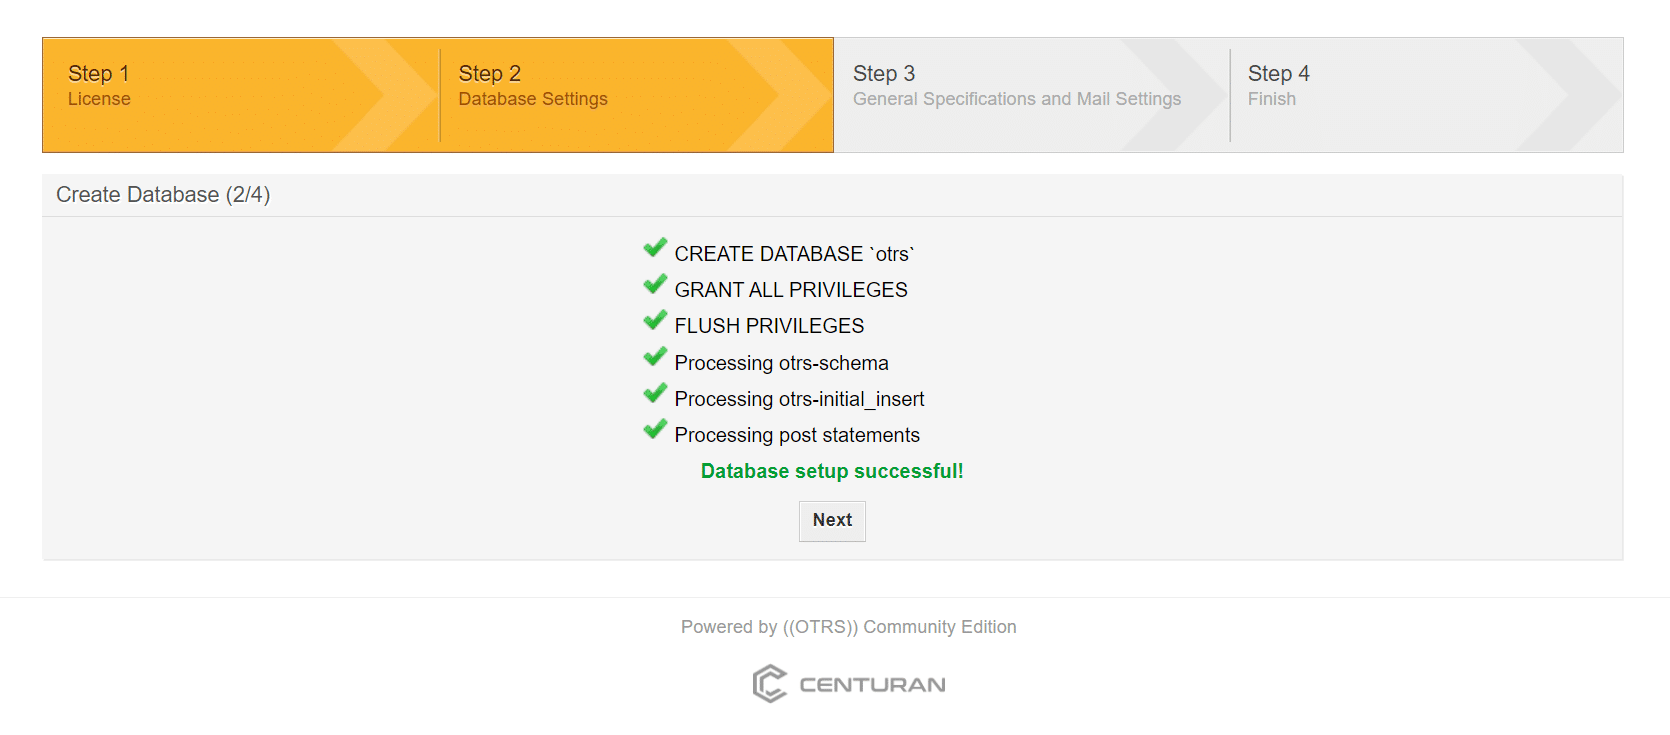
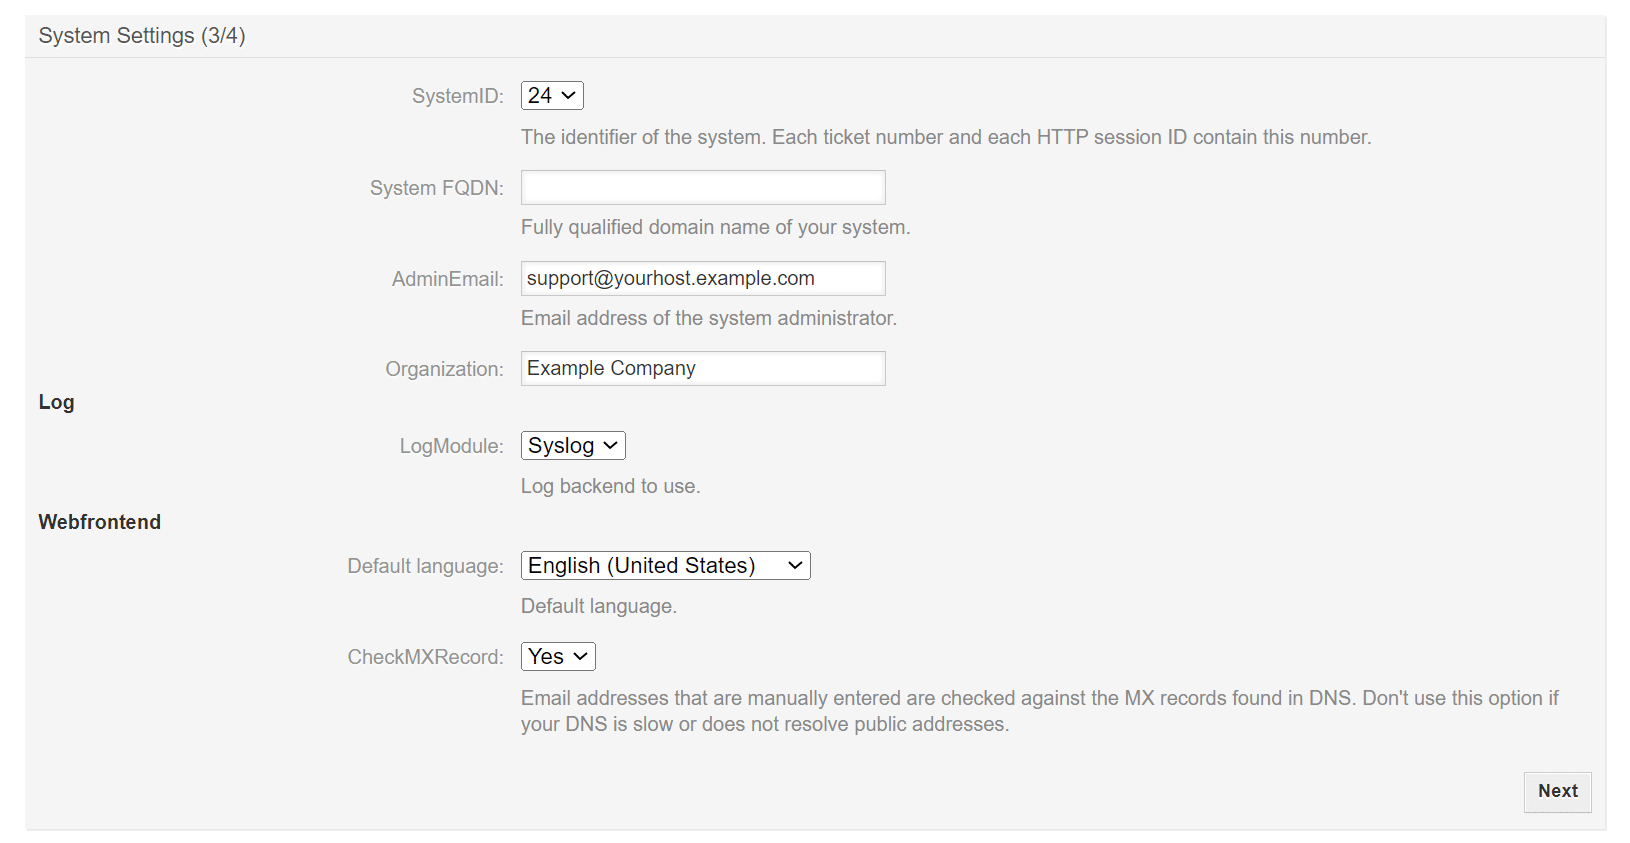
Please configure your system settings and proceed by clicking on Next.
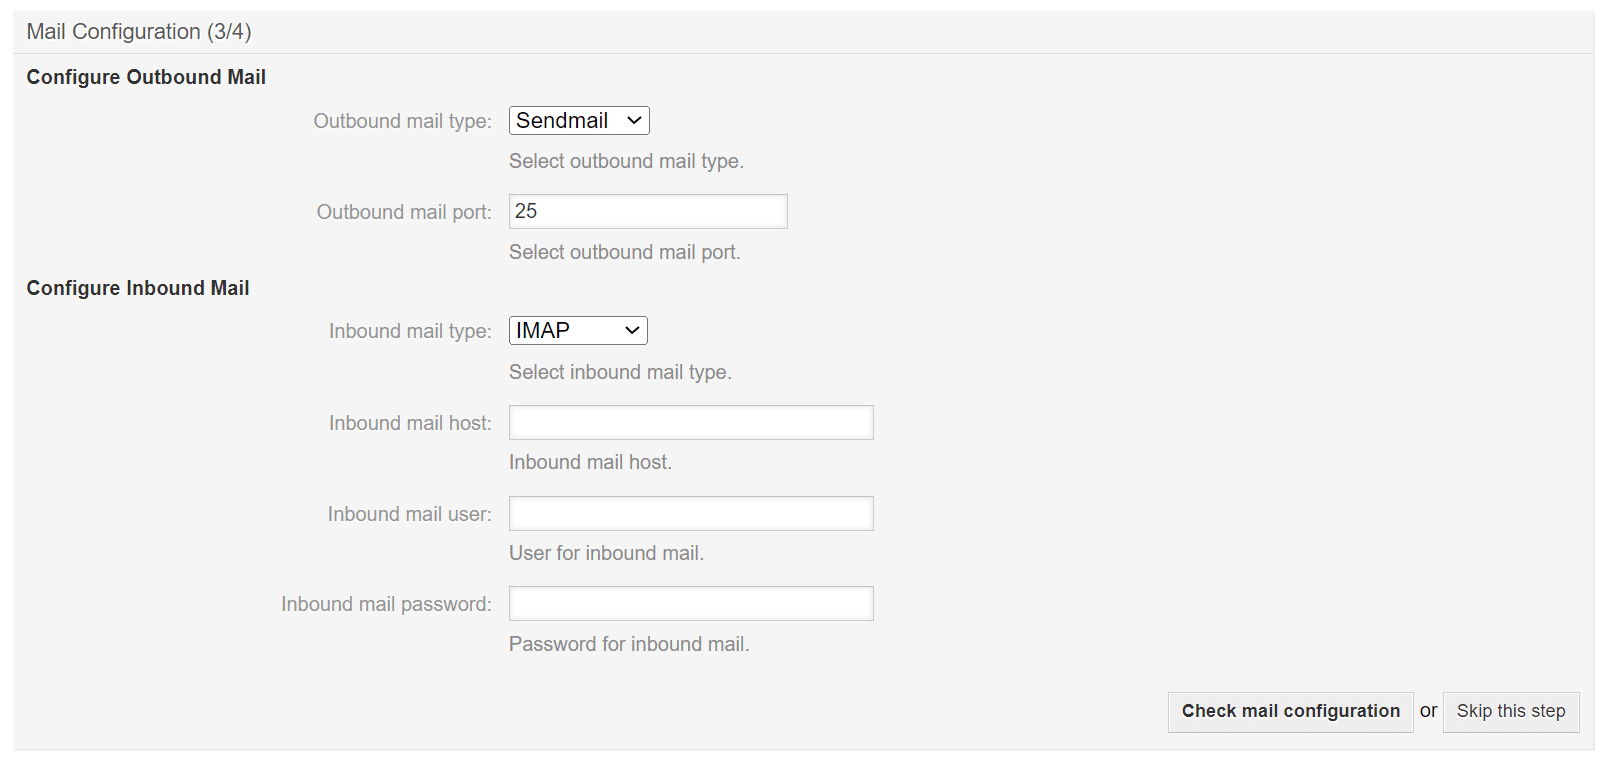
Specify your SMTP server or leave it empty, then click the “Skip this step” button.
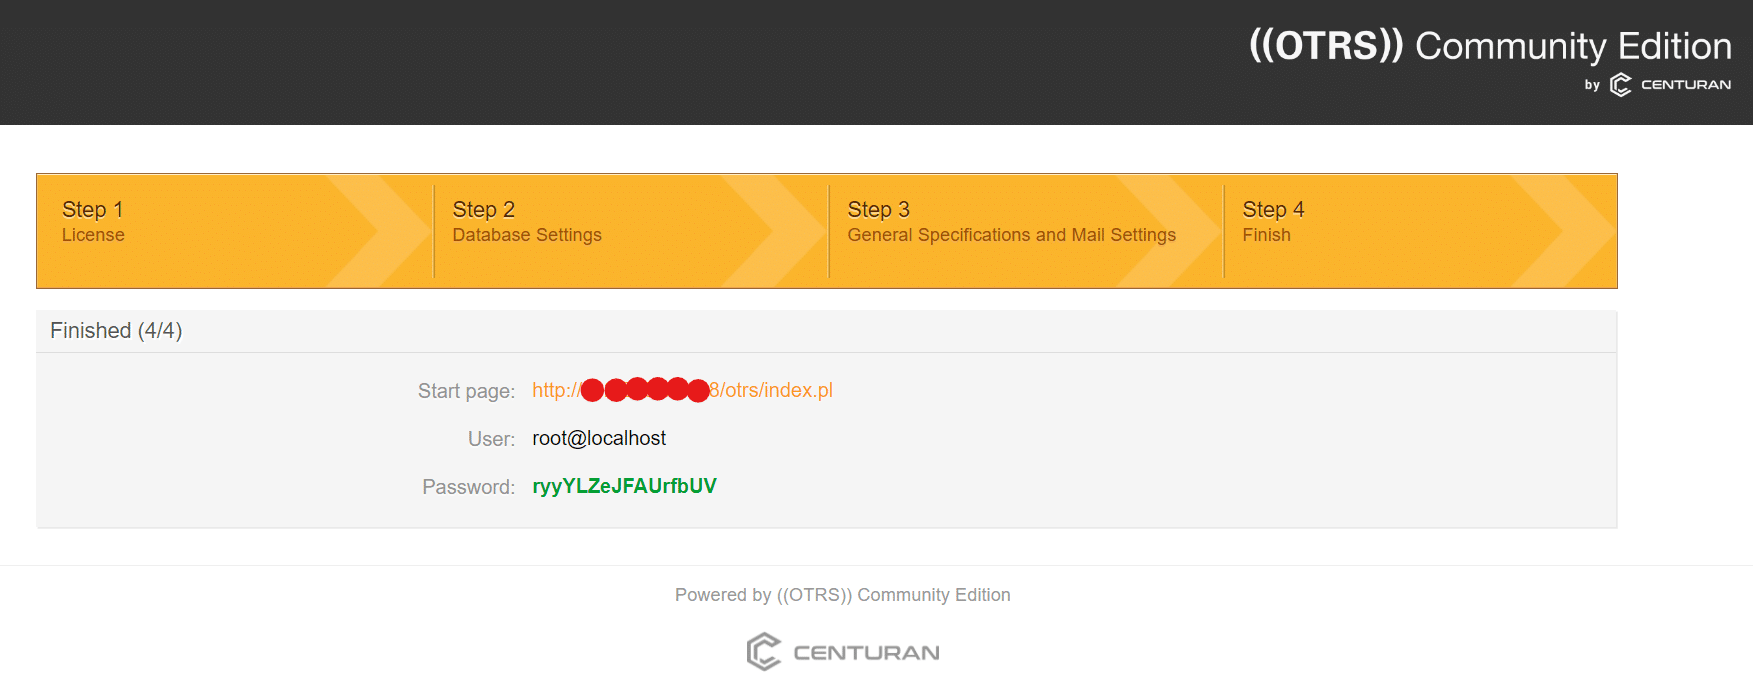
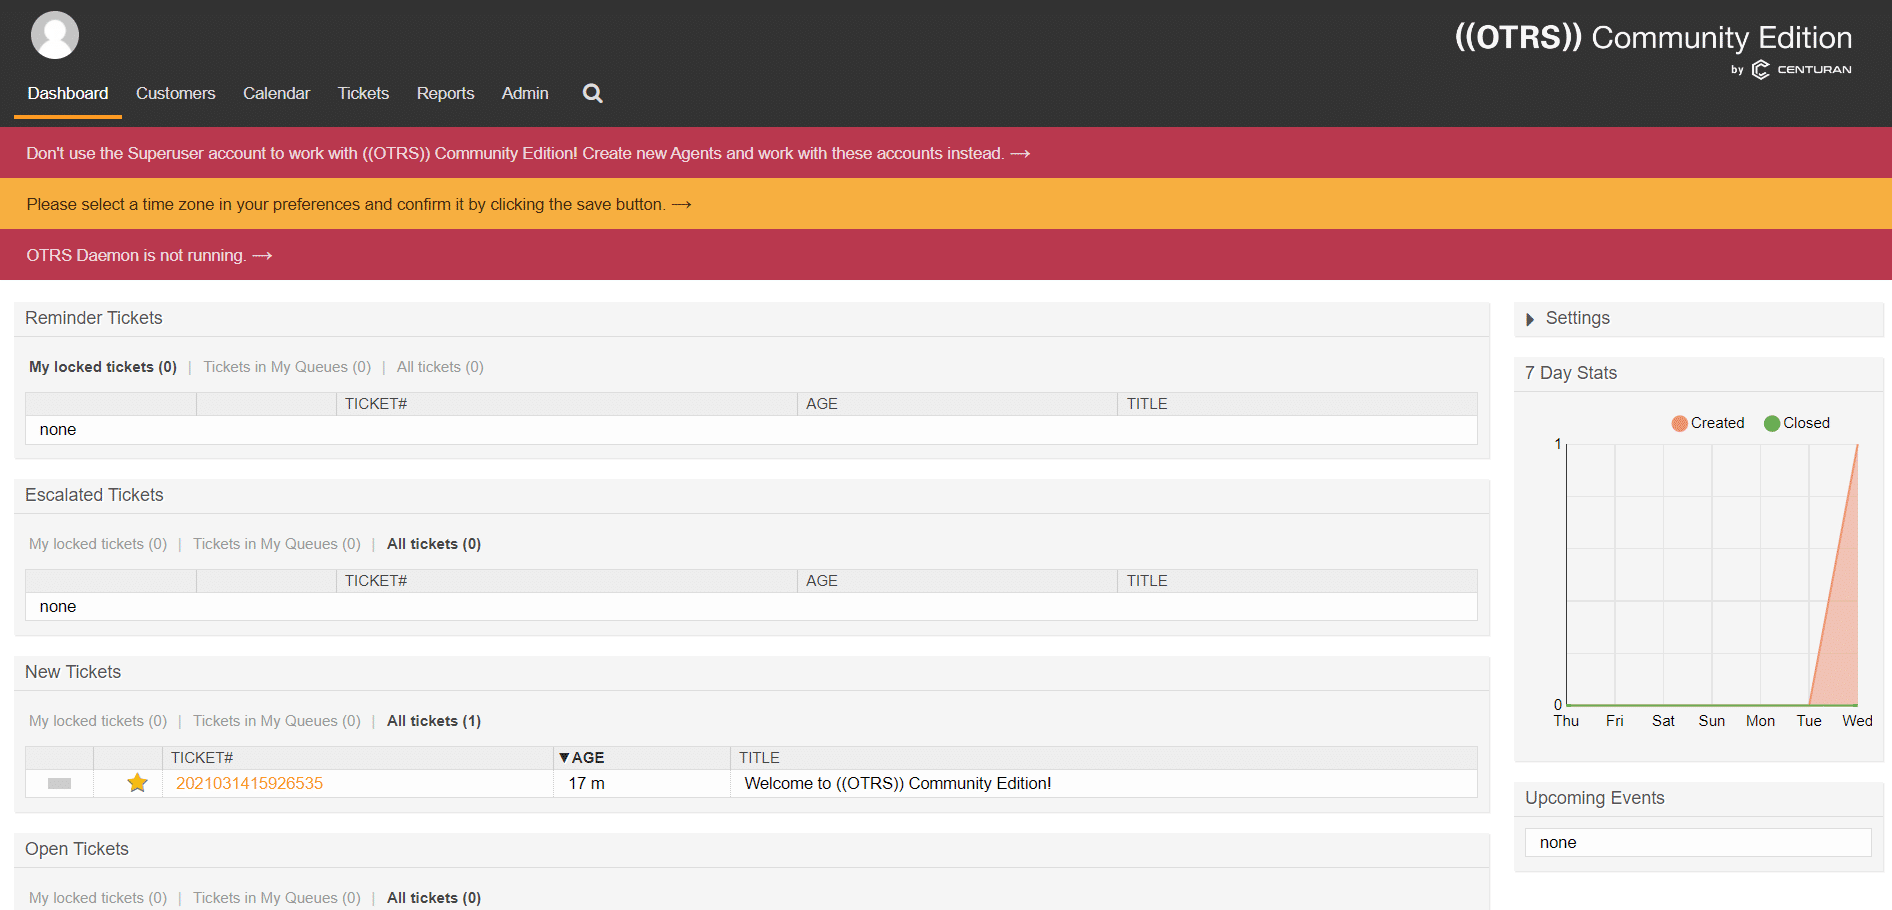
After completing the installation, you will find the server URL along with a login username and password. Click on the URL provided to be redirected to the OTRS login screen.
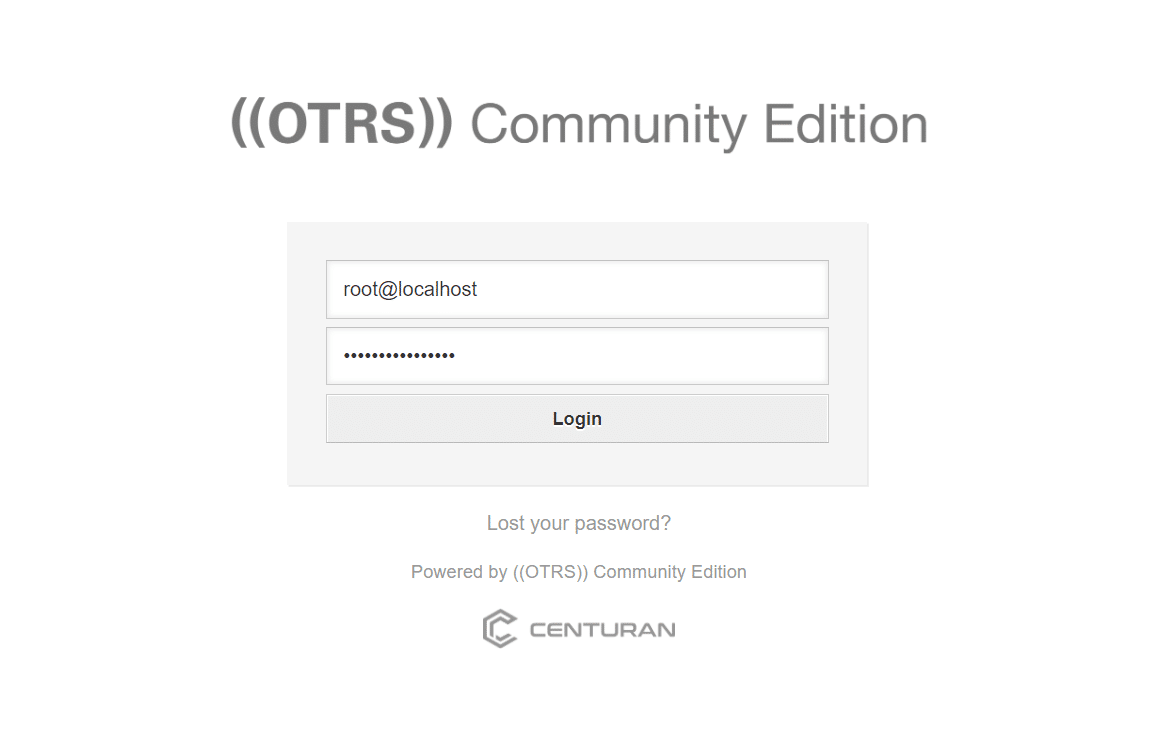
Please input your login credentials and then click on the Login button.
In conclusion, setting up OTRS on Debian 12 provides a robust solution for managing customer support tickets efficiently. By following these steps, you can quickly deploy OTRS and start streamlining your support processes, ensuring better customer satisfaction and organizational efficiency.