How to configure Zabbix Server to monitor SNMP devices
Zabbix provides tools for monitoring IT components including networks, servers, virtual machines (VMs), and cloud services. Zabbix can track metrics such as CPU load, network utilization, and disk space consumption. On Linux, HP-UX, Mac OS X, and Solaris, monitoring is possible; on Windows, monitoring is only possible through an agent.
It is necessary to prepare the server for monitoring the SNMP device once Zabbix is installed. So, in this article, we will cover how to set up a Zabbix server for monitoring using SNMP.
Step 1: Set up the zabbix server
- Sign in to your system or register a newly created one by logging in to yourVPSie account.
- Connect by SSH using the credentials we emailed you.
Step 2: Set up SNMP monitoring on the Zabbix server
Open the sources.list configuration file and uncomment the multiverse line. By using the following command.
# sudo nano /etc/apt/sources.list
Once that is done, update the repository
# sudo apt-get update
Run the following command to install the required packages:
# sudo apt-get install snmp snmp-mibs-downloader
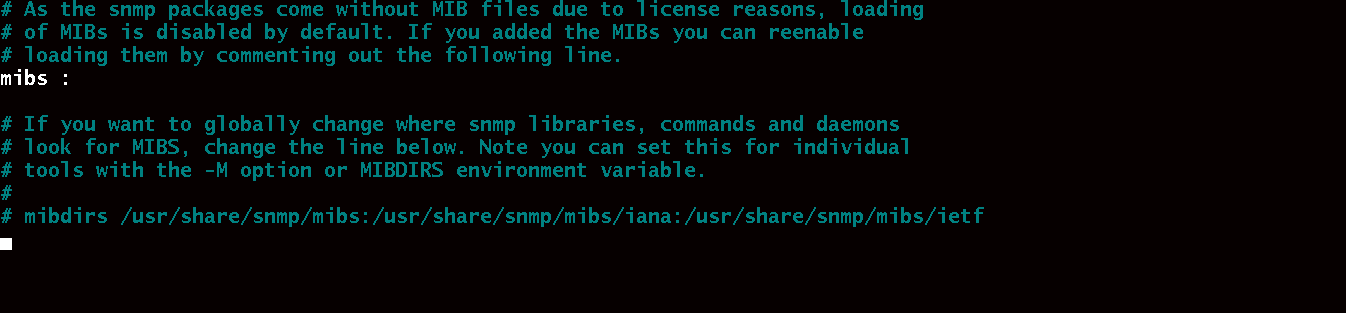
The line MIBs should be commented out(remove #) in the snmp.conf file. Here is how you should do it: Run the following command and follow the procedure as shown below
# sudo nano /etc/snmp/snmp.conf
Run the command and perform the installation for the SNMP function in Zabbix Server.
# sudo download-mibs
Restart Zabbix,
# sudo service zabbix-server restart
Install SNMP in the HOST
# sudo apt-get install snmp
Check the SNMP configuration.
# sudo snmpwalk -c community_string -v2c Device_IP
Thanks for reading! I hope it was informative for you!