In today’s fast-paced business landscape, efficient customer relationship management (CRM) systems are indispensable for fostering customer connections and optimizing organizational workflows. Among the myriad of options available, vTiger CRM stands out for its comprehensive suite of features tailored to streamline customer interactions and enhance productivity.
In this guide, we’ll walk you through the step-by-step process of installing vTiger CRM on Ubuntu 22.04, providing you with a robust platform to centralize customer data, automate tasks, and drive business growth. Whether you’re a small startup or a seasoned enterprise, implementing vTiger CRM on your Ubuntu server will empower you to effectively manage leads, contacts, and opportunities while fostering lasting customer relationships.
Let’s delve into the installation process and unlock the potential of vTiger CRM for your business success.
First, let’s begin by creating your VPSie Account if you haven’t already done so, and then proceed to install the Ubuntu server as per your requirements.
To initiate the installation, please SSH into your system. Our first step is to advise updating your system prior to installing any software. To accomplish this, kindly execute the following commands:
sudo apt-get update
Install Apache webserver
To install it using the apt package manager, execute the following command:
sudo apt install apache2
To check the status of the Apache service, use the systemctl status command:
systemctl status apache2
Install PHP and PHP extensions
PHP 8.1 comes pre-installed in the default repository of Ubuntu 22.04. To install PHP 8.1, utilize the command provided below.
apt-get install php libapache2-mod-php php-{cli,common,curl,zip,gd,mysql,xml,mbstring,json,intl,imap}
Verify if PHP is installed using the following command:
php -v
Update php.ini file:
Adjust the settings in the php.ini file:
nano /etc/php/8.1/apache2/php.ini
Modify the following information:
memory_limit = 256M
upload_max_filesize = 128M
display_errors = Off
log_errors = Off
short_open_tag = Off
max_execution_time = 60
date.timezone = America/Chichago
Next, ensure to save the php.ini file. Following that, you’ll need to restart apache2 to apply the configuration changes.
systemctl restart apache2
Install MariaDB and create a database
To set up MariaDB, execute the subsequent command:
apt install mariadb-server mariadb-client
Check the MariaDB service status by utilizing the systemctl status command:
systemctl status mariadb
Let’s configure the sql_mode now:
nano /etc/mysql/mariadb.conf.d/50-server.cnf
Insert below line under mysqld section
sql_mode = ERROR_FOR_DIVISION_BY_ZERO,NO_AUTO_CREATE_USER,NO_ENGINE_SUBSTITUTION
Then restart the MariaDB server:
systemctl restart mariadb
By default, MariaDB lacks hardening. However, you can fortify MariaDB by employing the mysql_secure_installation script.
mysql_secure_installation
Configure it like Following:
Set root password? [Y/n] Y
Remove anonymous users? [Y/n] Y
Disallow root login remotely? [Y/n] Y
Remove test database and access to it? [Y/n] Y
Reload privilege tables now? [Y/n] Y
Now please execute the following command to access the MariaDB shell:
mysql -u root -p
After successfully logging into your database server, proceed to create a database specifically designated for the installation of Vtiger CRM.
CREATE DATABASE vtigercrm;
CREATE USER 'vtigercrm'@'localhost' IDENTIFIED BY 'Yourpassword';
GRANT ALL PRIVILEGES ON vtigercrm. * TO 'vtigercrm'@'localhost';
FLUSH PRIVILEGES;
exit;
Please update the password with your own password on the second line.
Install Vtiger CRM
The most recent version of Vtiger CRM can be acquired via their official website. Run the following command to initiate the download:
cd /var/www/
wget https://tenet.dl.sourceforge.net/project/vtigercrm/vtiger%20CRM%207.5.0/Core%20Product/vtigercrm7.5.0.tar.gz
Extract the file with the following command:
tar -xzvf vtigercrm7.5.0.tar.gz
Change the ownership of the directory with the command:
chown -R www-data:www-data /var/www/vtigercrm/
Configure Apache for Vtiger CRM
Go to the directory /etc/apache2/sites-available and execute the subsequent command to generate a configuration file for your Vtiger CRM setup:
nano /etc/apache2/sites-available/vtigercrm.conf
Add the following content:
<VirtualHost *:80>
    ServerAdmin [email protected]
    ServerName example.com
    ServerAlias www.example.com
    DocumentRoot /var/www/vtigercrm/
     <Directory /var/www/vtigercrm/>
        Options +FollowSymlinks
        AllowOverride All
        Require all granted
     </Directory>
     ErrorLog /var/log/apache2/vtigercrm_error.log
     CustomLog /var/log/apache2/vtigercrm_access.log combined
</VirtualHost>
Save the file and Exit.
Change to Apache configs directory:
cd /etc/apache2/sites-available/
Disable Apache default configuration file.
sudo a2dissite 000-default.conf
Enable the Vtiger CRM virtual host:
sudo a2ensite vtigercrm.conf
Enable Apache rewrite mode.
sudo a2enmod rewrite
Restart the Apache web server.
systemctl restart apache2
Access your Vtiger CRM Application
To reach the Vtiger CRM Web Interface, simply open your browser and navigate to http://Server_IP/.
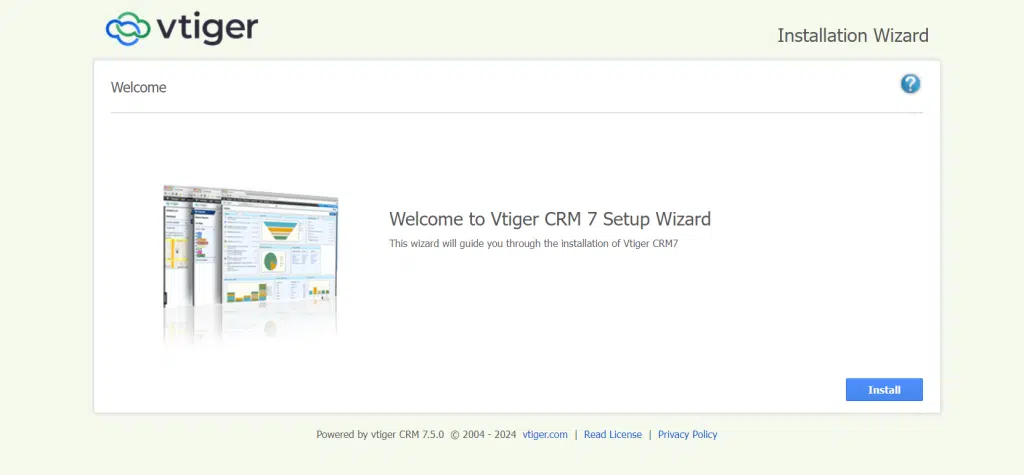
Please click on the Install button to proceed with the setup wizard.
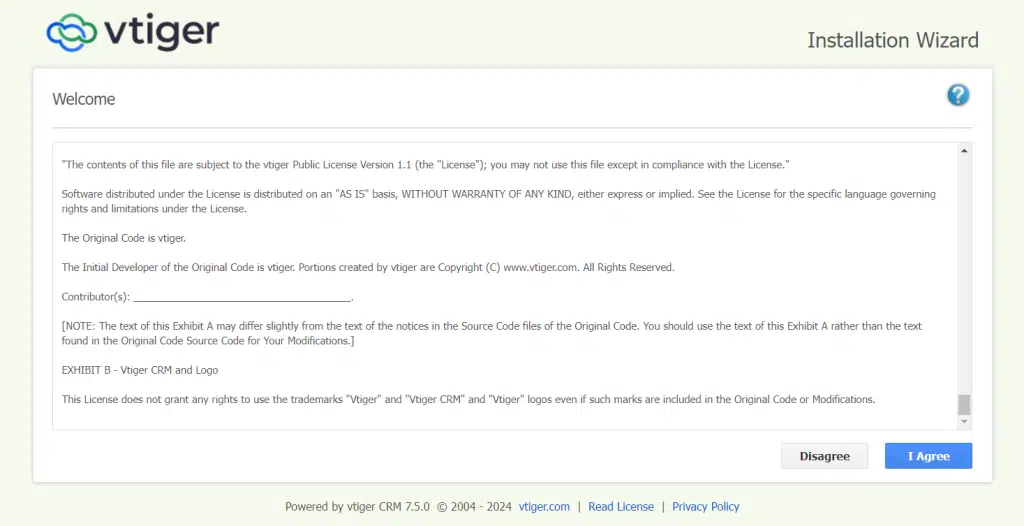
To accept the License Agreement, click on the I Agree button. Upon doing so, you will be directed to the following page.
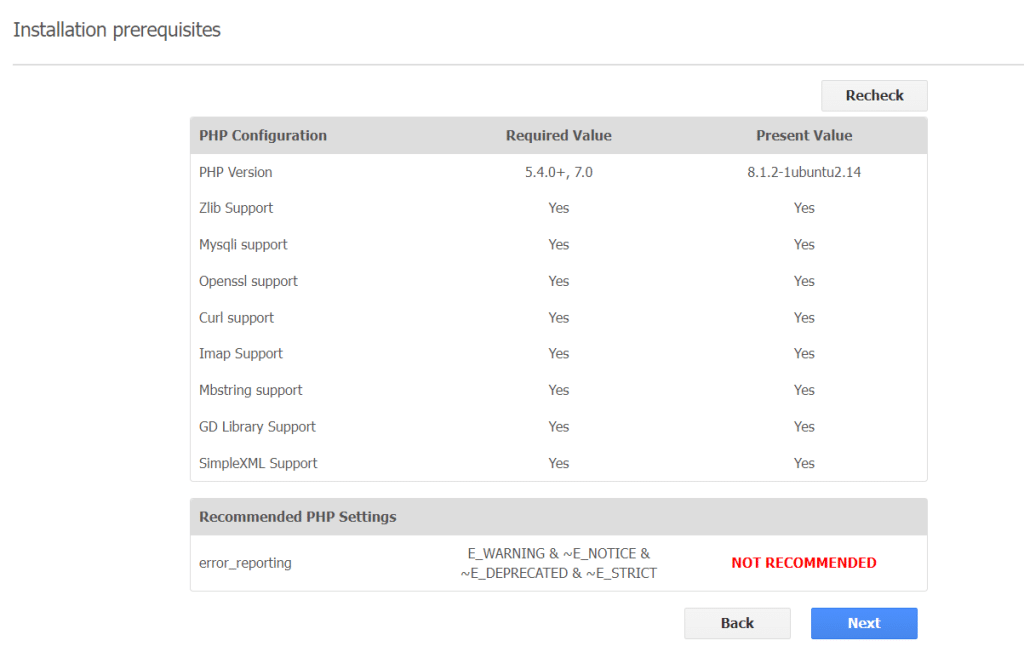
Ensure that all installation prerequisites are verified to meet requirements. If any prerequisites are missing or incorrect, rectify them before proceeding by clicking on the Next button.
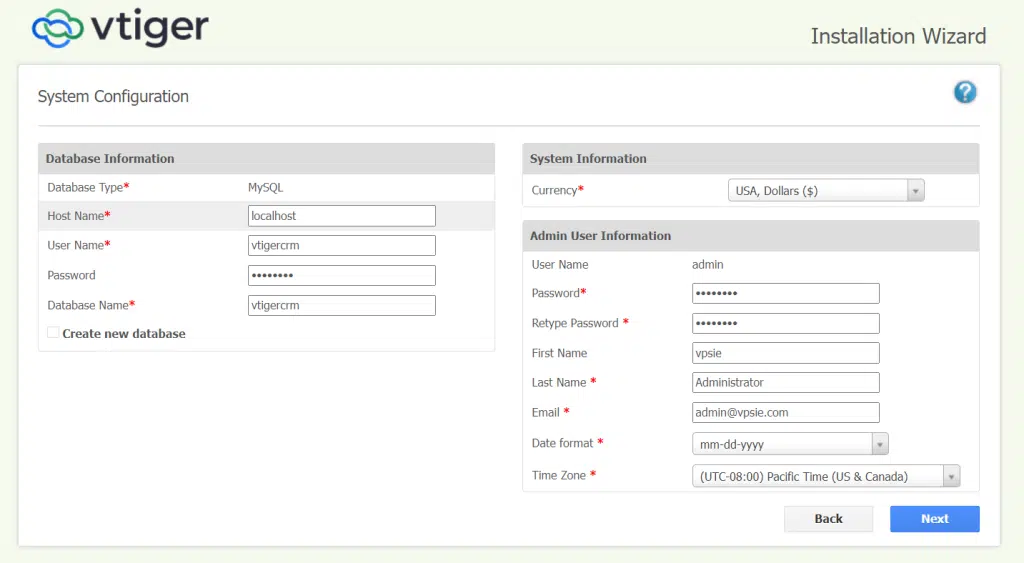
Enter your database name, username, password, admin username, and admin password. Afterwards, proceed by clicking the Next button.
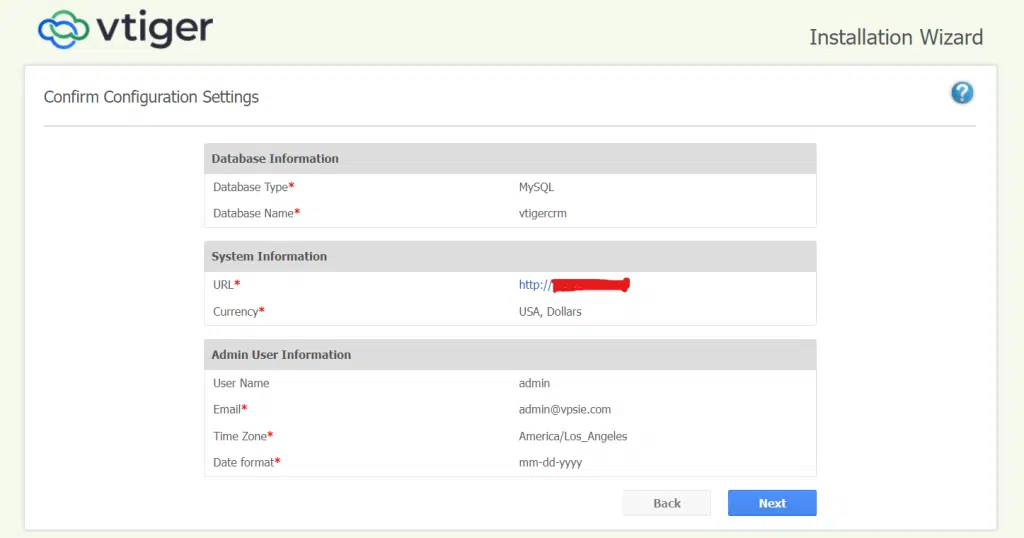
Examine the system configuration settings and then proceed by clicking the Next button.
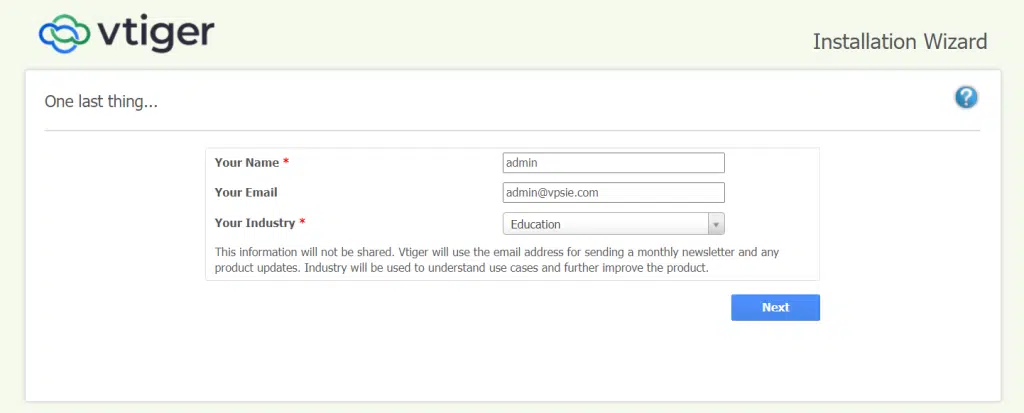
Choose your Industry and click Next to continue with the installation process.
After completing the installation, choose the modules for the Vtiger CRM features you wish to utilize. Then, click on Next and you will be directed to the Vtiger CRM dashboard.
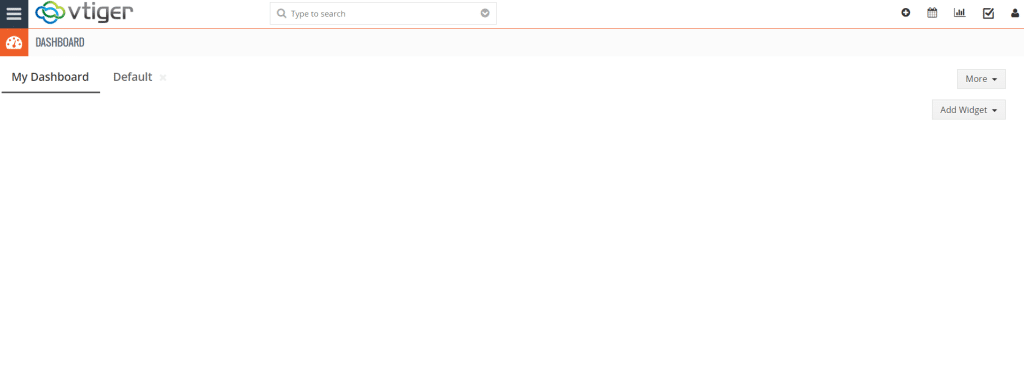
Congratulations! You have now successfully installed Vtiger CRM on Ubuntu 22.04. You’re all set to start managing your customer relationships efficiently. Should you encounter any issues or require further assistance, don’t hesitate to reach out to our support team. Happy CRM-ing!


