
In today’s digital era, effective management of data and search functionalities is crucial for businesses and organizations. Apache Solr, an advanced search platform built upon Apache Lucene, provides robust features for search and indexing, thereby improving application performance and scalability. If you’re operating a Ubuntu 22.04 server and aiming to leverage Apache Solr’s capabilities, you’ve come to the right place. This comprehensive guide will lead you through the step-by-step process of installing Apache Solr on your Ubuntu system.
To begin, ensure you have a VPSie Account set up, if not already done, and proceed with installing the Ubuntu 22.04 server according to your specific requirements.
Prior to installing any packages, it’s essential to refresh your system’s package list to guarantee access to the most recent versions. Open a terminal and execute the following command:
sudo apt-get update -y
Install Java
Install Java
To run Apache Solr 9, you’ll need Java 11 or a later version. Start by setting up a Java Development Kit (JDK) on your Ubuntu server. Use the following command to install Java:
sudo apt install default-jdk
Verify the Java installation:
java -version
Install Apache Solr
Please head over to the official Apache Solr downloads page to obtain the link for the most recent stable release. Then, execute the following command syntax to download the latest version.
wget {url}wget https://dlcdn.apache.org/solr/solr/9.6.0/solr-9.6.0.tgz
Once downloaded, unzip the Apache Solr service installer shell script from the Solr archive file.
tar xzf solr-9.6.0.tgz solr-9.6.0/bin/install_solr_service.sh --strip-components=2
Begin the Solar installation on Ubuntu by running this command. Ensure you execute it from the directory where the archive file is saved.
sudo bash ./install_solr_service.sh solr-9.6.0.tgz
This action will finalize the installation of Apache Solr on your Ubuntu system.
Solr is now set up as a service on your system. You can easily manage it using these commands: Start, Stop, and check its status.
Start Solr service:
sudo systemctl stop solr
Stop Solr service:
sudo systemctl start solr
Check the status of Solr service:
sudo systemctl status solr
Create a Solr Collection and Allow Public Access
Once you’ve successfully installed Solr on your system, initiate the creation of your first collection in Apache Solr with the provided command.
sudo su - solr -c "/opt/solr/bin/solr create -c mycol1 -n data_driven_schema_configs"
To enable Apache Solr to be accessed publicly across networks, modify the configuration file /etc/default/solr.in.sh, as the default setup confines it to running only on localhost. Run the following command to open the file:
sudo vim /etc/default/solr.in.sh
Uncomment the line and insert the specified value:
SOLR_JETTY_HOST="0.0.0.0"
Save the file and close it.
Now Restart the Solr service to apply changes.
sudo systemctl restart solr
Verify the Apache Solr listening host address using this command:
sudo ss -tupln | grep 8983
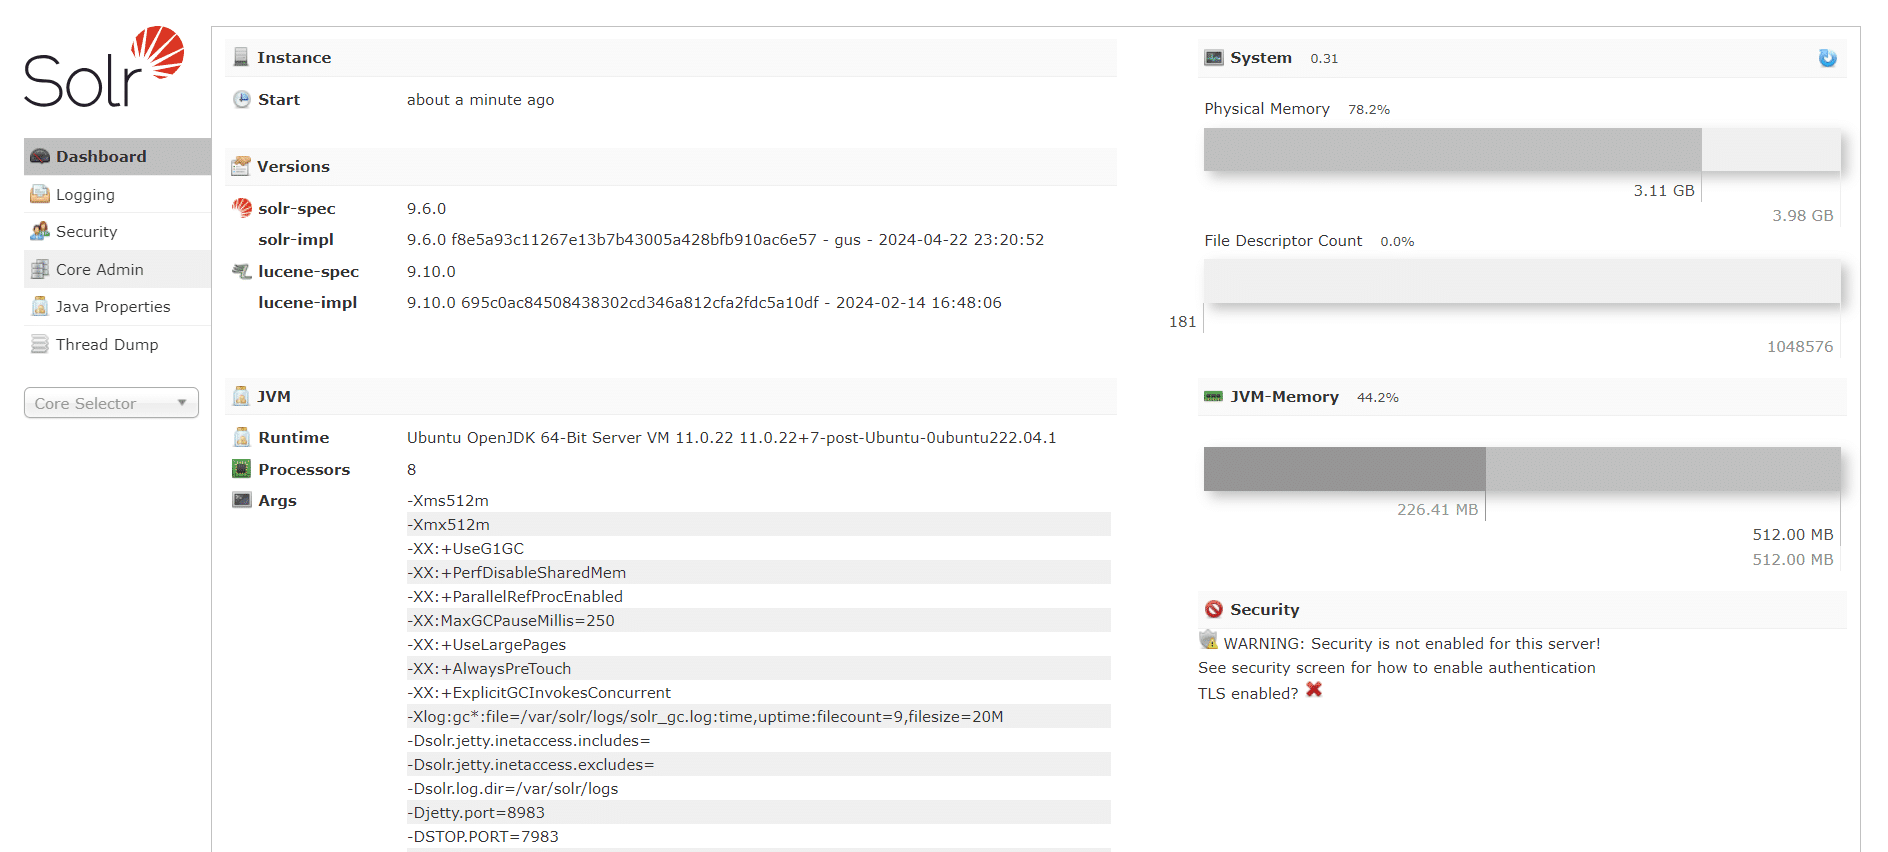
Access Apache Solr Web Interface
To access the Apache Solr web interface, simply open your web browser and type http://server_ip:8983/ into the address bar.
Well done on completing the Apache Solr setup on Ubuntu 22.04! Your system’s search prowess just got a boost. With Solr up and running, dive into its robust offerings like full-text search, faceted search, real-time indexing, and beyond. But remember, this is just the beginning of your journey to optimize search functionality.