Nginx Proxy Manager is a powerful tool for managing Nginx web server instances, enabling users to easily configure proxy hosts, SSL certificates, and more through a user-friendly web interface. In this guide, we’ll walk you through the step-by-step process of installing Nginx Proxy Manager on Ubuntu 22.04, ensuring a seamless setup for your web server management needs.
Follow along as we delve into the installation process, downloading and setting up Nginx Proxy Manager, configuring SSL certificates, and accessing the web interface. By the end of this guide, you’ll have a fully functional Nginx Proxy Manager installation up and running on your Ubuntu 22.04 server, ready to empower your web hosting endeavors.
To begin, ensure you’ve established a VPSie Account if you haven’t yet. Then, move forward by deploying the Ubuntu server tailored to meet your exact requirements.
Once the server is deployed, SSH into the command line interface. Before installing any packages, it’s essential to update your system’s package list to ensure you have access to the latest versions. Open a terminal and run the following command:
sudo apt-get update -y
Install Docker and Docker Compose
Install Docker:
sudo apt install docker.io
Install Docker Compose:
sudo apt install docker-compose
To verify that Docker and Docker Compose have been installed successfully, you can perform the following checks:
docker --version
This command should display the installed Docker version.
Verify Docker Installation:
docker run hello-world
This command pulls a small Docker image and runs it as a container. If Docker is installed correctly, you should see a message confirming that your installation is working.
Check Docker Compose Version:
docker-compose --version
This command should display the installed Docker Compose version.
Verify Docker Compose Installation:
docker-compose --help
Create a Docker Compose File
Create a directory for your Nginx Proxy Manager configuration and navigate into it:
mkdir ~/nginx-proxy-manager
cd ~/nginx-proxy-manager
Next, create a docker-compose.yml file:
					cat <<EOF > docker-compose.yml
version: '3'
services:
  app:
    image: jc21/nginx-proxy-manager:latest
    restart: always
    ports:
      - '80:80'
      - '81:81'
      - '443:443'
    volumes:
      - ./data:/data
      - ./letsencrypt:/etc/letsencrypt
    environment:
      - DB_MYSQL_HOST=db
      - DB_MYSQL_PORT=3306
      - DB_MYSQL_USER=pmuser
      - DB_MYSQL_PASSWORD=pmuserpassword
      - DB_MYSQL_NAME=pm
  db:
    image: jc21/mariadb-aria:latest
    restart: always
    environment:
      - MYSQL_ROOT_PASSWORD=myrootpassword
      - MYSQL_DATABASE=pm
      - MYSQL_USER=pmuser
      - MYSQL_PASSWORD=pmuserpassword
    volumes:
      - ./data/mysql:/var/lib/mysql
EOF
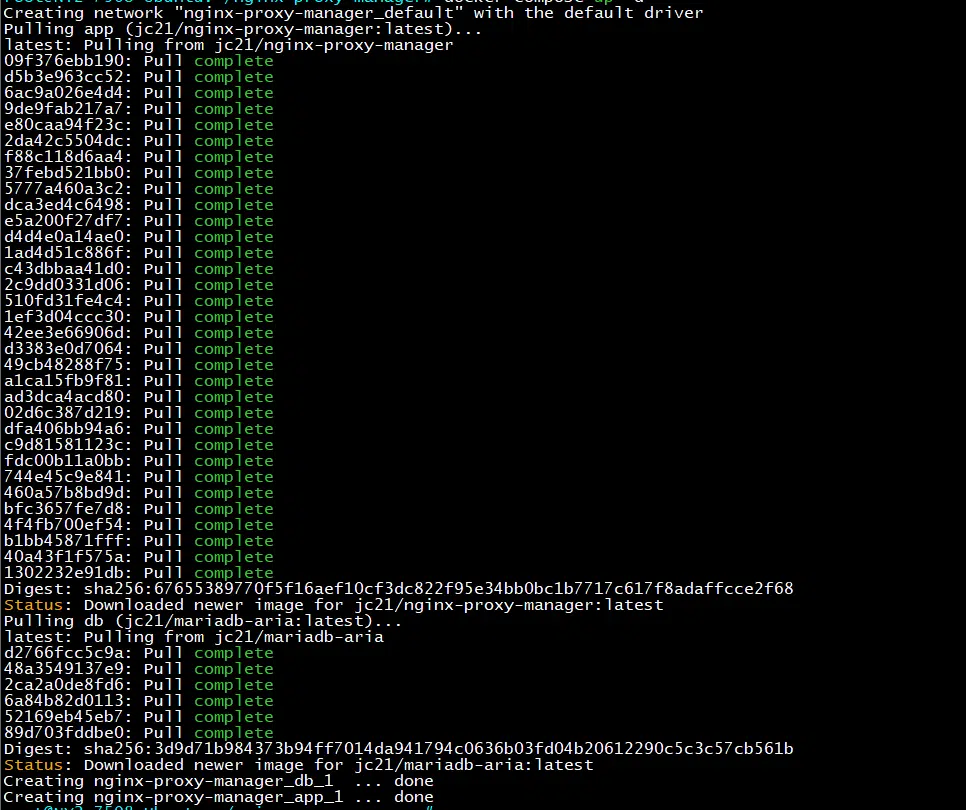
Now start the Nginx Proxy Manager using the following command:
docker-compose up -d
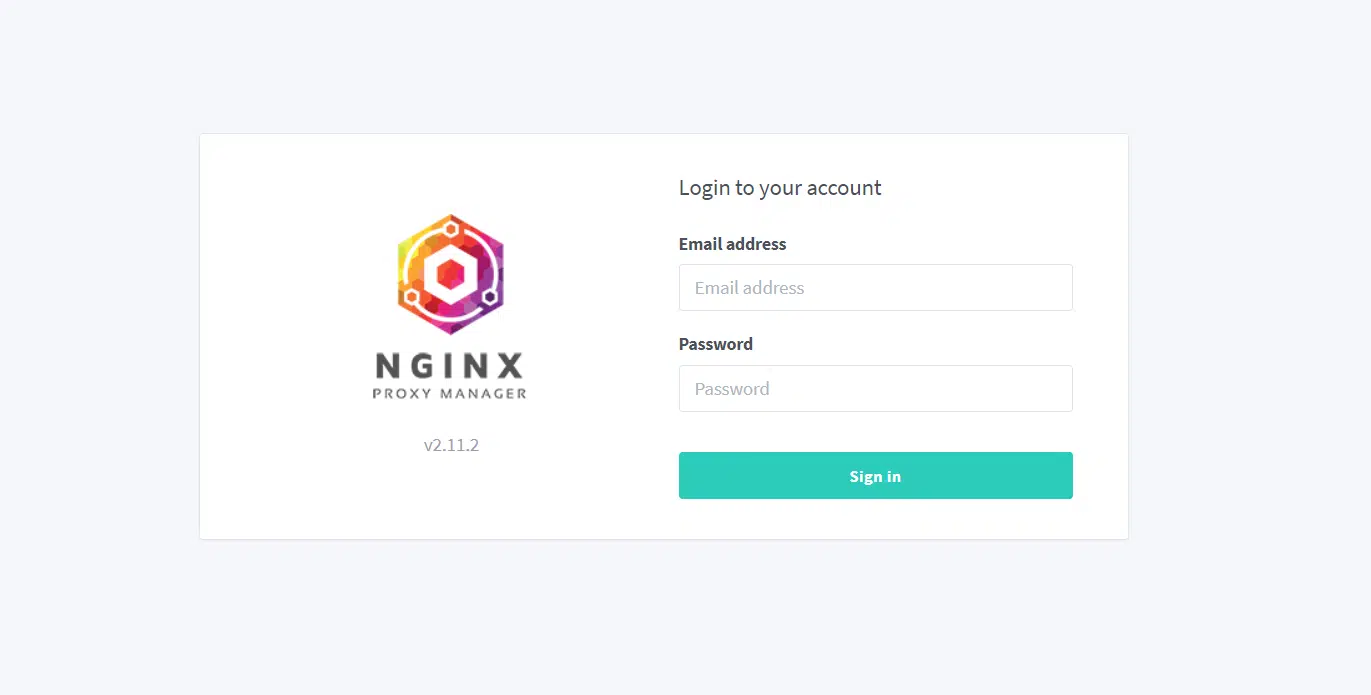
Accessing Nginx Proxy Manager Web Interface
Open a web browser and navigate to http://localhost:81 (or replace localhost with your server’s IP address if accessing remotely).
Once the page loads, you’ll be greeted with the login screen of Nginx Proxy Manager. Here, you’ll need to enter the default credentials to log in:
- Username: [email protected]
- Password: changeme