Install VodiaPBX One Click Deploy
With Vodia PBX, business owners in industries like healthcare, education, call centers, and hospitality benefit from a hybrid VoIP PBX solution. They can manage communication within organizations as well as with external clients using it. In addition to being deployed on-premise, the solution can also be hosted in the cloud.
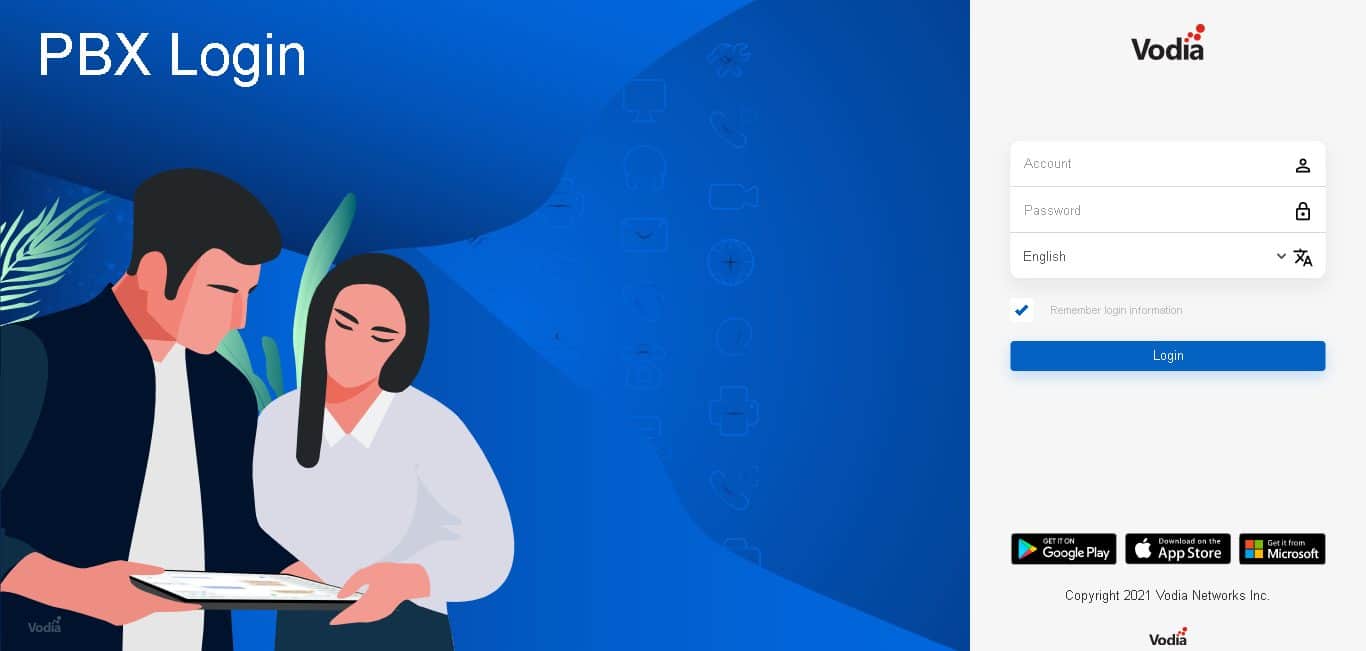
In this section, we’ll explain how to set up VodiaPBX in one click on the VPSie platform.
It is necessary to register for VPSie in order to use it. Registering for a free account is available via the following link . After funding your account, click the Add a New VPSie button.
Step 1: Select VodiaPBX from VPSie Marketplace
In order to set up, you must visit the Marketplace and select VodiaPBX for your server.

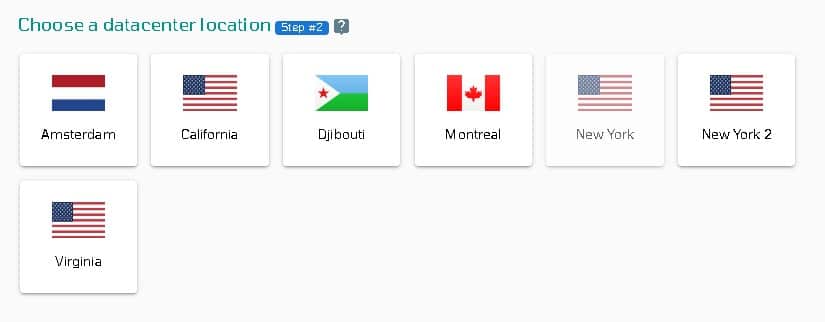
Step 2: Select VPSie DataCenter
Make sure your data center is close to your customers. Data centers should be located close to where your clients are rather than at your own location. In the case of Europeans with clients in the United States, U.S.A. locations must be selected.
Step 3: Choose your plan category
Choose a plan category and the options within it to determine the best plan for your business.
Step 4: Configure your VodiaPBX server’s network and security
We recommend you select public IPv4 when selecting an IP address. VPSie provides you with the option of selecting private from the default Virtual Private Cloud(VPC) or creating your own VPC and assigning a private IP from it.
The SSH key and StartUp Script can be added here, as well as new ones that you can create. Note that this step is optional. If you don’t need it, you can skip it.
By selecting from the drop-down, you can add storage to your server in the same way, selecting the storage type and entering the storage size as needed
You can edit your hostname on the Hostname tab. By default, VPSie generates one automatically.
You will be given an automatically generated password by VPSie by default. By clicking on the password configure tab and selecting the custom option, you can change your password and add your own.
Create a note and tags for your VodiaPBX server. It is highly recommended that you enable automatic backup.

We are offering a very handy feature that allows you to create multiple VodiaPBX servers with the same configuration that we created now. Make use of it if necessary. Lastly, click on the Add VPSie button to create your VodiaPBX server.

It will take no more than a minute for your VodiaPBX server to be operational. You will receive an email with all details regarding the server login and Database credentials and etc.
Currently, the VodiaPBX webpage can be accessed through a web browser by using the server IP address and login with username admin with no password.

That’s all. Have a safe communication. I hope you found this helpful.