ownCloud on Debian 12
Unlock Seamless Collaboration: A Comprehensive Guide to Installing ownCloud Server on Debian 12. Follow our step-by-step instructions for a secure and efficient file-sharing solution tailored to your Debian 12 environment. Empower your team’s productivity today.
Prerequisites
Before you begin the installation process, ensure you have the following:
- Machine running Debian 12.
- User account with sudo privileges.
Before installing any new software, it’s a good practice to update the system packages to their latest versions. Open a terminal and run the following commands:
sudo apt update -y
Install Apache Web Server
Execute the command below to install Apache web server on Debian 12:
apt install apache2
After completing the installation, Apache is initiated and set to run automatically on system boot. To verify the status, use the following command:
systemctl status apache2
systemctl enable --now apache2

Install MariaDB
MariaDB comes preloaded in Debian 12’s default repositories, simplifying the installation process. Execute the provided command to effortlessly install MariaDB:
sudo apt install mariadb-server
sudo systemctl start mariadb
sudo systemctl enable mariadb
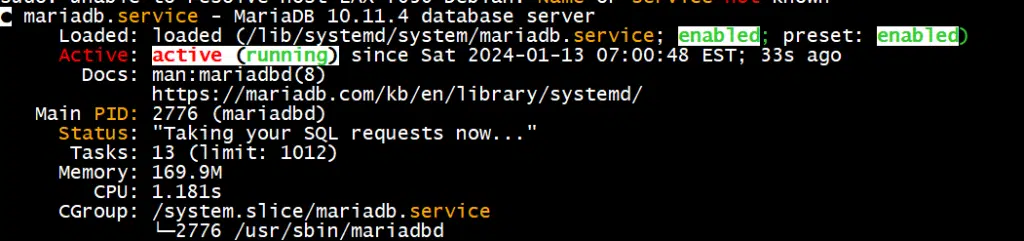
You can verify that MariaDB is running with this command:
sudo systemctl status mariadb
Install PHP
Debian 12 comes with PHP 8.2 in its default repositories. However, ownCloud currently supports only up to PHP 7.4 LTS, despite its end-of-life status.
Consequently, it’s essential to install PHP 7.4 and the necessary modules for optimal ownCloud functionality.
Install SURY APT Repository
To set up PHP 7.x/8.0/8.1 on Debian 12, the process involves installing SURY a third-party repository that supplies PHP packages. Follow the steps below to proceed:
apt update
apt -y install apt-transport-https lsb-release ca-certificates curl wget gnupg2
wget -qO- https://packages.sury.org/php/apt.gpg | \
gpg --dearmor > /etc/apt/trusted.gpg.d/sury-php-x.x.gpg
sh -c 'echo "deb https://packages.sury.org/php/ $(lsb_release -sc) main" \
> /etc/apt/sources.list.d/php.list'
Re-synchronize your system packages to the latest versions:
apt update
Install PHP 7.x
PHP 7.x is now available for installation:
apt-cache policy php7.4
apt install php7.4
apt install php7.4-EXNTENSION
apt install libapache2-mod-php7.4 php7.4-{mysql,intl,curl,gd,xml,mbstring,zip} -yInstall ownCloud repository
Debian 12 repositories don’t natively include ownCloud. Despite this, ownCloud maintains a repository for each Linux distribution.
While there isn’t a specific repo for Debian 12 at the moment, we can utilize the Debian 11 repo. Follow the installation steps below:
echo \
'deb http://download.opensuse.org/repositories/isv:/ownCloud:/server:/10/Debian_11/ /' \
> /etc/apt/sources.list.d/isv:ownCloud:server:10.list
Now install ownCloud repository signing key:
curl -fsSL \
https://download.opensuse.org/repositories/isv:ownCloud:server:10/Debian_11/Release.key \
| gpg --dearmor > /etc/apt/trusted.gpg.d/isv_ownCloud_server_10.gpg
Once more, synchronize system packages to ensure they are updated to the latest versions:
apt update
Install ownCloud
Run the following command to install the ownCloud:
apt install owncloud-complete-files -y
Upon installation, ownCloud situates its web files within the /var/www/owncloud directory.
ls -1 /var/www/owncloud
Paste the command provided to generate the owncloud.conf configuration file:
cat > /etc/apache2/sites-available/owncloud.conf << 'EOL'
Alias / "/var/www/owncloud/"
<Directory /var/www/owncloud/>
  Options +FollowSymlinks
  AllowOverride All
 <IfModule mod_dav.c>
  Dav off
 </IfModule>
 SetEnv HOME /var/www/owncloud
 SetEnv HTTP_HOME /var/www/owncloud
</Directory>
EOL
Check the syntax of the Apache configuration for accuracy. Confirm that the output indicates Syntax OK :
apachectl -t
a2ensite owncloud.conf
a2dissite 000-default.conf
a2enmod rewrite mime unique_id php7.4
chown -R www-data: /var/www/owncloud
systemctl restart apache2
Create ownCloud Database and User
Execute the provided command to run a script that removes test databases, disables remote root login, and more:
mysql_secure_installation
mysql
mysql -u root -p
create database ownclouddb;
grant all on ownclouddb.* to ocadmin@localhost identified by "password";
flush privileges;
quit
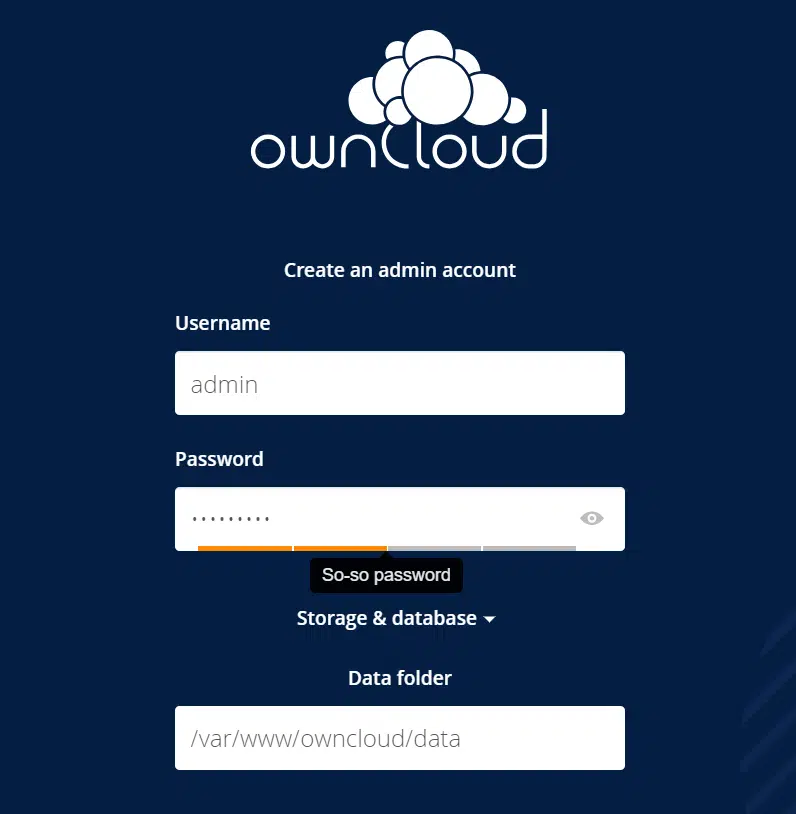
Access ownCloud Web Console
Access it through your browser using the following address: http://server-IP
Configure the ownCloud admin credentials, set a password, and specify the ownCloud data directory /var/www/owncloud/data
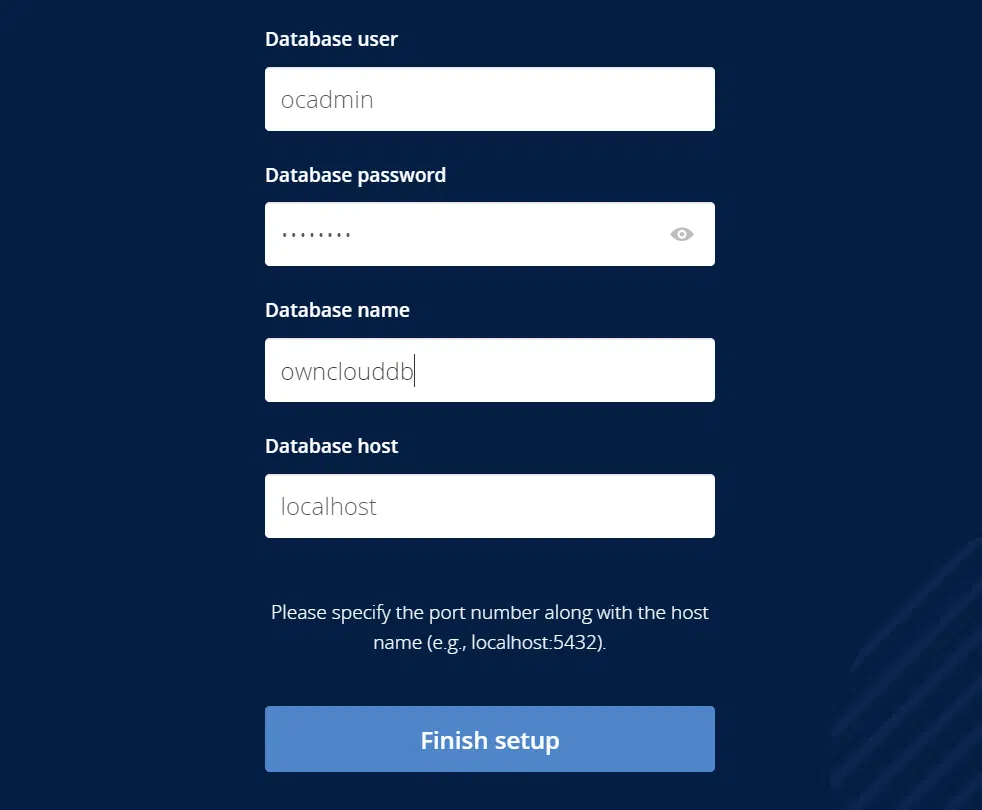
Configure the database connection details as previously established and click on Finish Setup.
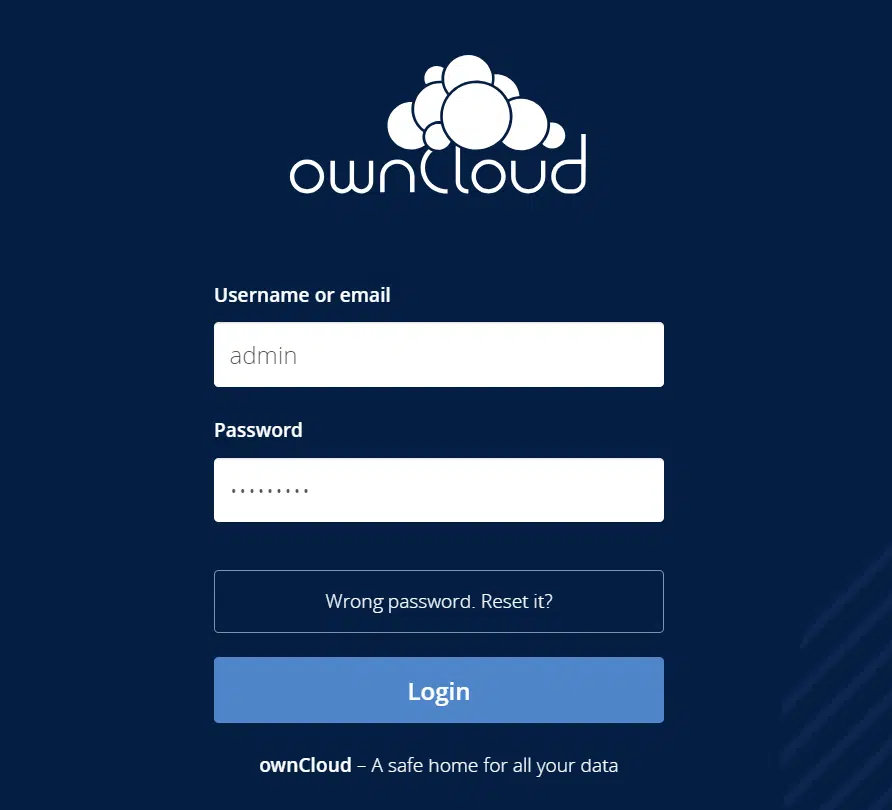
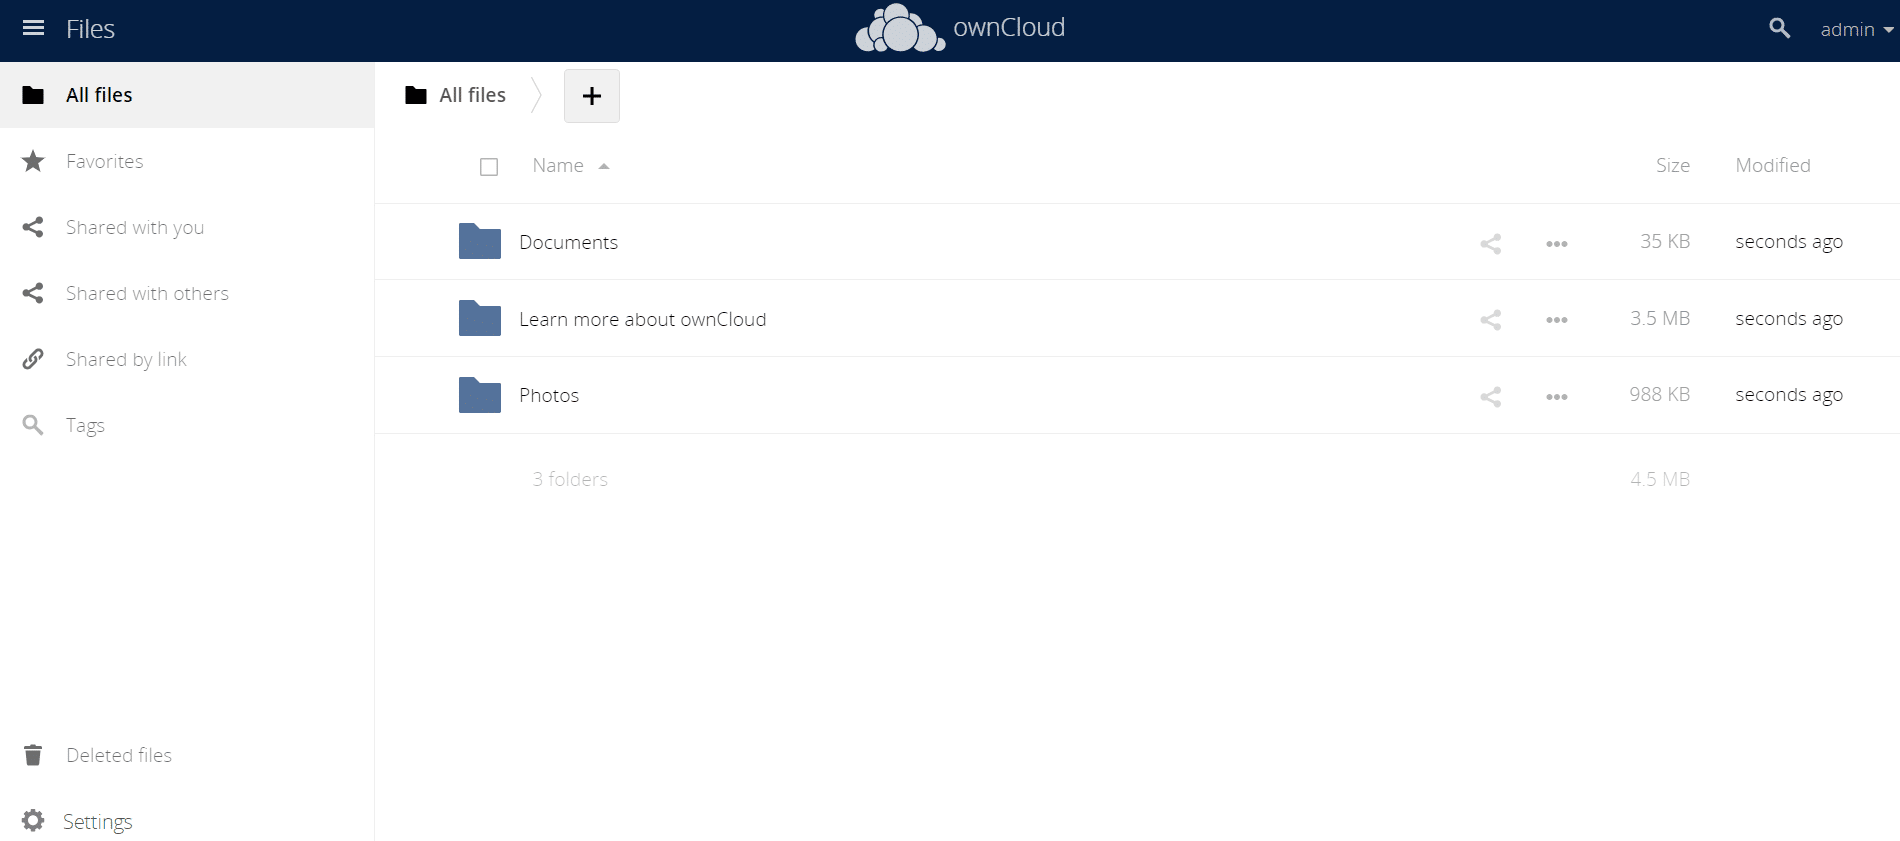
After the configuration is finished, you’ll be directed to the login page. Input your admin user credentials to access the ownCloud dashboard.
Access and share files, calendars, contacts, email, and more seamlessly across all platforms with OwnCloud.

In a nutshell, diving into the OwnCloud experience on Debian 12 not only simplifies file management but also adds a dash of user-friendly magic to your digital world, Thanks for reading!