Keeping your account secure is critical. One of the simplest yet most effective ways to protect your VPSie account is by using a strong, unique password and updating it regularly.
1. Change your VPSie account password
Step 1: Log in to your VPSie control panel.
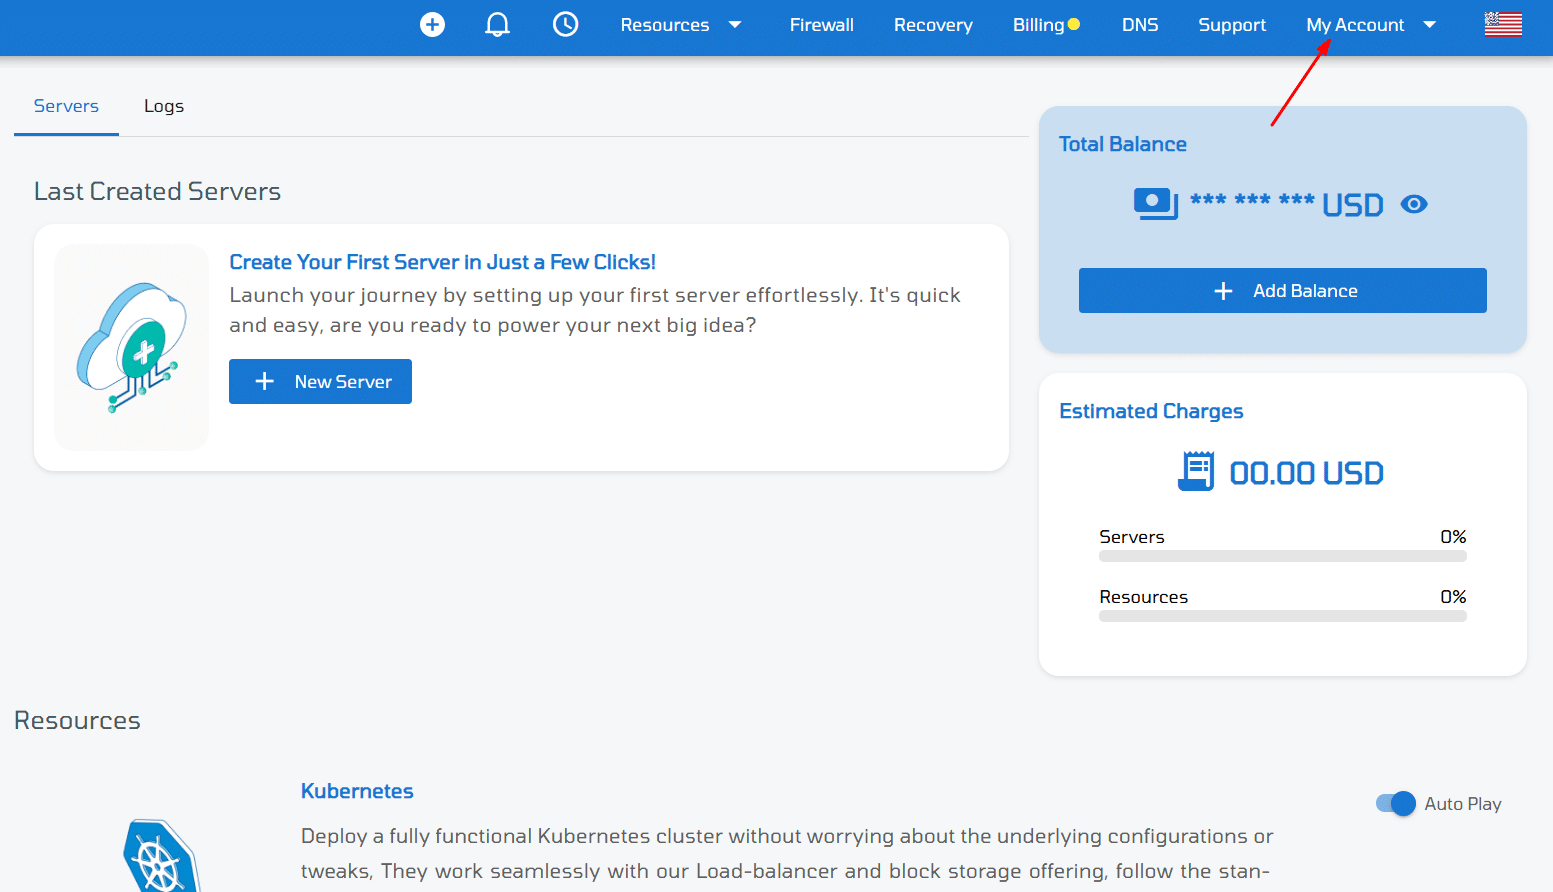
Step 2: Click on the My Account drop-down menu
Step 3: Select Security from the menu.
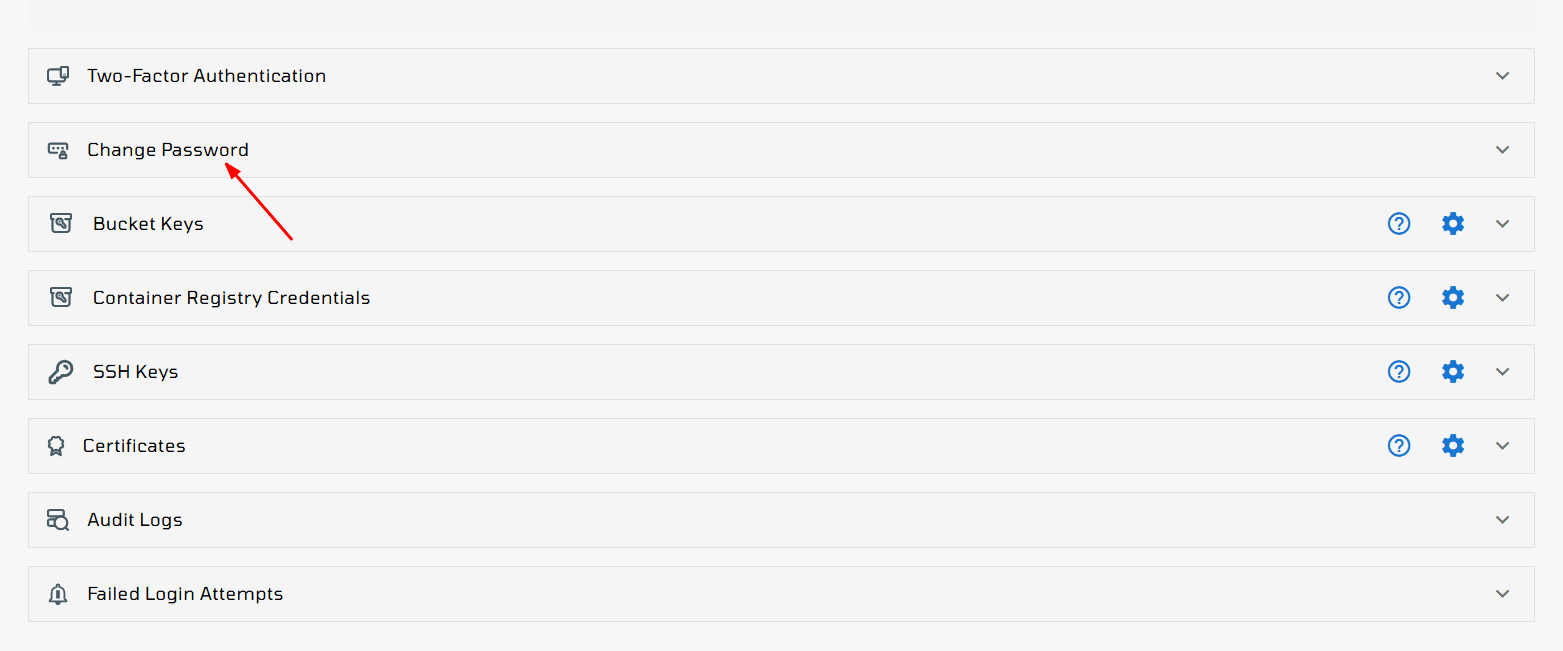
Step 4: Locate the Change Password section.
Step 5: Once you’re on the password change page, enter your current password, then type your new password and confirm it. Finally, click the Update button to apply the changes.
💡 Tip: Use a strong password containing uppercase and lowercase letters, numbers, and symbols. Avoid reusing passwords across multiple services.

2. Change the Password for Your VPSie Server
Changing your server’s password is essential for maintaining system security, especially after initial setup or when giving/revoking access.
Note: This method works for operating systems and marketplace applications provided by VPSie.
For custom servers or manually installed OS images, the VPSie Agent must be installed and running to enable this feature.
Step by step:
Step 1: Log in to your VPSie control panel.
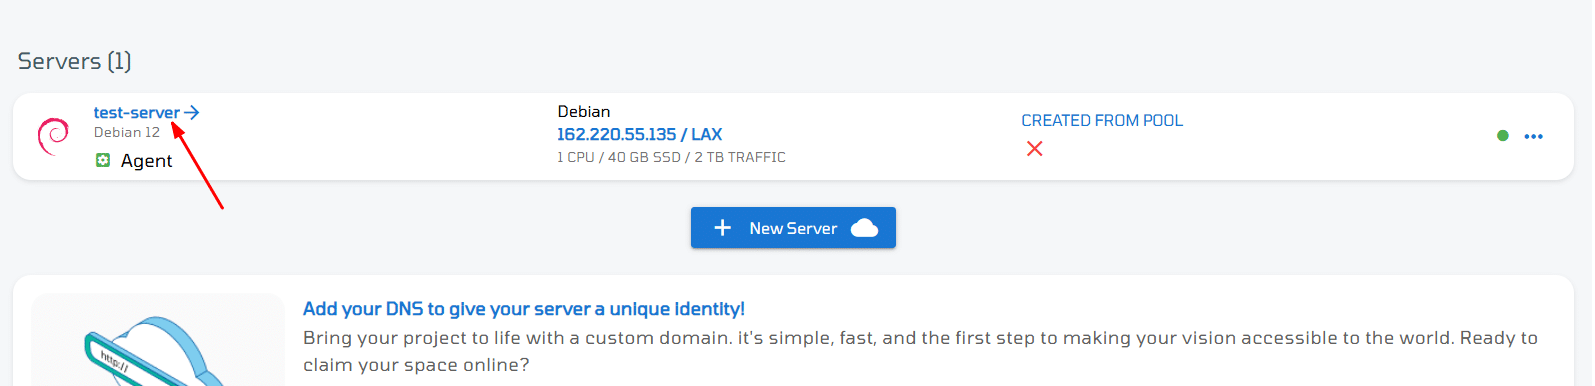
Step 2: Navigate to the Instances section and select the server you want to manage.
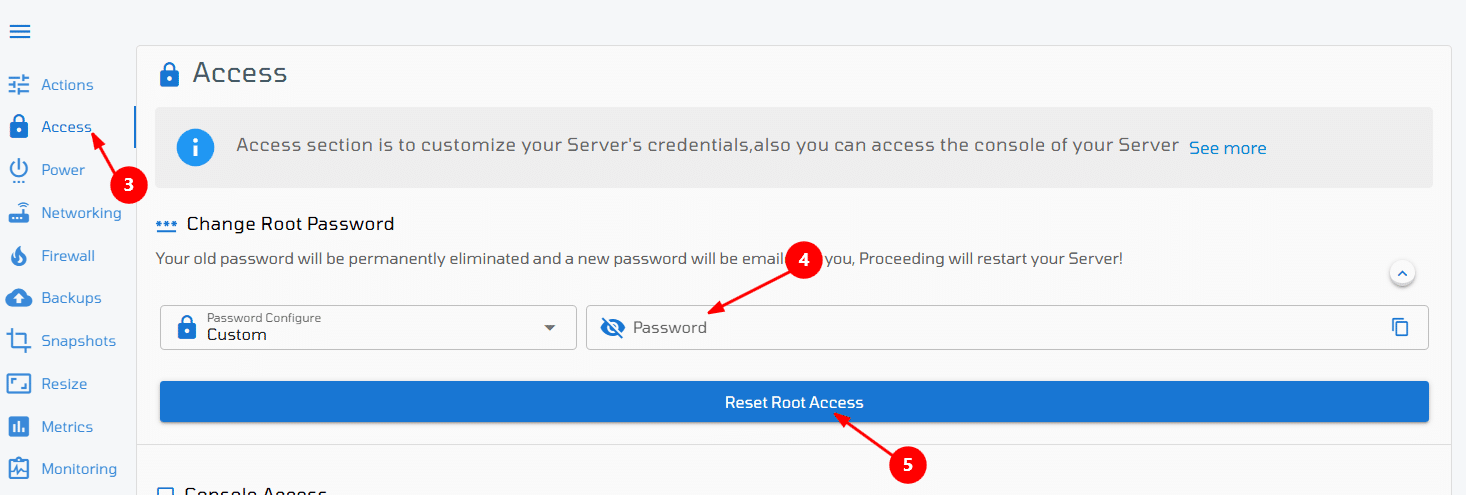
Step 3: Click on the Access section tab and locate the Change root Password option.
Step 4: Enter the new password and confirm.
Step 5: Click Reset root Password to finalize the change.